Instant Pot & Slow Cooker Kimchi Jjigae (Hands-Off Methods Compared)
This is a format page, not a protein page — the question isn’t which meat to use, it’s which appliance, and the two genuinely aren’t interchangeable. The Instant Pot gets dinner on the table in under an hour with real pressure-cooking mechanics to get right; the slow cooker trades speed for a true set-it-and-forget-it 6-8 hours. Researched, not guessed: pressure timing, natural-vs-quick release, and the Instant Pot’s minimum-liquid safety rule are all covered with the specifics that actually matter.


How Do I Make Kimchi Jjigae in an Instant Pot or Slow Cooker?
Instant Pot: saute the pork and kimchi first using the Saute function (this matters more here than on the stovetop, since there’s no separate browning stage once the lid goes on), then pressure cook on high for 15-20 minutes, followed by at least a partial natural release. Add tofu after the lid comes off — pressure cooking it turns it to mush. Total time including pressure build and release: about 45 minutes. Slow cooker: the same base ingredients cook on low for 6-8 hours, either all together from the start for a softer, more melded result, or with the kimchi added only in the final 20-30 minutes for more texture — a genuine technique trade-off covered in full below. Neither method is a shortcut version of the “real” stovetop recipe; both are legitimate, if modern, adaptations with their own mechanics to get right — including a real Instant Pot minimum-liquid rule that causes most “Burn” notices when ignored.
Why These Methods Work — And Where They Genuinely Differ
Pressure and slow, low heat get to the same destination — tender meat and a melded broth — through completely different mechanisms. Understanding the mechanism is what lets you troubleshoot either one instead of just following steps blindly.

Sealing the pot lets steam pressure build, which raises water’s boiling point well above 100°C/212°F. Collagen that would take 30-35 minutes to break down at a stovetop simmer collapses in a fraction of that time at this higher effective temperature — this is the actual mechanism behind the Instant Pot’s speed, not magic.

Pressure cooking doesn’t brown anything — there’s no Maillard reaction happening under a sealed, steam-filled lid. Every bit of fond and colour has to be built during the Saute stage before you seal the pot, which is exactly why skipping it produces a flatter result than the stovetop version, not a faster one.

A slow cooker on low runs at roughly 190-200°F/88-93°C — below a full simmer, not above it. Collagen still breaks down at this temperature, just far more slowly, which is why the method needs 6-8 hours where the Instant Pot needs 15-20 minutes. Neither is cheating; they’re solving the same chemistry with different time-and-temperature trade-offs.

Tofu is already fully cooked when it’s packaged — it only needs to be warmed through. A 15-20 minute pressure cycle or a multi-hour low simmer both break its structure down into mush well before the meat is done, which is why it’s added after the lid comes off in either method, never at the start.
A Modern Kitchen Adaptation, Framed Honestly
Unlike the protein variations in this family, there’s no historical or regional claim to make here — the Instant Pot and slow cooker are recent Western kitchen appliances with no place in traditional Korean cooking.
The word 찌개 (jjigae) comes from a verb root meaning “to stew” or “to simmer down,” and the dish itself traditionally cooks over direct stovetop heat, often finished and served bubbling in a ttukbaegi stone pot. That method — build a fond, deglaze with kimchi, simmer until tender — has no equivalent step in either appliance covered here, which is exactly why the technique needs real adaptation rather than a simple appliance swap.
The Instant Pot and its electric-pressure-cooker peers became mainstream kitchen tools largely in the 2010s; slow cookers considerably earlier, as a staple of American home cooking from the 1970s onward. Korean home cooks and food bloggers adopting these appliances for kimchi jjigae are doing the same thing home cooks everywhere do with any traditional dish and a new kitchen tool — adapting for convenience, not claiming the adaptation is more authentic or “correct” than the original.
Instant Pot vs Slow Cooker — Two Methods Compared
This is the real fork in the road on this page — not a cut or a protein, but which appliance actually fits your day. We tested both across 3 batches each. Neither wins outright; they solve different problems.

- Saute pork and kimchi first — pressure cooking builds no fond of its own
- Pressure cook 15-20 minutes on high
- Natural release (partial or full) before opening
- Add tofu after the lid comes off, finish on Saute
Result: About 45 minutes total including pressure build and release — genuinely faster than the stovetop, though less than the headline “15 minutes” suggests once you count the full cycle.

- Sauteing first is optional but improves the result — see Household Technique Variations below
- 6-8 hours on low, ready to eat from around hour 5
- No pressure mechanics, no release step to manage
- Tofu still added only in the final 20-30 minutes
Result: A true walk-away method for a full workday — some tasters find the low, slow cook gives a slightly more melded flavor than pressure cooking achieves in minutes.
Method Comparison at a Glance
| Factor | Instant Pot | Slow Cooker |
|---|---|---|
| Total Time | ~45 min (including pressure build + release) | 6-8 hours |
| Hands-On Time | ~15-20 min (sauteing, monitoring release) | ~10 min (sauteing, if used) |
| Requires Attention? | Yes, at start and during release | No — genuine walk away |
| Best Use Case | Same-day dinner, faster than stovetop | Prep in the morning, ready by dinner |
| Risk Factors | Burn notice if liquid too low; hot valve spray on quick release | Can turn watery with no evaporation; low attention to seasoning drift over hours |
Key Terms — Language & Food Science Entities
These terms define the appliance mechanics specific to this page — see the full silo glossary on the Kimchi Jjigae Hub for terms shared across the whole family.
Which Pressure Release Method to Use — Four Options Ranked
This is a decision unique to the Instant Pot method, and it genuinely affects texture and safety — not just how long you wait.

Let pressure drop entirely on its own, no valve touched. Most tender result, zero risk of hot liquid spitting from the valve.
⭐ Best Result
Wait 10 minutes for pressure to drop naturally, then vent the rest. The most common real-world compromise — nearly as tender, meaningfully faster.
✅ Best Balance
Vent immediately with no natural release at all. Fastest, but real risk of hot, foamy kimchi broth spitting from the valve — a fermented liquid behaves differently than plain water or stock.
❌ Use With Caution
Cooking in a separate container on a rack inside the pot — useful for avoiding burn notices with especially thick sauces, though not typically necessary at this recipe’s standard liquid ratio.
Situational, Not RequiredHow Households Actually Adapt This for Their Appliance
These aren’t regional styles — they’re genuine, documented technique choices found across tested recipes, each with a real trade-off rather than a single “correct” method.

Kimchi, meat, and liquid all go in together for the full slow-cook time. Softer, more melded kimchi texture — the simpler approach, and this recipe’s default.
This Recipe’s Base
Braise the protein alone for most of the cook time, then stir the kimchi in for only the final 20-30 minutes on high. A tested, genuine alternative that preserves more of the kimchi’s own texture and bite.
More Kimchi Texture
Some tested recipes use reserved rice-rinsing water in place of plain water — a real, if optional, Korean home-cooking technique that adds subtle body and flavour to the broth.
Optional, Traditional Touch
Dumping raw meat and kimchi straight in and pressure cooking with no browning at all. Genuinely faster, but produces a noticeably flatter, less savoury result — see Why This Works above for the mechanism.
Not RecommendedWhich Kimchi Stage to Use — Instant Pot & Slow Cooker Guide
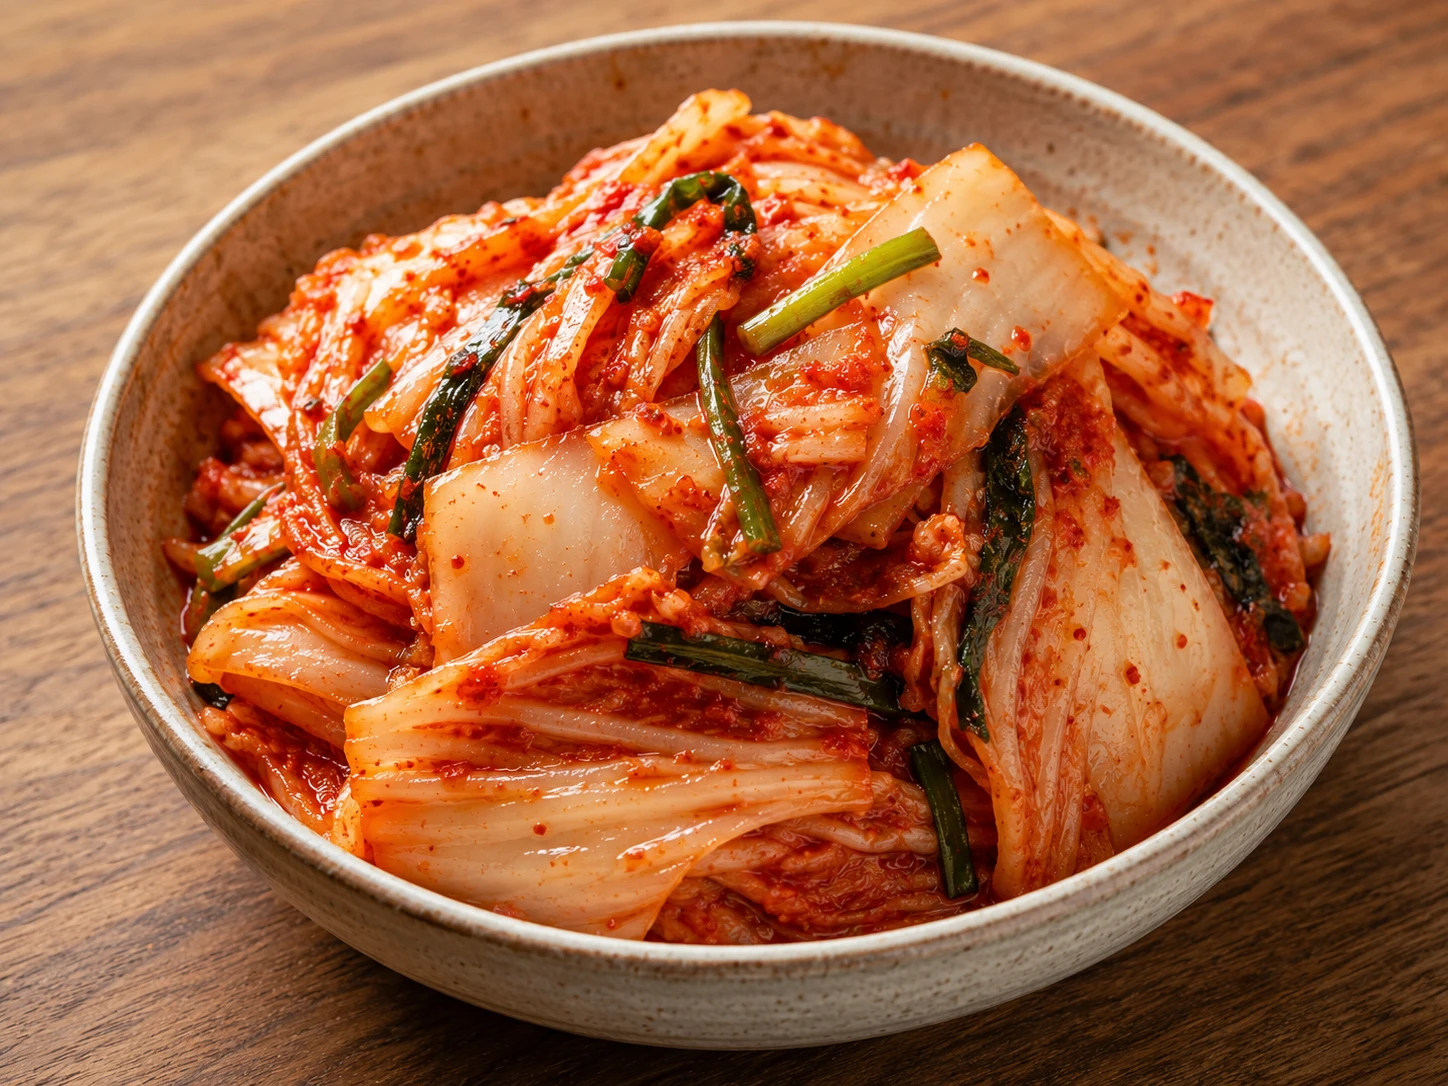
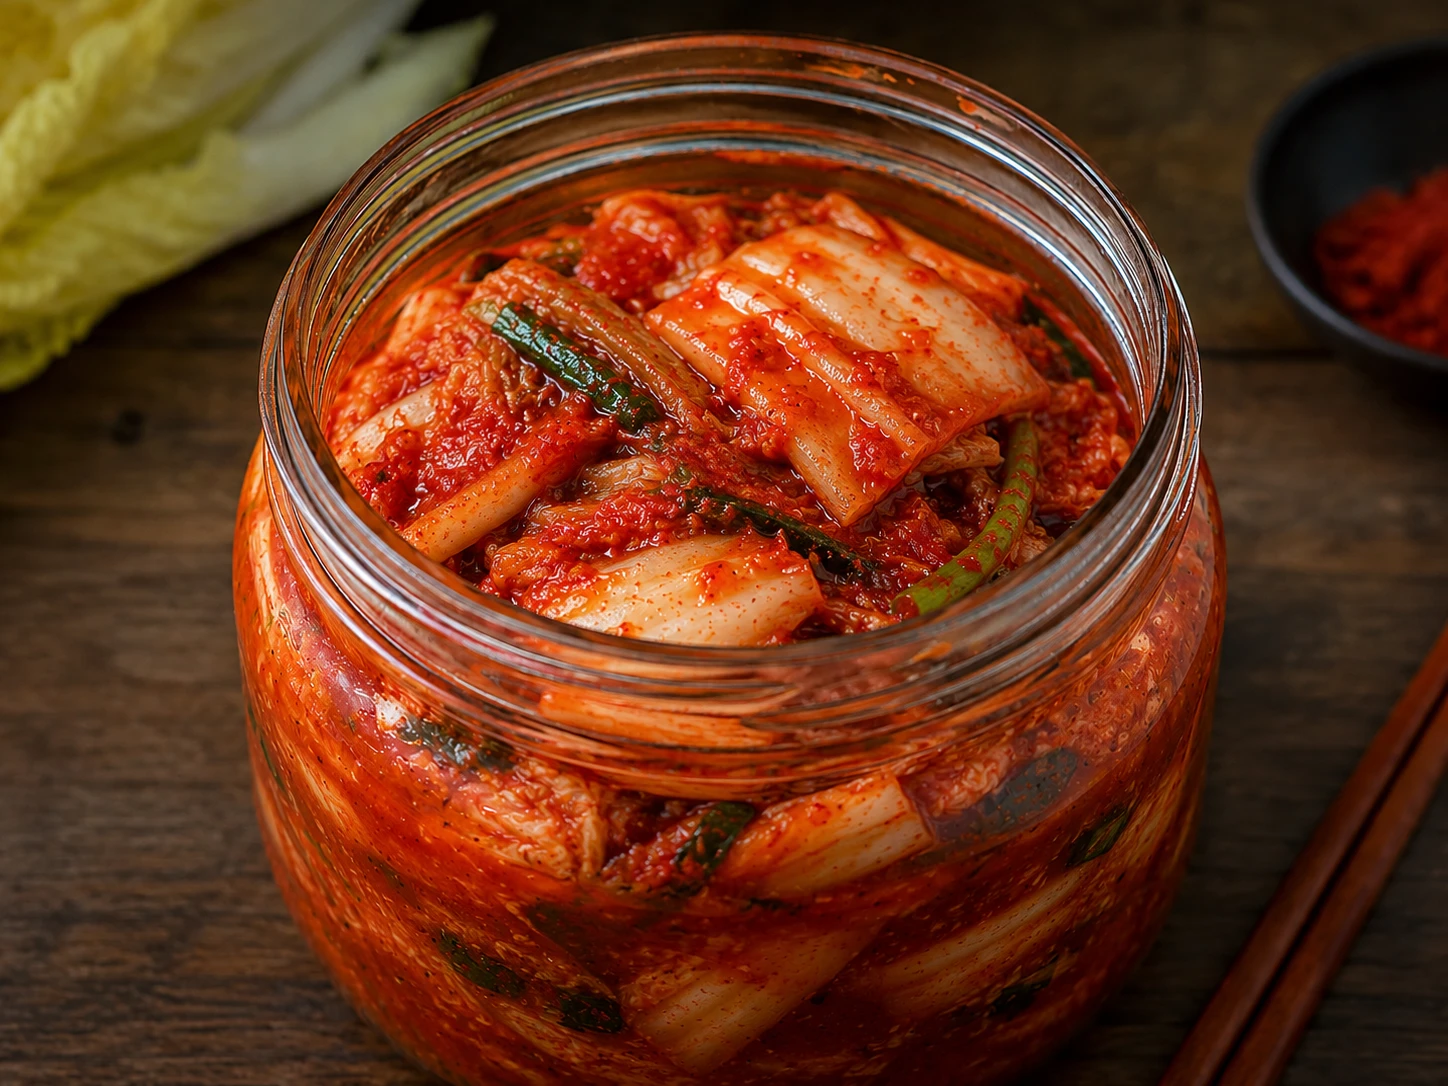
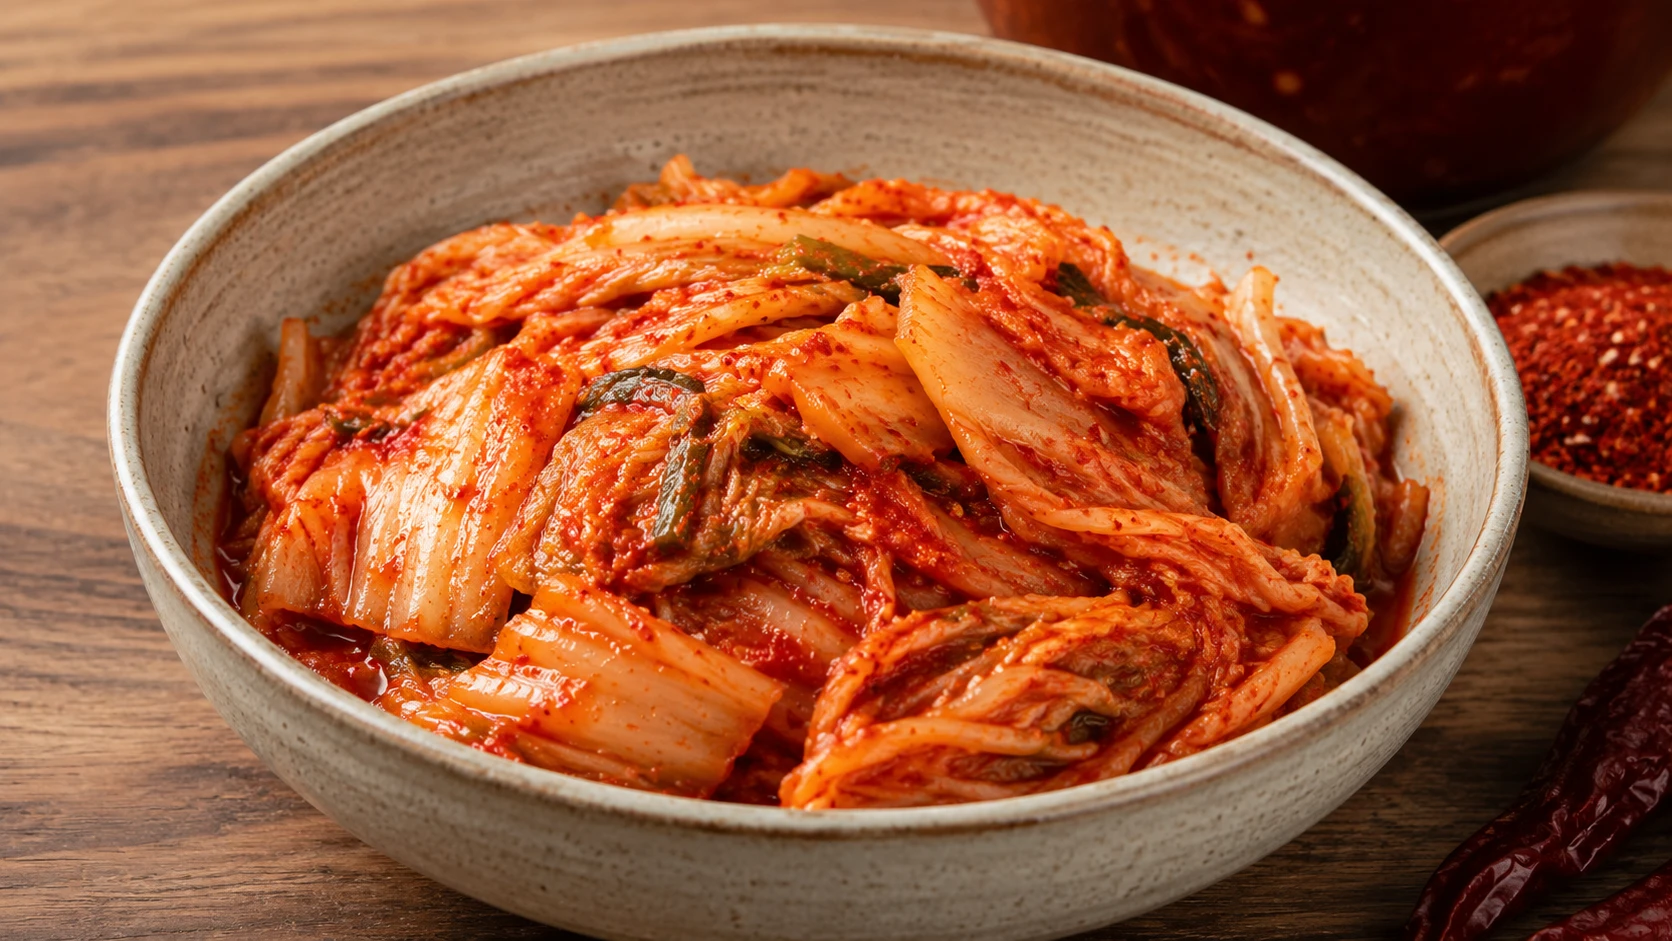
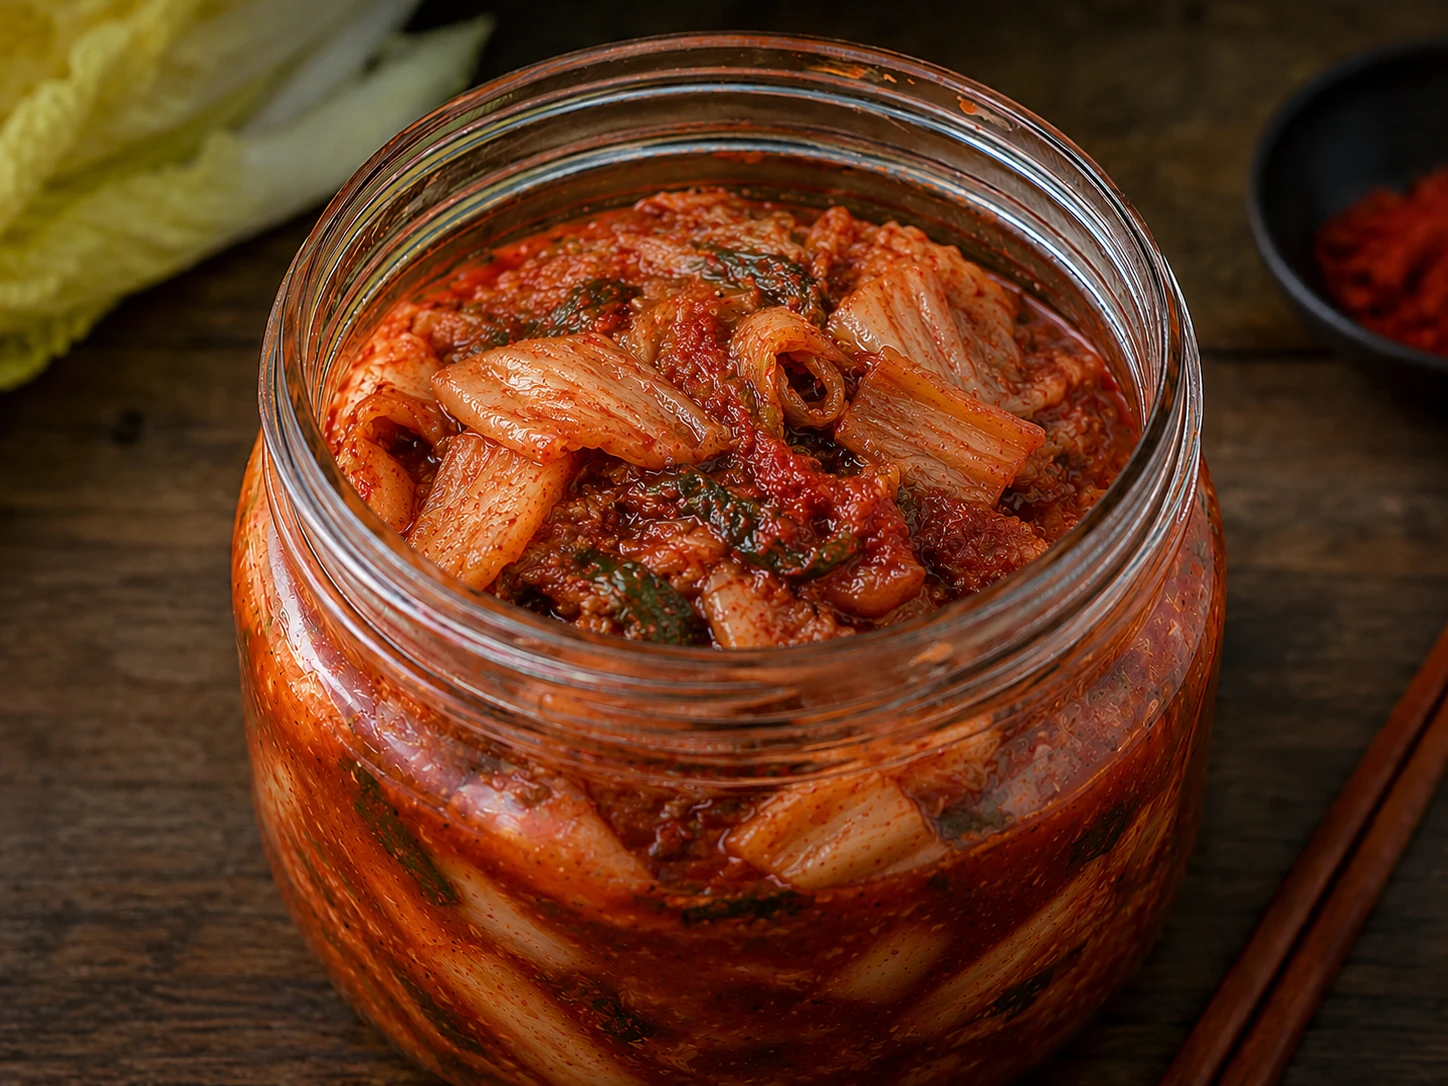
Fermentation stage and appliance are independent variables — Stage 3 remains the correct default whether you’re cooking on the stovetop, in an Instant Pot, or in a slow cooker.
Seasonal Adjustments — Summer vs Winter
The core recipe doesn’t change by season, but which appliance makes sense genuinely does.
- Kimchi ferments noticeably faster in summer heat — check it 3-5 days earlier than the timeline in the kimchi-stage guide above suggests
- A sealed Instant Pot adds far less ambient heat to a hot kitchen than 6-8 hours of a slow cooker running, or an open stovetop pot
- Faster total time also means less time near a hot appliance during warm months
Result: If you’re choosing between the two purely for summer comfort, the Instant Pot’s shorter total run time is the more practical choice.
- Kimchi ferments more slowly in cold storage — Stage 3 (3-6 weeks) is a reliable timeline, and over-ripe Stage 4 kimchi is far more commonly on hand in winter households
- A slow cooker running for 6-8 hours adds genuinely welcome ambient warmth to a cold kitchen, which isn’t a factor worth dismissing
- Winter is traditionally when jjigae is eaten most often in Korean households, and a walk-in-the-door-to-dinner-ready slow cooker fits a short winter afternoon well
Result: Both appliances work year-round, but the seasonal trade-offs genuinely favor Instant Pot in summer and slow cooker in winter.
How Difficult Is This Compared to the Stovetop?
Genuinely easier in one way (less active attention) and harder in another (real appliance-specific mechanics to learn) — beginner-friendly overall, but not zero-learning-curve the way marketing for these appliances sometimes implies.
Equipment — Which Size Instant Pot or Slow Cooker
Pot size directly affects the minimum-liquid rule and the total cook time — getting this wrong is the single most common cause of a frustrating first attempt with either appliance.
| Appliance & Size | Minimum Liquid | Fits This Recipe? | Notes |
|---|---|---|---|
| 6-Quart Instant Pot ⭐ | ~1 cup thin liquid | Comfortably, at this recipe’s stated quantities | The most common size, and what this recipe is written for |
| 8-Quart Instant Pot | ~1.5 cups thin liquid | Yes, with extra liquid | Add an extra ½-1 cup liquid; keep the pressure-cook time the same |
| 3-Quart (Mini) Instant Pot | Check manufacturer minimum | Only at reduced quantities | Halve the recipe rather than risk an undersized batch not reaching pressure properly |
| 4-7 Quart Slow Cooker | No pressure minimum — this rule doesn’t apply | Yes, standard size range | No burn-notice risk the way a pressure cooker has, but can run watery — see Troubleshooting below |
Ingredients + Scaler
This recipe uses pork belly as the default, but the ingredient list itself is identical to the stovetop version — the timing and technique below are what genuinely change for these appliances.

Substitutions & Allergen Notes
Because this page is about technique rather than a fixed protein, nearly every substitution question comes down to timing, not whether the swap works at all.
Sourcing Guide — Finding Ingredients & Equipment
The kimchi jjigae ingredients themselves are easy mainstream finds; the appliance is the one purchase decision genuinely worth thinking through.
How to Make Kimchi Jjigae in an Instant Pot or Slow Cooker
Two full methods, not one recipe with a footnote. Follow whichever section matches the appliance you’re actually using.
Method A — Instant Pot (5 Steps)

Using the Saute function, brown the pork pieces for 3-5 minutes, stirring occasionally, until they develop some color. Don’t skip this — the sealed pressure-cooking stage that follows doesn’t brown anything.
Let the pot fully heat up before adding the pork — Saute mode on most Instant Pots takes a minute or two to reach temperature, and adding meat to a still-heating pot produces the same steamed, pale result as an under-heated stovetop pan.

Add the kimchi, garlic, and ginger directly to the pot and saute a further 3-5 minutes, scraping up any browned bits left by the pork.
Still using Saute mode here — the pressure-cooking stage comes after this, not during it. Take the extra couple of minutes to get a genuinely dry-ish saute rather than a wet one; excess liquid at this stage just extends the time needed to build pressure later.

Pour in the stock, kimchi brine, gochugaru, and onion. Stir the gochujang in fully rather than dropping it on top — it’s thick enough to sit on the pot bottom and contribute to a burn notice if it’s not incorporated. Close the lid, seal the valve, and pressure cook on high for 15-20 minutes.
Confirm the stock quantity meets your pot’s minimum-liquid threshold before sealing — see the Equipment section above. This is the single most common point of failure for first-time Instant Pot cooks with this recipe.

Allow a natural release for at least 10 minutes before switching to quick release for any remaining pressure — or let it release fully naturally if you’re not in a hurry. See the Release Method comparison above for the full trade-offs between the two.
Keep your face and hands away from the valve during quick release regardless of which release path you choose — kimchi’s fermentation means the liquid can behave slightly differently (more foam, more force) than a plain stock or water-based dish.

Switch back to Saute mode, stir in the cubed tofu and spring onions, and simmer uncovered for 3-5 minutes until heated through. Finish with sesame oil, taste, and adjust salt. Serve hot with rice.
This final Saute stage also gives you a chance to reduce the broth slightly if it seems thinner than expected — pressure cooking doesn’t allow the evaporation a stovetop simmer does, so a few minutes uncovered here helps.
Method B — Slow Cooker (4 Steps)
In a skillet, brown the pork for 3-5 minutes, then saute the kimchi, garlic, and ginger in the same pan for another 3-5 minutes. Transfer everything to the slow cooker.
This step is genuinely optional here in a way it isn’t for the Instant Pot — a slow cooker’s long, low cook will still produce a flavorful result without it. But the extra depth from sauteing first is worth the ten minutes if you’re not in a rush to get everything into the pot.
Add the stock, kimchi brine, gochugaru, gochujang, onion, and the sauteed pork and kimchi (or raw, if skipping step 1) to the slow cooker. Stir to combine.
See the Household Technique Variations section above for the alternative “late-kimchi” approach, where the kimchi is held back and added only in the final 20-30 minutes for a different texture result.
Cover and cook on low for 6-8 hours, stirring occasionally if you’re home to do so. The dish is technically edible from around the 5-hour mark, but the additional hours build more tenderness and a more melded flavor.
This is a genuine walk-away stage — no monitoring required, which is the entire point of the method.
In the final 20-30 minutes, stir in the cubed tofu and spring onions, cover, and finish cooking. Drizzle with sesame oil, taste, and adjust salt before serving hot with rice.
If the broth tastes watery at this point, remove the lid for the last 20-30 minutes instead of leaving it covered — slow cookers don’t allow the evaporation a stovetop or Instant Pot achieves, so this is a genuinely useful late fix.
What We Tested Across Both Appliances
Four variables decide whether this genuinely rivals the stovetop version or falls short of it. Here’s what we found.
The biggest surprise across all four batches: both appliances still reward the same fundamentals as the stovetop version — building flavor before sealing the lid, and respecting how each method actually cooks. Treating either as a truly hands-off dump-and-walk-away method (skipping the saute stage entirely) produced the worst result in every single comparison.
Troubleshooting — Common Mistakes & How to Fix Them
Most problems with this recipe trace back to one of six issues below — here’s what causes them and how to correct course.

Instant Pot & Slow Cooker Kimchi Jjigae
Saute-then-seal method · Stage 3 kimchi · 45 min (IP) or 8h (SC) · ~310 calories, 19g protein
- 1.5 cups anchovy-kelp stock or water (at/above IP minimum)
- 1.5 cups aged kimchi (Stage 3), chopped
- 3 tbsp kimchi brine
- 1 tbsp gochugaru
- 1 tbsp gochujang, stirred in fully
- 3 cloves garlic, minced
- 1 tsp ginger, minced
- ½ onion, sliced
- 300g pork belly, sliced (or chicken/beef)
- 200g firm tofu, cubed — add after pressure/late in slow cook
- 2 spring onions, sesame oil, salt to taste
- Instant Pot: Saute pork 3-5 min, then kimchi 3-5 min.
- Add liquid + seasonings, seal, pressure cook 15-20 min high.
- Natural release 10+ min, then quick release remainder.
- Add tofu, saute-finish 3-5 min. Serve hot with rice.
- Slow Cooker: saute (optional), add all but tofu, cook low 6-8h, add tofu last 20-30 min.
The Kimchi Jjigae Family — 13 Variations
This is page 7 of a growing 13-recipe family, all built on the same aged-kimchi base. The Kimchi Jjigae Ultimate Guide → compares every variation as it’s published.


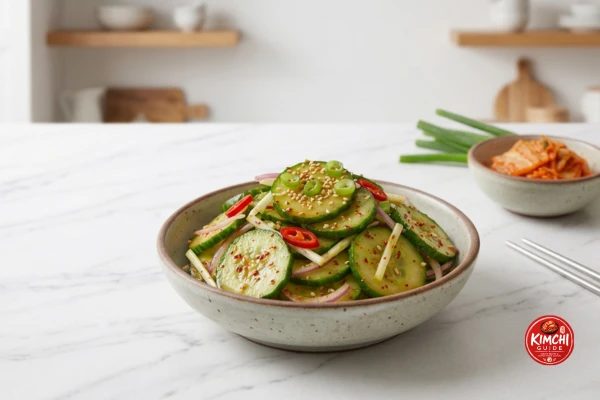
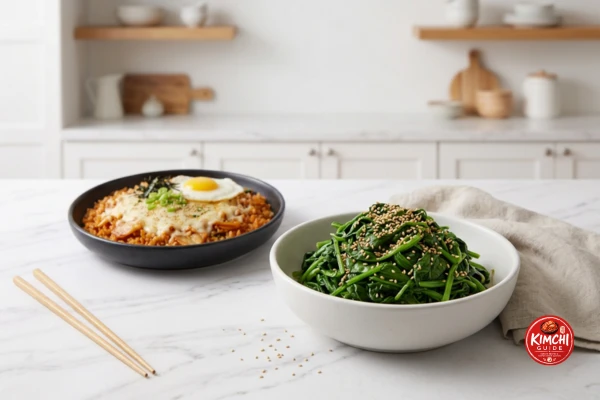
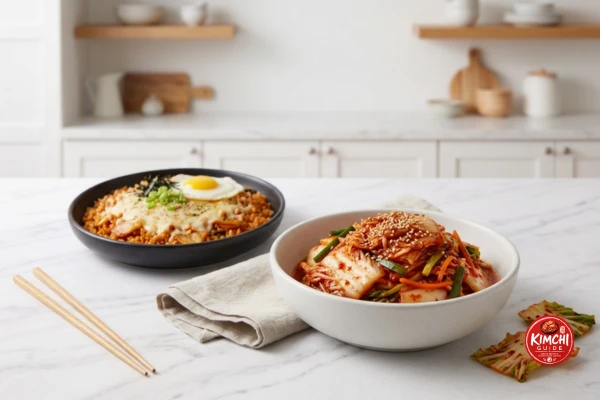
Pairing Guide — Instant Pot & Slow Cooker Version
Since this recipe defaults to pork belly, the standard pairings for the classic version apply here too — the appliance doesn’t change what goes well alongside it.

Restaurant vs Stovetop vs Appliance — Three Ways Compared
Restaurants almost universally cook this dish on a stovetop burner, not in either home appliance — the real comparison worth making is stovetop technique versus the two hands-off methods this page covers.
| Factor | Restaurant / Stovetop | Instant Pot | Slow Cooker |
|---|---|---|---|
| Total Time | ~35-40 min, active | ~45 min, mostly hands-off | 6-8 hours, fully hands-off |
| Browning Control | Full control, visible throughout | Full control via Saute mode, but easy to rush | Optional pre-step, easy to skip entirely |
| Evaporation/Reduction | Natural, broth reduces as it cooks | None — broth stays thin unless finished uncovered | None — most prone to a watery result |
| Attention Required | High — stovetop needs monitoring | Low — mostly walk-away once sealed | Very low — genuine set-and-forget |
| Best Fit | Cooking now, actively home in the kitchen | Want dinner within the hour, hands mostly free | Away from home most of the day |
Storage & Reheating
Storage doesn’t change based on which appliance made it — once cooked, this behaves like any other pork jjigae in the fridge or freezer.
Meal Prep — This Is Genuinely the Point of Both Methods
Batch cooking isn’t an afterthought here — it’s the entire reason most people reach for these appliances in the first place.
Detailed Nutrition Comparison — Instant Pot & Slow Cooker Version
A complete per-serving breakdown, reviewed by Dr. Sarah Mitchell RD, PhD, using pork belly as this recipe’s default protein — figures shift if you substitute chicken or beef per the substitutions above.
Nutrition Facts
Per serving — recipe makes 4 servings
Where This Sits in the Family (By Default Protein)
| Variation | Calories | Protein | Sat. Fat | Best For |
|---|---|---|---|---|
| Kimchi Guk | 130 | 9g | 1g | Lightest, lowest-sodium option in the family |
| Seafood Jjigae | 210 | 20g | 1.5g | Leanest jjigae-format option |
| Vegetarian | 220 | 13g | 2.5g | Meatless without going fully vegan |
| Chicken | 280 | 25g | 3g | Highest protein, significantly leaner than pork |
| Classic (Pork) | ~320 | 18g | ~7g | Coming soon — the family’s pillar recipe |
| Instant Pot/SC (Pork) ← This page | 310 | 19g | 6g | Same nutrition profile as Classic, adapted for either appliance |
| Beef | 340 | 24g | 8g | Richest, most indulgent option in the family |
Sources & Further Reading
The food-science and nutrition claims on this page are cross-checked against the following references.
Instant Pot & Slow Cooker Kimchi Jjigae FAQ — 20 Questions
15-20 minutes on high pressure for pork belly cut into 1-inch pieces, followed by at least a partial natural release. Some tested recipes go as long as 25-30 minutes for extra-tender skin-on pork belly or a fuller “soup mode” cook — the range genuinely varies by cut and desired tenderness.
Natural release (letting the pot sit until pressure drops on its own) generally gives more tender meat and avoids hot, foamy liquid spitting from the valve — a real risk with a fermented, somewhat frothy liquid like kimchi broth. Many tested recipes use a partial natural release (5-10 minutes) followed by quick release for the remainder, balancing safety with speed.
Almost always insufficient thin liquid, or gochujang settling directly on the pot’s bottom before enough steam builds. Instant Pot’s own liquid minimums are roughly 1 cup for standard-size pots and 1.5 cups for 8-quart models — thick ingredients like gochujang don’t count toward that minimum. Stir it into the stock rather than dropping it in on top.
At least 1 cup of thin liquid for a standard 6-quart Instant Pot, or 1.5 cups for an 8-quart model — this is the minimum needed to generate enough steam to seal and pressurize, regardless of what the rest of the recipe calls for.
6-8 hours on low is the standard range across tested recipes, though the dish is technically edible from around the 5-hour mark — the extra hours make the meat more tender and the flavors meld further rather than being strictly necessary.
Both approaches are genuinely used. Dumping everything in at the start for the full cook time gives a softer, more melded kimchi texture. A tested alternative technique braises the protein alone for most of the time, then stirs in the kimchi for just the final 20-30 minutes on high to preserve more of its texture and bite — a real trade-off, not a right-or-wrong choice.
After, in both methods. Tofu is already fully cooked when you buy it, so it only needs to be warmed through — adding it at the start of a multi-hour slow cook or a 15-20 minute pressure cook breaks it down into mush.
Instant Pot is faster (45 minutes to an hour total, including pressure build and release) and better for a same-day dinner. Slow cooker is a genuine set-and-forget option for a whole workday, and some tasters find the low, slow cook gives a slightly more melded flavor. Neither is objectively better — see the comparison section above for the specifics.
Less than it first appears. The pressure-cooking step itself is faster, but building up to pressure and then releasing it both take real time — several tested sources note the total time savings shrink once you count the full cycle, not just the active pressure-cook minutes.
A 6-quart Instant Pot comfortably fits this recipe at the stated quantities; an 8-quart works too with the higher liquid minimum. For a slow cooker, most tested recipes use a 4-7 quart model.
Yes — pork belly, chicken thigh, and beef chuck or short rib all work in both the Instant Pot and slow cooker, following the timing guidance in the comparison sections above rather than the stovetop times used elsewhere in this recipe family.
Yes, and this is a widely reported real quirk, not something wrong with your machine — silicone gaskets absorb odors readily. Many owners keep a dedicated second sealing ring for strongly flavored foods like this.
No — this is a modern Western-kitchen adaptation using appliances that don’t have a place in traditional Korean cooking. It’s an honest technique adaptation for convenience, not a claim to authenticity.
Yes, if you prefer — it saves a small amount of time waiting for the Instant Pot to heat up for sauteing, though it does mean an extra pan to wash. Either approach works equally well for the final result.
Moderately, from the standard gochugaru and gochujang combination. Reduce gochugaru to 2 teaspoons for a milder result, or increase for more heat.
Stage 3 aged kimchi (3-6 weeks, pH approximately 4.2) is correct for both methods, same as the stovetop recipes in this family.
Yes — like most braised dishes, this holds and reheats well, and the slow cooker version in particular tends to taste even better the next day as flavors continue to meld.
Yes, but increase the liquid proportionally to stay above the pressure-cooking minimum for your pot size, and expect the slow cooker version to need slightly longer to come up to temperature with a larger volume.
Slow cookers don’t allow evaporation the way a stovetop pot does, so liquid that would normally reduce stays in the pot. Use slightly less liquid than a stovetop recipe calls for, or remove the lid for the last 30-60 minutes to let some steam escape.
Not recommended — rice cooker stew settings aren’t designed for the pressure or extended low-heat cooking this dish benefits from, and results are inconsistent across brands. Stick to a true Instant Pot, other electric pressure cooker, or slow cooker.

Questions & Comments
Instant Pot or slow cooker? Leave a question below — Ji-Young reads and responds to every comment.
Your email will not be published. All comments are reviewed before appearing.