Mackerel Kimchi Jjigae (고등어 김치찌개 — Godeungeo Version)
The same aged-kimchi base as the classic recipe, built on canned mackerel (godeungeo-tongjorim) instead of pork belly — one of Korea’s most traditional, budget-friendly, camping-trip-and-dorm-room comfort stews. The canning brine doubles as a seasoned stock, and mackerel’s natural oiliness makes this the richest, most omega-3-dense variation in the family.
What Is Mackerel Kimchi Jjigae?
Mackerel kimchi jjigae — 고등어 김치찌개 — is the same Stage 3 aged-kimchi stew as the rest of the family, built on canned mackerel (godeungeo-tongjorim) instead of pork belly or chicken. The two things that make this version work: using the canning brine, not just the drained fish (it’s already a seasoned stock), and adding the mackerel gently near the end rather than stirring it in — the fillets are delicate and break apart easily. Get both right and you get one of Korea’s most traditional, economical, and flavour-packed jjigae formats — genuinely rich in omega-3s, not just calories. Serves 4 in about 30 minutes at approximately 310 calories and 22g protein per serving.
Why This Version Works — Traditional, Not a Shortcut
Canned mackerel can sound like a budget compromise next to browned pork belly or chicken thigh — in practice, it’s the traditional format for this specific stew, and the technique that makes it work is almost the opposite of the meat-based versions.

Canned mackerel is packed in a seasoned brine, not plain water — pouring that liquid into the pot along with the fish adds real, built-in flavour that would otherwise take a separate stock to achieve. Draining and discarding it before adding the fish is one of the most common mistakes home cooks make with this dish.

Canned mackerel is already fully cooked and its flesh is delicate once heated further — vigorous stirring breaks it into loose flakes throughout the broth rather than leaving tender pieces. This is the opposite problem from chicken thigh, which is genuinely hard to overcook; mackerel’s risk is entirely in how much you handle it, not how long it simmers.

Radish (mu) is optional in several other variations in this family, but it’s genuinely central here — simmered until tender, it absorbs mackerel’s oily richness and contributes a natural sweetness that balances the fish’s stronger, more assertive flavour in a way other vegetables in the pot don’t.

This is genuinely the highest-fat recipe in the published family so far, but that fat is overwhelmingly unsaturated omega-3, the same category found in salmon and sardines, not the largely saturated fat in pork belly. A “rich” mackerel jjigae and a “rich” pork jjigae are not nutritionally the same thing, even at similar gram counts.
Canned vs Fresh — Two Approaches Compared
Most recipes online just say “mackerel” without specifying canned or fresh — and for this specific stew style, that choice matters more than it might seem. We tested both across 3 batches.

- Pre-cooked during canning — no raw-fish safety concerns
- Bones softened by canning, safe and normal to eat
- Add straight from the can, brine included, near the end
- Ready in minutes — the standard format for this dish
Result: Tender, consistent, well-seasoned by its own brine. The genuinely correct format for this specific stew, not just the convenient one.

- Needs gutting, cleaning, and pin-bone removal
- Raw fish must cook through during the simmer
- Stronger, more variable “fishy” flavour
- Better suited to grilled or braised (jorim) preparations
Result: Workable, but genuinely more effort for a less predictable result in this specific soupy-stew format — most Korean home cooks default to canned for jjigae specifically.
Format Comparison at a Glance
| Format | Texture Result | When to Add | Bone Handling | Verdict |
|---|---|---|---|---|
| Canned ⭐ | Tender, pre-cooked, flakes gently | Last 5-8 min | Soft, edible | Traditional choice, always use this |
| Fresh Fillets | Firmer, more assertive flavour | From the start, 12-15 min | Must remove pin bones | Better for jorim or grilling instead |
Key Terms — Language & Food Science Entities
These terms define the technique and vocabulary specific to the mackerel version — see the full silo glossary on the Kimchi Jjigae Hub for terms shared across the whole family.
Which Mackerel Format to Use — Four Options Ranked
Beyond the basic canned-versus-fresh decision, here’s how all the common mackerel and near-substitute formats compare for this specific recipe.

The recipe as written. Pre-cooked, soft edible bones, ready straight from the can with its own seasoned liquid.
⭐ Best Choice
A close relative sold and used the same way — substitutes cleanly if mackerel isn’t available, slightly milder and less oily.
✅ Close Substitute
Needs gutting and bone removal, added earlier in the simmer to cook through — better suited to godeungeo-jorim or grilling.
Good Alternative Texture
Works in a pinch but produces a genuinely different, leaner dish — see the dedicated Tuna Kimchi Jjigae page instead.
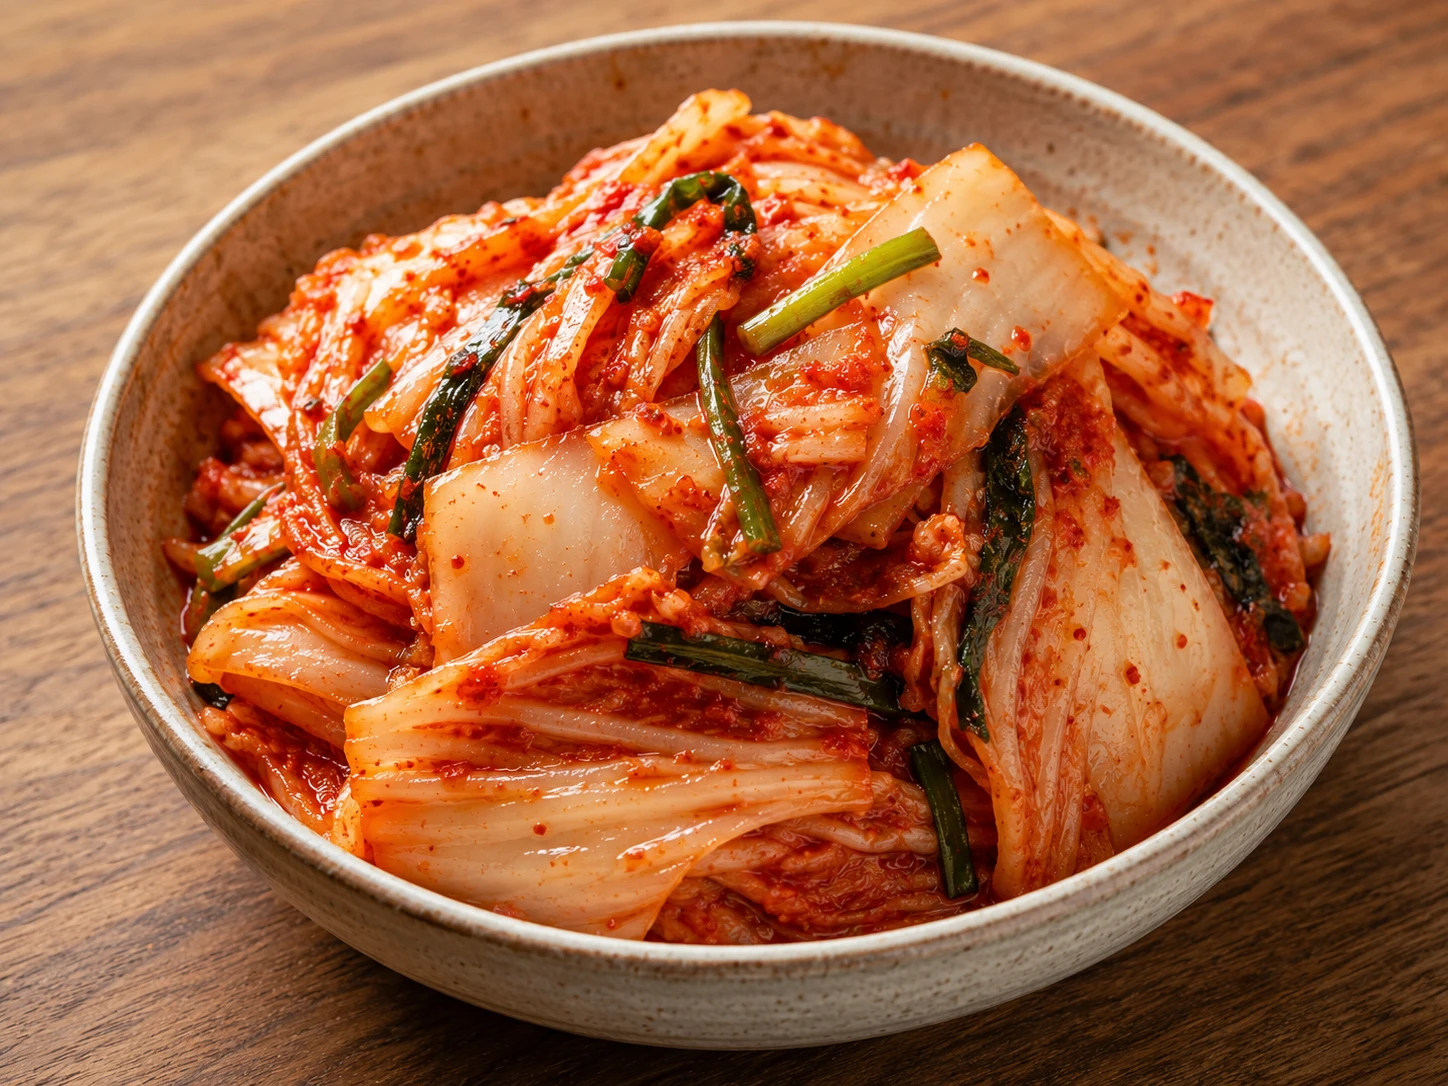
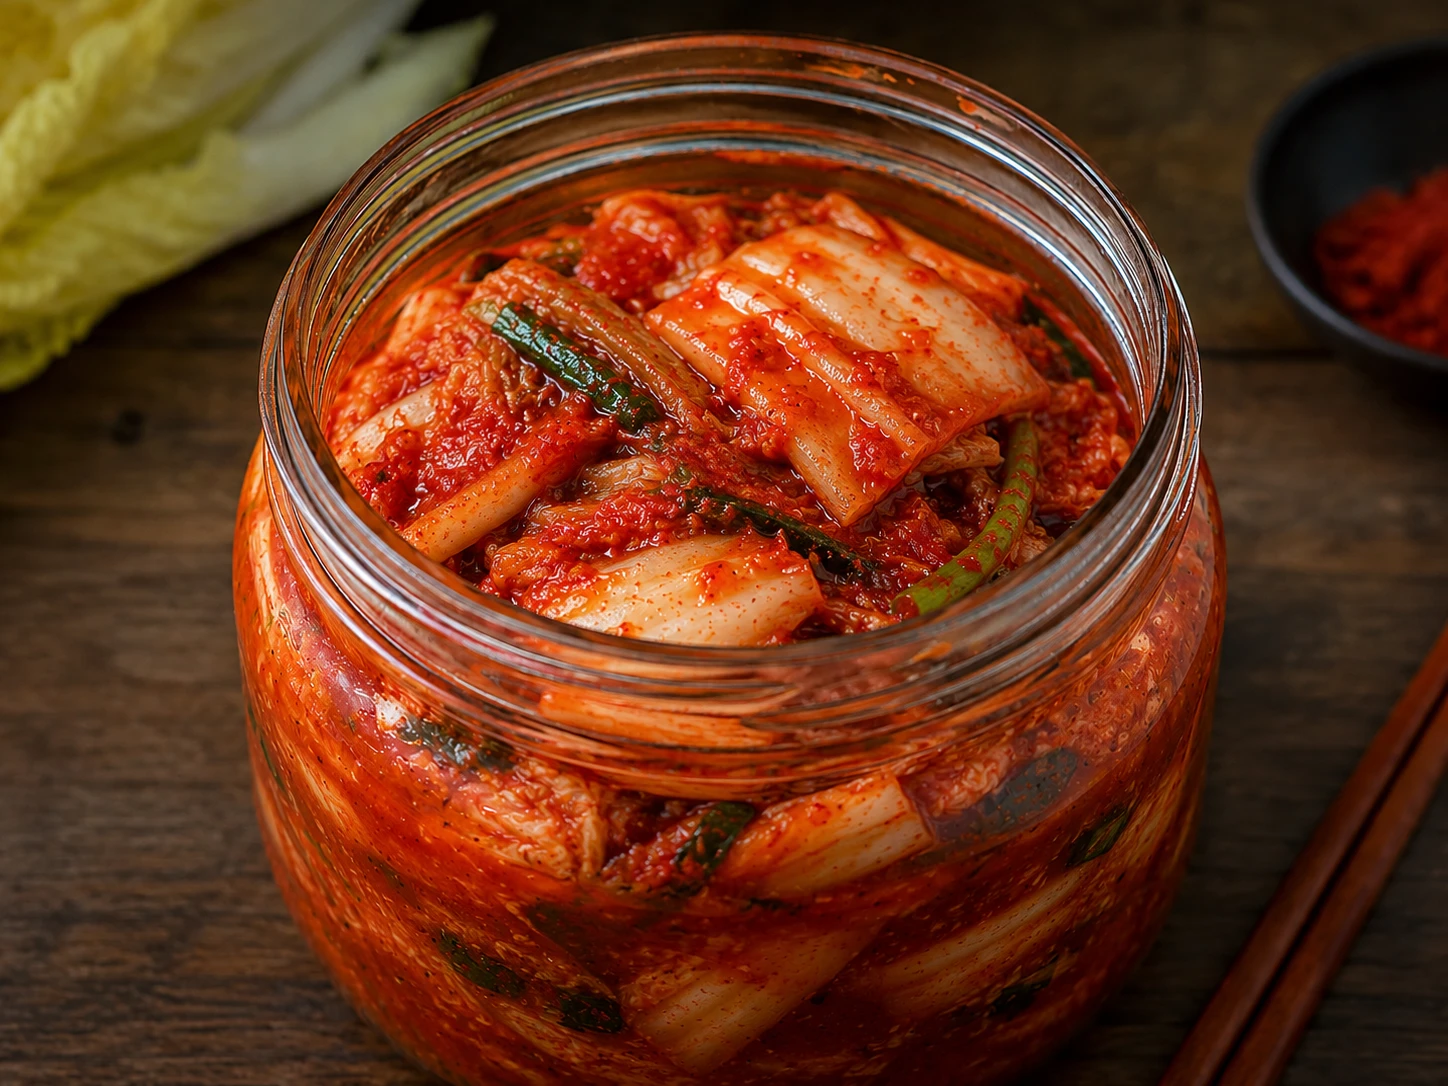
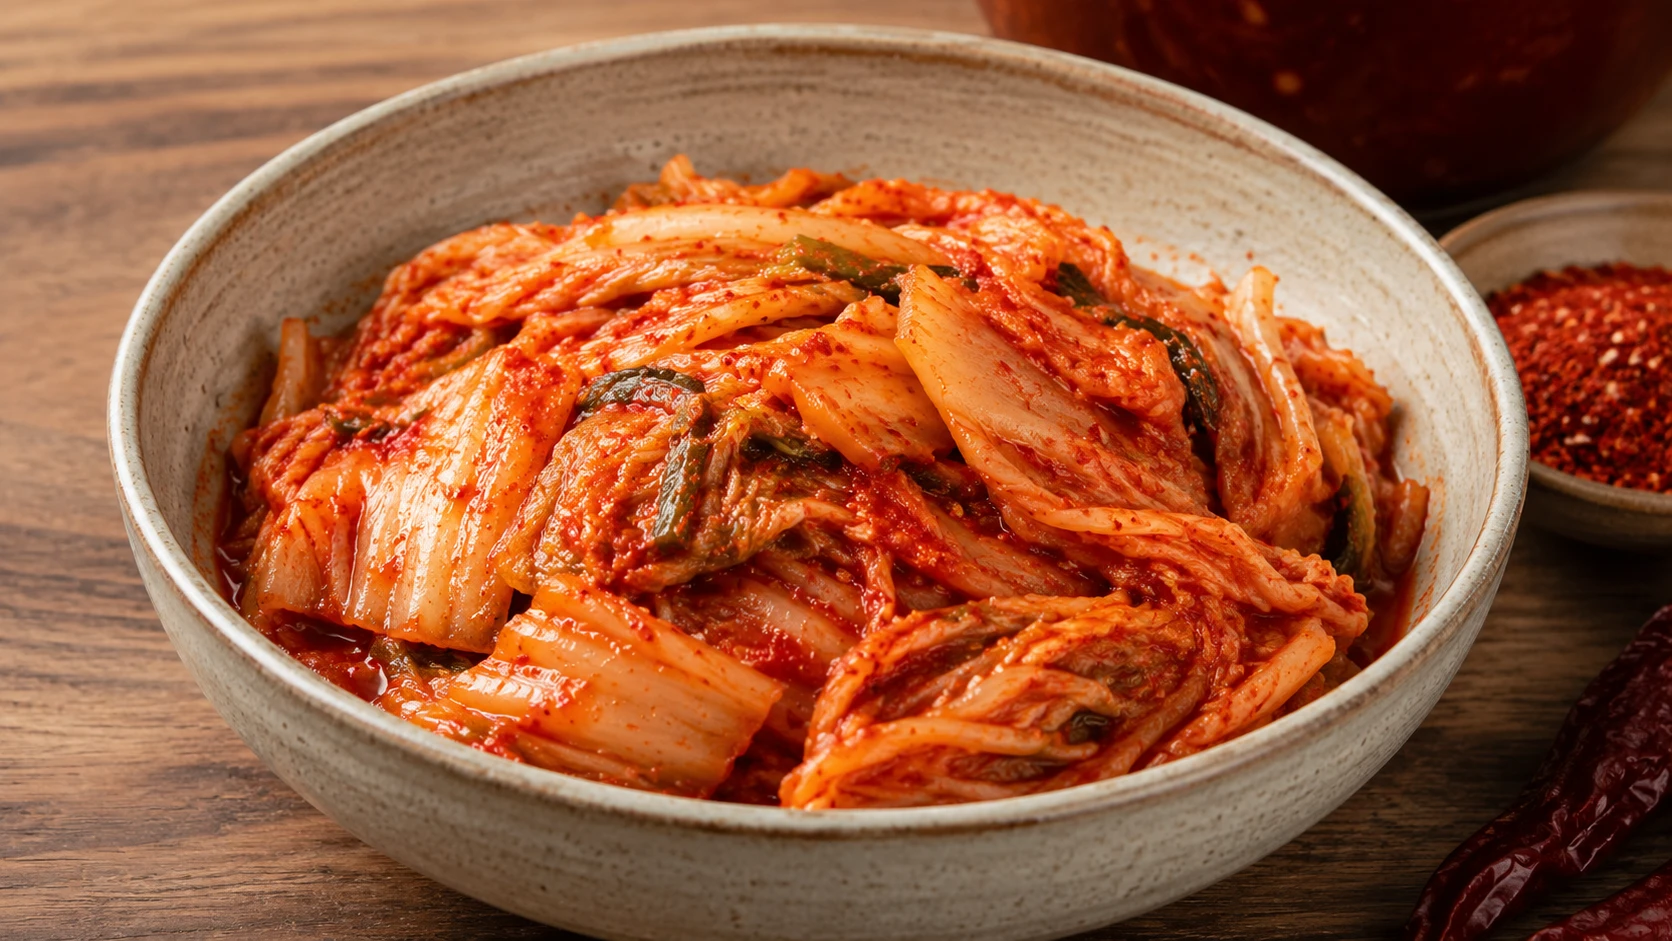
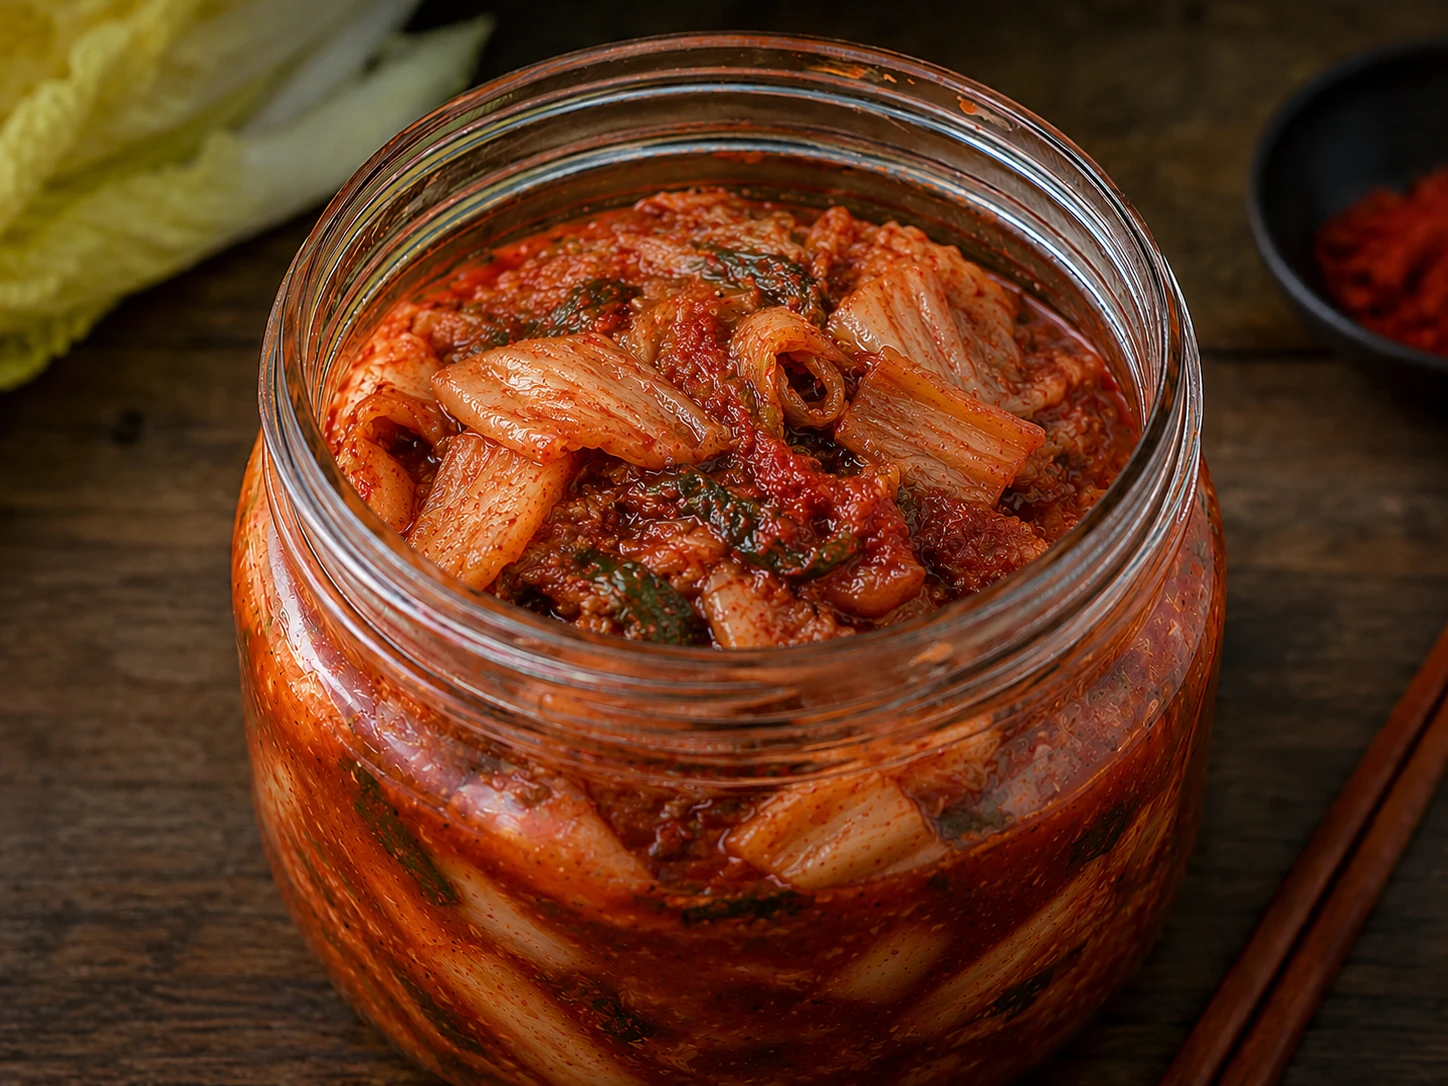
❌ Different Dish, Not a SwapWhich Kimchi Stage to Use — Mackerel Version Guide
Fermentation stage and protein choice are independent variables — Stage 3 remains the correct default whether you’re making the pork classic or this mackerel version.
How Difficult Is the Mackerel Version?
Genuinely one of the easiest recipes in the family — there’s no raw meat to brown or judge for doneness, since canned mackerel is already fully cooked.
Ingredients + Scaler
Canned mackerel (with its brine) and Korean radish are the two non-negotiables. Everything else follows the same base kimchi jjigae logic as the classic recipe.

How to Make Mackerel Kimchi Jjigae — 5 Steps
Five steps. The key difference from the meat-based versions: there’s no browning stage, since canned mackerel is already fully cooked — the technique instead centres on building the kimchi and radish base first, then adding the fish gently at the very end.

Heat a little oil in a pot and sauté the chopped kimchi for 2-3 minutes until it softens and smells fragrant, letting the edges caramelise slightly.
Because there’s no meat to brown before this stage, the kimchi itself does the flavour-building work that fond would do in the other versions — don’t rush straight to adding liquid. Give it the full 2-3 minutes so the sugars in the kimchi have time to develop.

Add stock, kimchi brine, gochugaru, gochujang, garlic, ginger, radish, and onion. Bring to a simmer and cook 12-15 minutes until the radish turns translucent and tender.
This is the stage doing the real work — radish needs real time to soften and absorb the broth’s flavour, and rushing it leaves an unpleasant raw-radish bite that a few extra minutes with the fish later won’t fix.

Gently nestle the canned mackerel fillets into the broth along with their canning liquid. Simmer 5-8 minutes without stirring vigorously, just to heat the fish through and let the flavours combine.
Because the mackerel is already fully cooked, this step is about temperature and flavour marriage, not doneness — resist the urge to break the fillets apart with a spoon; a gentle push to submerge them is enough.

If using, add the cubed tofu and sliced green chili, and simmer a further 3-4 minutes until heated through.
Tofu is optional in the traditional camping-style version of this dish but is a common home addition — add it gently for the same reason as the fish, so the cubes stay intact rather than crumbling into the broth.

Remove from heat, drizzle with sesame oil, taste and adjust salt, and scatter spring onions on top. Serve hot with rice.
Because mackerel’s flavour is much stronger and more assertive than chicken or tofu, taste carefully before adding extra salt — the canning brine and kimchi brine both already carry real sodium, and it’s easy to over-season this particular variation.
What We Tested for the Mackerel Version
Three variables decide whether this recipe tastes like a proper traditional jjigae or a broken-up fish soup. Here’s what we found.
Unlike the chicken variation, where a few extra minutes of simmering is genuinely forgiving, mackerel in this format can’t really overcook — it’s already fully cooked before it goes in the pot. The entire risk in this recipe is how much you stir it, not how long it simmers.

Mackerel Kimchi Jjigae (고등어 김치찌개)
Canned mackerel method · Stage 3 kimchi · 30 min · ~310 calories, 22g protein
- 3 cups anchovy-kelp stock (or water)
- 1.5 cups aged kimchi (Stage 3), chopped
- 3 tbsp kimchi brine
- 1 tbsp gochugaru
- 1 tbsp gochujang (optional)
- 3 cloves garlic, minced
- 1 tsp ginger, minced
- 1 cup Korean radish (mu), sliced
- ½ onion, sliced
- 1 can (400g) mackerel in brine, with liquid
- 200g firm tofu, cubed (optional)
- 1-2 green chili, spring onions, sesame oil, salt to taste
- Sauté kimchi in oil 2-3 min until fragrant.
- Add stock, brine, gochugaru, gochujang, garlic, ginger, radish, onion. Simmer 12-15 min until radish is tender.
- Gently add mackerel with its brine. Simmer 5-8 min without stirring vigorously.
- Add tofu and chili if using, simmer 3-4 min.
- Remove from heat, drizzle sesame oil, season carefully, top with spring onions. Serve hot with rice.
The Kimchi Jjigae Family — 13 Variations
This is page 4 of a growing 13-recipe family, all built on the same aged-kimchi base. The Kimchi Jjigae Ultimate Guide → compares every variation as it’s published.


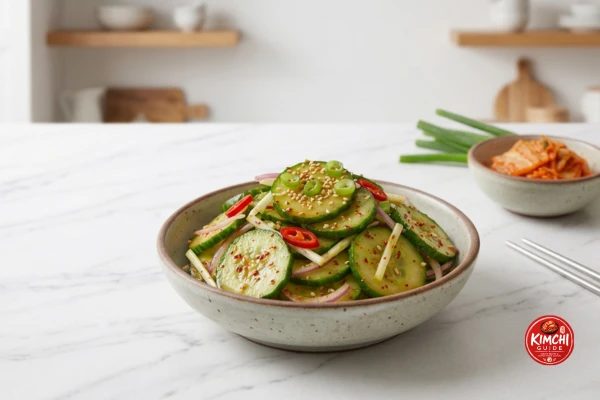
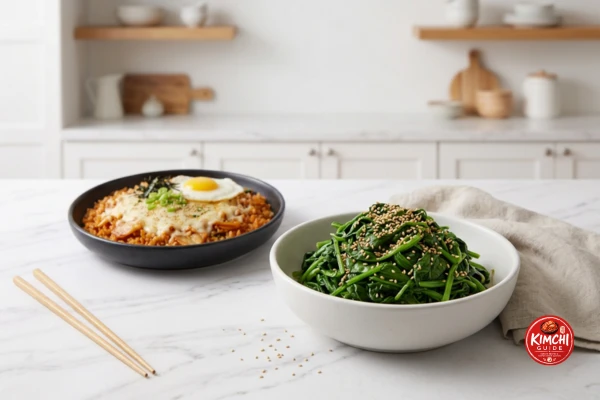
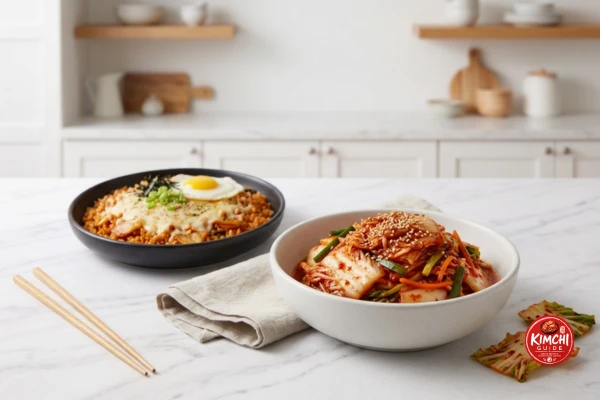
Pairing Guide — Mackerel Version
Because mackerel’s flavour is bold and oily, pairings here work best when they’re cool, crisp, or acidic enough to cut through the richness.

Storage & Reheating — Mackerel Version
Handle it a little more gently than the chicken version — the mackerel is already delicate, and it softens further with each day and reheat.
Detailed Nutrition Comparison — Mackerel Version
A complete per-serving breakdown, reviewed by Dr. Sarah Mitchell RD, PhD, alongside how this recipe compares to the rest of the kimchi jjigae family.
Nutrition Facts
Per serving — recipe makes 4 servings
How Mackerel Compares to the Rest of the Family
| Variation | Calories | Protein | Sat. Fat | Best For |
|---|---|---|---|---|
| Kimchi Guk | 130 | 9g | 1g | Lightest, lowest-sodium option in the family |
| Seafood Jjigae | 210 | 20g | 1.5g | Leanest jjigae-format option |
| Chicken | 280 | 25g | 3g | Highest protein, leanest meat-based option |
| Mackerel ← This page | 310 | 22g | 4g | Highest omega-3, most traditional and budget-friendly |
| Classic (Pork) | ~320 | 18g | ~7g | Coming soon — the family’s pillar recipe |
Mackerel Kimchi Jjigae FAQ — 16 Questions
Canned mackerel (godeungeo-tongjorim) is strongly recommended and is the traditional choice for this specific stew — it’s already fully cooked, its bones are softened by the canning process, and its brine adds built-in seasoning. Fresh mackerel works but needs cleaning and more careful handling, and is more commonly used for braised or grilled preparations instead.
No — the canning process softens the bones enough that they’re safe and normal to eat along with the flesh, the same way canned salmon bones are often eaten. This is one of the reasons canned mackerel is so convenient for this dish.
Yes — the canning liquid is a seasoned brine that adds real flavour depth to the broth. Draining and discarding it before adding the fish noticeably flattens the finished dish.
A few things help: use well-aged Stage 3 kimchi, since its acidity balances mackerel’s richness, don’t skip the radish, and add fresh ginger, which helps round out strong fish flavours in Korean cooking generally. A more recently opened can of mackerel also tends to taste milder than an older one.
Jjigae is a soupier stew with more broth relative to solids, meant to be eaten with a spoon alongside rice. Jorim (godeungeo-jorim) is a thicker braise with much less liquid and a soy-based sauce, more of a main dish eaten with chopsticks.
Yes — canned saury is a close relative and a common substitute in Korean home cooking, sold and used almost identically. Expect a slightly milder, less oily result.
It’s a genuinely strong source of omega-3 fatty acids, protein, and vitamin B12, since mackerel is one of the oiliest and most nutrient-dense common fish. It does run higher in sodium than most of the other jjigae variations, mainly from the canning brine.
Stage 3 aged kimchi (3-6 weeks, pH approximately 4.2) is correct here, same as the rest of the family — its acidity is especially useful for balancing mackerel’s stronger, oilier flavour.
Moderately, from the standard gochugaru and gochujang combination. Reduce gochugaru for a milder result, or increase it for more heat.
Yes — radish (mu) is a more central ingredient in this variation than in most others in the kimchi jjigae family, simmered until tender so it absorbs the broth’s oiliness and adds a natural sweetness that balances mackerel’s bolder flavour.
Yes — this is the single most important technique note for this recipe. Canned mackerel fillets are delicate once heated further, and vigorous stirring breaks them into loose flakes rather than keeping them as tender pieces.
Yes, though handle it gently when reheating. The fish holds together reasonably well for a day or two in the refrigerator, better than a fresh raw seafood stew would, but it continues to soften with each reheat.
It’s not recommended. Canned fish that’s frozen and thawed a second time tends to turn noticeably mushier and can lose texture, more so than chicken or tofu would under the same freezing.
Mackerel is a noticeably oilier, richer, more strongly flavoured fish than canned tuna, which is leaner and milder. The tuna version is the lighter, more budget-friendly option; mackerel is the richer, more traditionally camping-and-home-cooking-associated one.
It can be — use a gluten-free gochujang brand and confirm your kimchi doesn’t contain wheat-based ingredients. Plain canned mackerel in brine, radish, and stock are all naturally gluten-free.
Yes, but add them earlier in the simmer since they need to cook through, unlike pre-cooked canned fish, and expect a stronger, more variable fishy flavour depending on freshness. Clean and remove pin bones carefully first.




Questions & Comments
Did you use canned or fresh mackerel? Leave a question below — Ji-Young reads and responds to every comment.
Your email will not be published. All comments are reviewed before appearing.