Kimchi Fried Rice with Pork Belly (삼겹살 김치볶음밥 — Samgyeopsal Kimchi Bokkeumbap)
The move most recipes skip: starting the pork belly in a cold pan so the fat renders slowly instead of searing before it’s had time to melt. That’s the entire difference between crisp, tender edges and a chewy, rubbery bite. 30 minutes, one wok.
What Is Kimchi Fried Rice with Pork Belly?
Kimchi fried rice with pork belly — samgyeopsal kimchi bokkeumbap (삼겹살 김치볶음밥) — is Korean fried rice built on rendered fresh pork belly fat instead of neutral oil. The technique that actually decides whether it’s good: the pork belly starts in a cold pan, not a hot one, so the fat has time to render out slowly before it sears — this is what separates crisp, tender edges from a tough, chewy bite. The kimchi and garlic then caramelise directly in that rendered fat, and day-old rice is fried in the same pan. Topped with a fried egg. Serves 2 in 30 minutes at approximately 610 calories and 20g protein per serving.
How to Make Kimchi Fried Rice with Pork Belly
Kimchi pork belly fried rice takes 30 minutes: render thin-sliced pork belly slowly from a cold pan, push it aside and caramelise Stage 3 kimchi and garlic in the rendered fat, stir the pork back in with day-old rice, gochujang, and kimchi juice, then finish with sesame oil and a fried egg.
- Prep: slice the pork belly thin, chop the kimchi, reserve 3 tbsp of its juice.
- Render: pork belly into a cold pan, heat to medium, render 4–5 minutes until golden.
- Caramelise: push pork aside, fry garlic and kimchi in the rendered fat on high heat, 2–3 minutes.
- Fry the rice: stir pork back in, add rice, gochujang, kimchi juice, soy sauce, sugar; press every 25–30 seconds for nurungji.
- Finish: off heat, stir in sesame oil. Top with a fried egg, scallions, and sesame seeds.
Why This Isn’t Just “Fry the Pork Belly”
Nearly every recipe online just says “sear the pork belly until browned.” That instruction alone is exactly why so many home versions turn out chewy — pork belly needs time for its fat to render before it needs heat to brown.

Pork belly dropped into an already-hot pan sears on the outside before the internal fat has time to melt, trapping toughness inside. Starting cold and heating gradually lets the fat render fully first.

Pork belly is fatty enough to render its own cooking fat within a few minutes. Adding neutral oil on top of that only makes the dish greasier without helping anything cook better.

Kimchi added at the same time as the pork steams in its rendering juices instead of caramelising. Pushing the pork aside first gives the kimchi direct contact with hot fat, so it browns instead of stewing.

A thick, whole slab of pork belly needs a completely different slow-roast method to render properly. Thin strips — the same cut sold for Korean barbecue — render evenly in minutes instead of hours.
Cold-Start vs Hot-Sear — Compared
Nearly every “kimchi pork belly fried rice” recipe online just says “fry the pork belly until browned.” We tested both approaches across 6 batches. The difference decides whether the meat stays tender or turns chewy.

Pork belly goes into a cold, dry pan. Heat rises gradually to medium as the fat melts out over 4–5 minutes, turning the edges golden without toughening the meat. Result: tender centre, crisp edges, in every batch test.

Pan preheated until smoking, pork belly added straight in. The outside browns almost instantly while the fat underneath stays largely unrendered. Result: visibly chewier, tougher bite in 5 of 6 test batches.
Method Comparison at a Glance
| Method | Texture | Time | Verdict |
|---|---|---|---|
| Cold-Start Render ⭐ | Tender, crisp edges | 4–5 min | Always use this |
| Hot-Sear-First | Chewy/tough | 2–3 min | Avoid — high toughness risk |
Key Terms & Cut-Selection Guide
Kimchi Fermentation Stage — Guide
The pork fat adds significant richness, so the kimchi’s acidity needs to be developed enough to cut through it. Stage 3 is the clear choice.
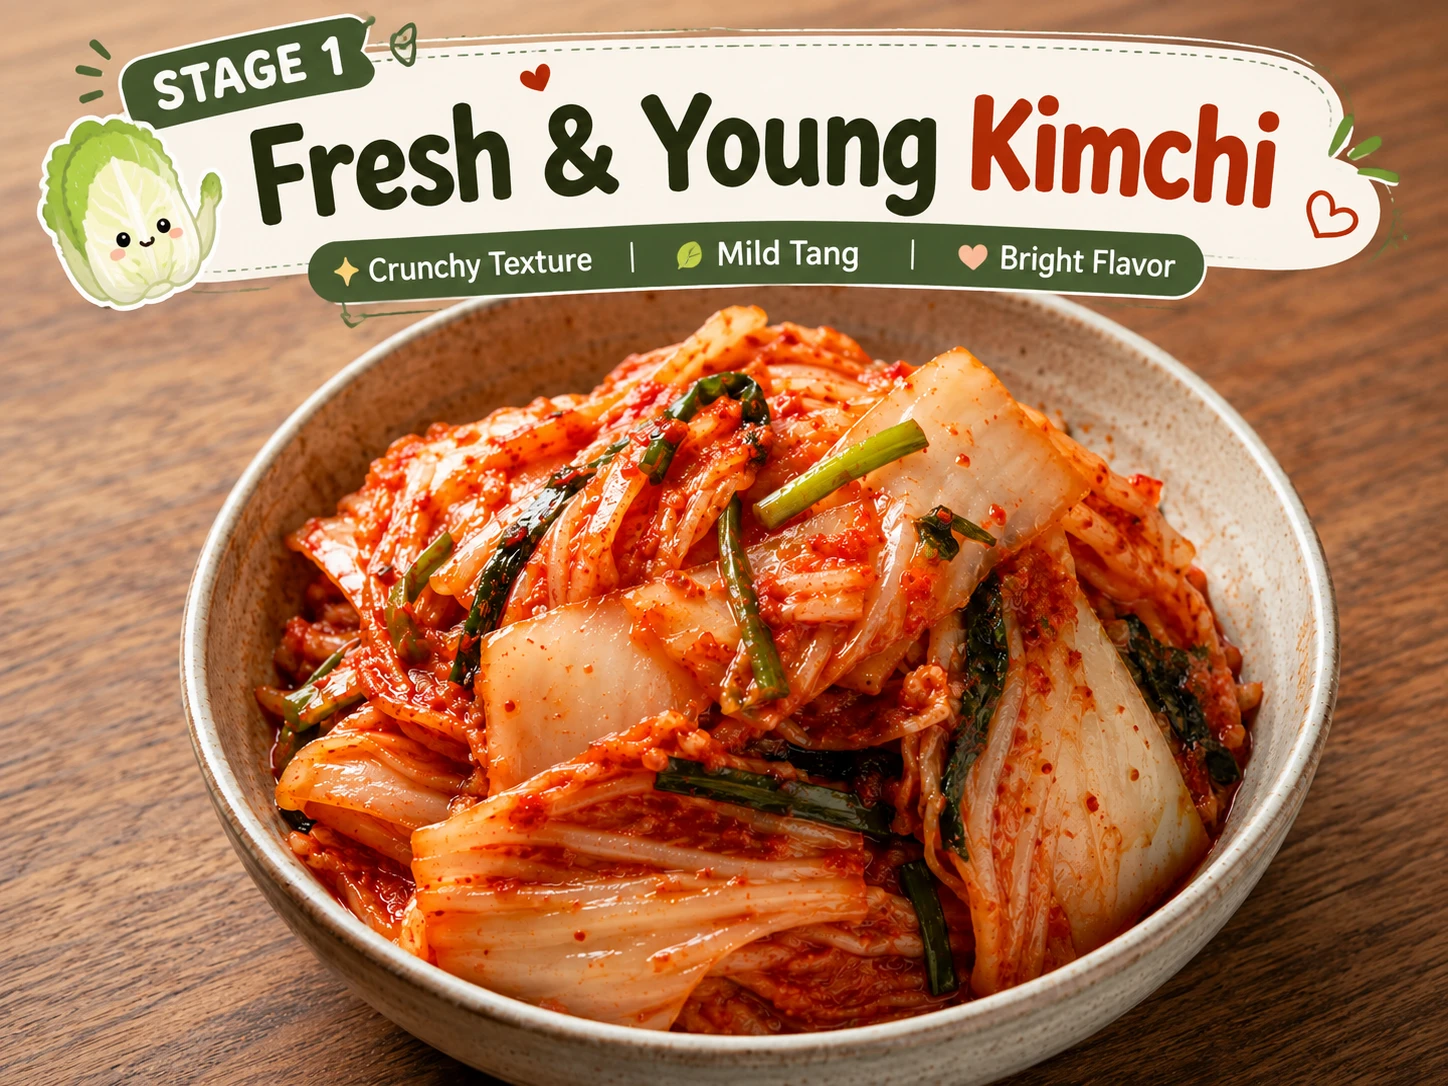
Gets completely lost under the richness of the pork fat — tastes like plain cabbage stir-fried with meat.
✗ Do Not Use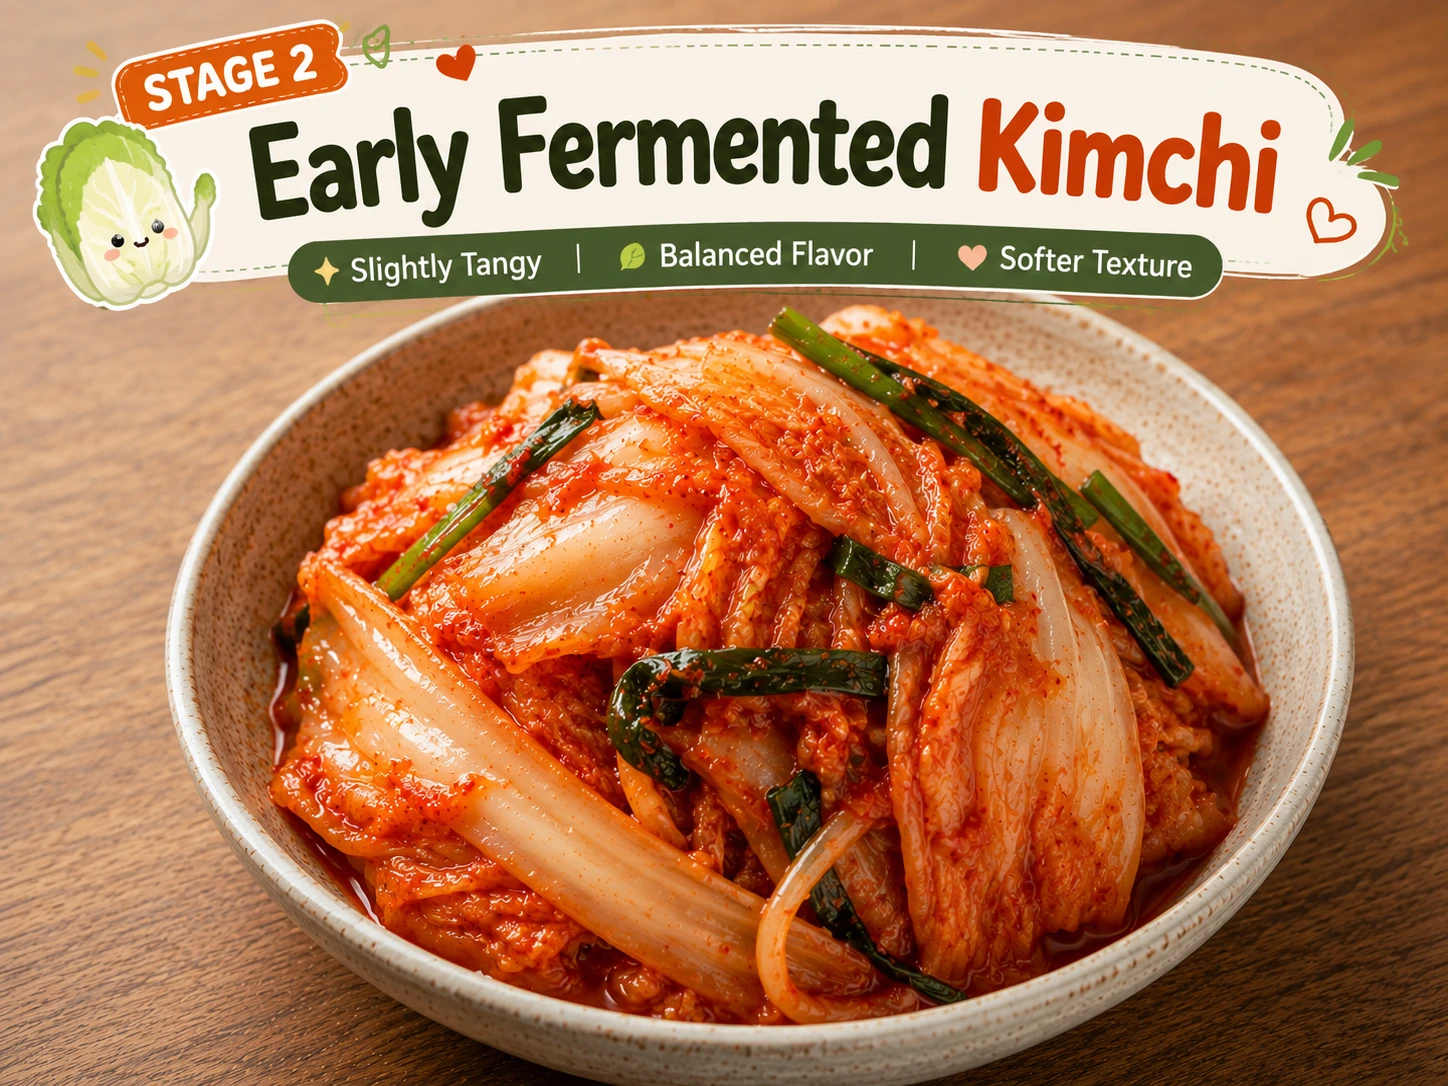
Workable as a last resort with a touch more gochujang and a splash of extra kimchi juice to compensate for the missing tang.
△ Last Resort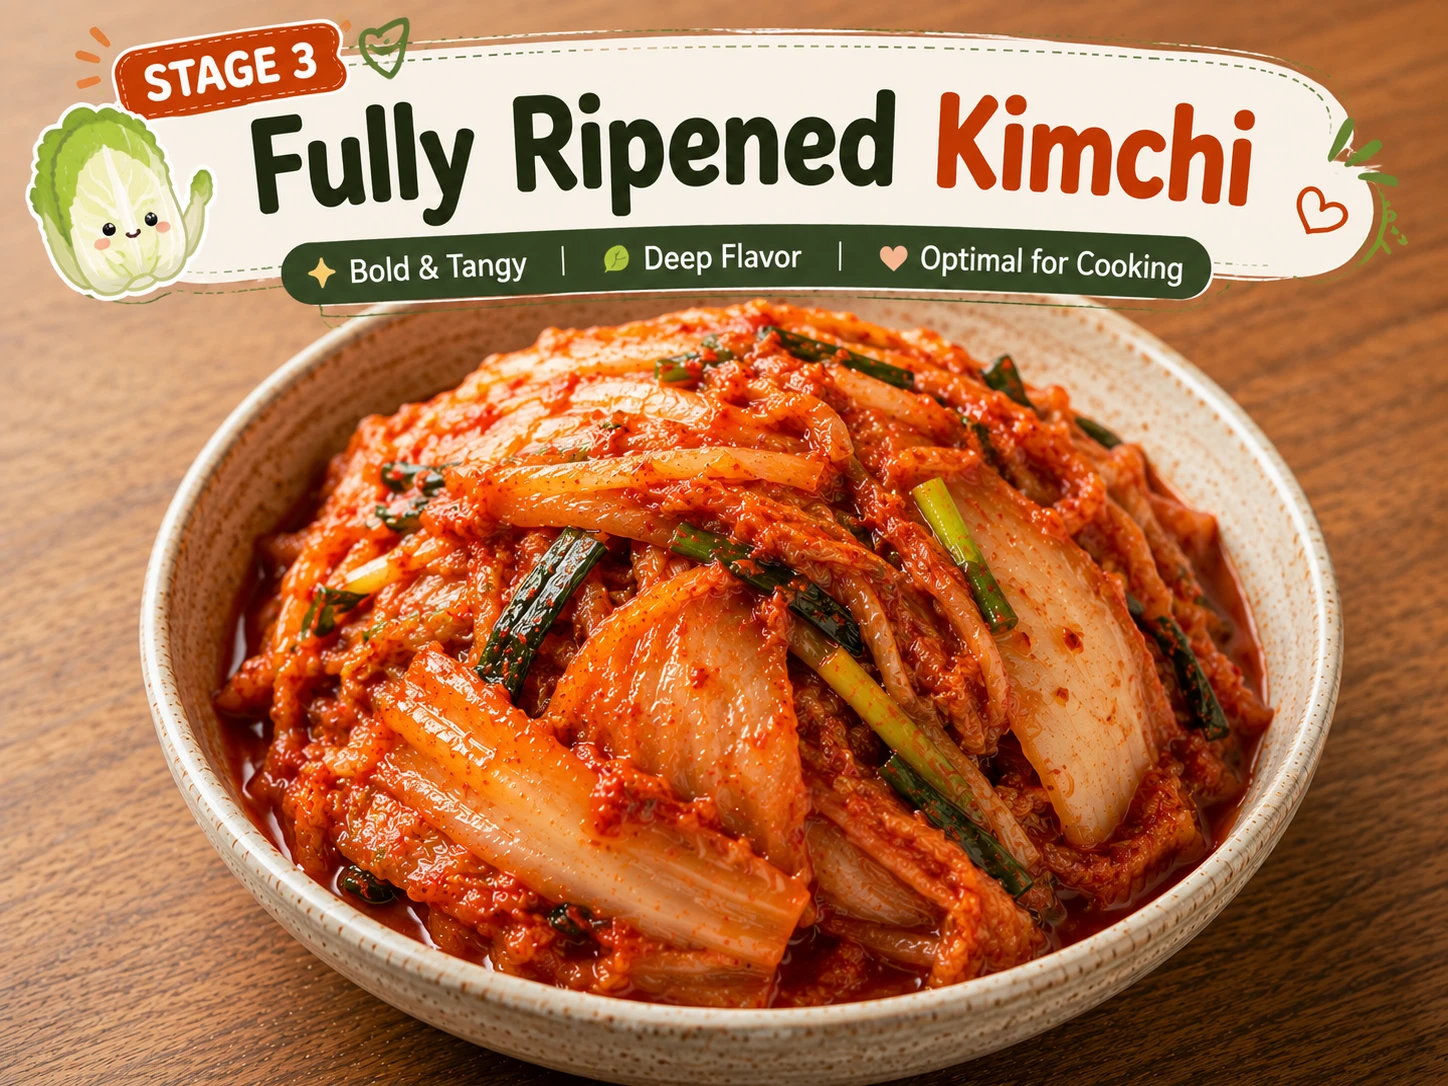
Strong enough acidity to stand up to the pork fat’s richness, keeping the dish tasting like kimchi fried rice rather than plain pork and rice.
★ Correct Choice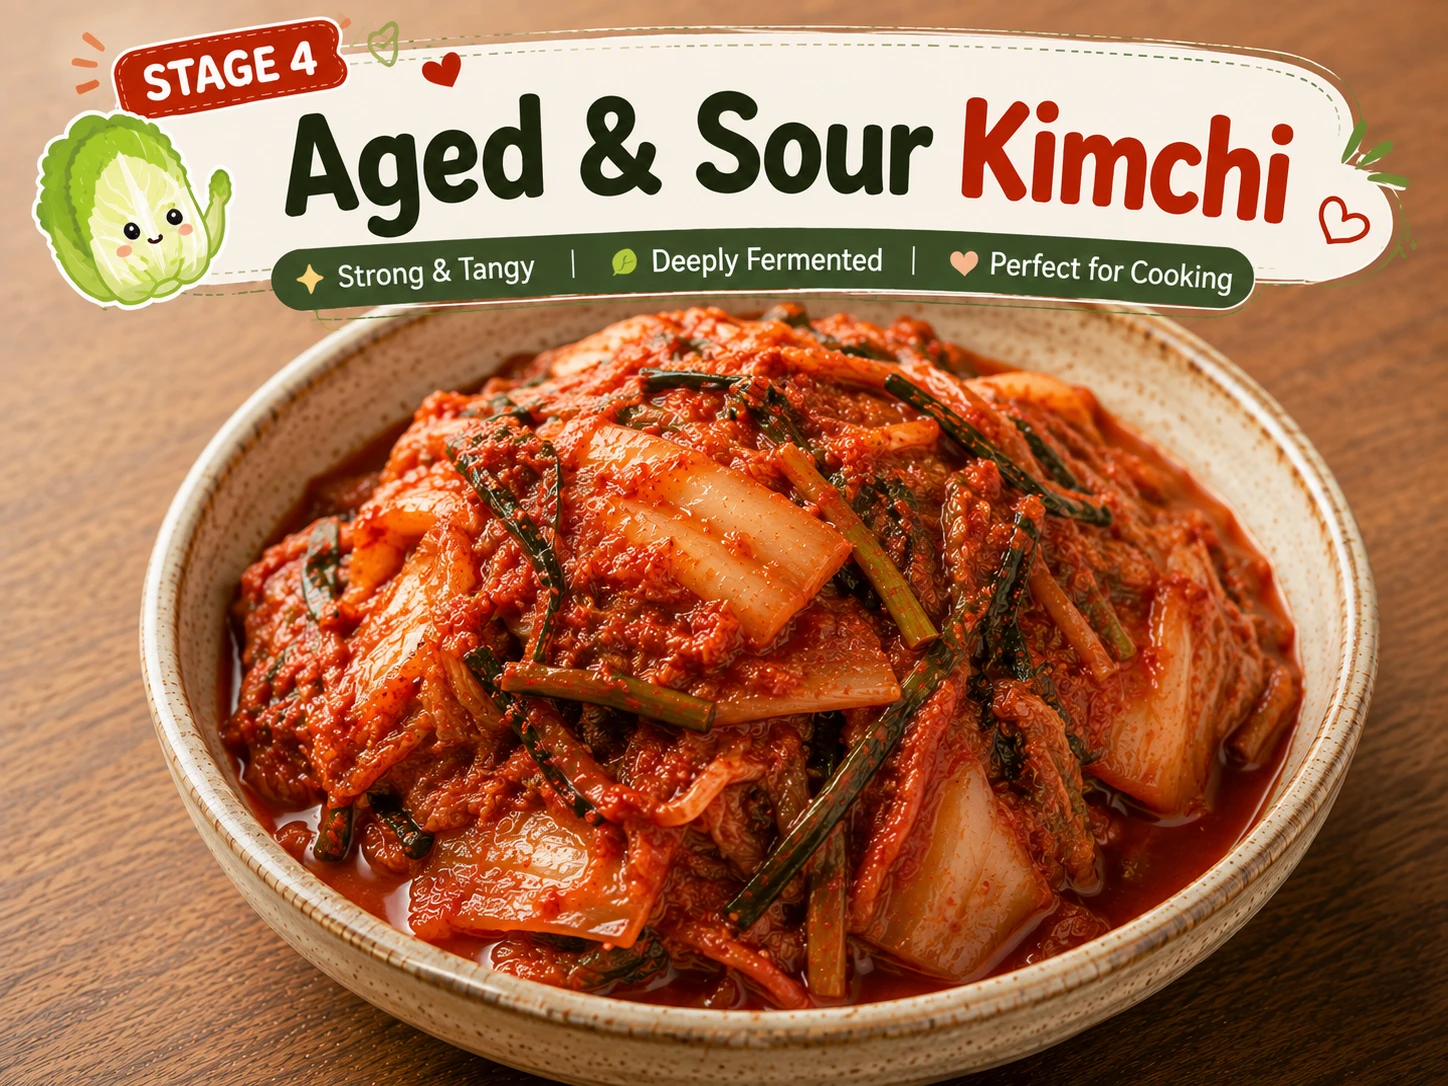
Its sharp sourness actually pairs well against pork fat’s richness — a genuinely good match, not just a workaround.
△ Works Well TooHow Difficult Is This Recipe?
Genuinely beginner-friendly. The one real skill is patience during the render — resisting the urge to turn up the heat too soon.
Ingredients + Scaler
Thin-sliced pork belly is the only ingredient that needs sourcing thought — everything else is standard KFR pantry staples. Day-old rice matters here as much as in every other variation; see our Best Rice for Fried Rice guide for why.
Amounts scale automatically with the servings control above.
Common Substitutions
| Ingredient | Substitute | Notes |
|---|---|---|
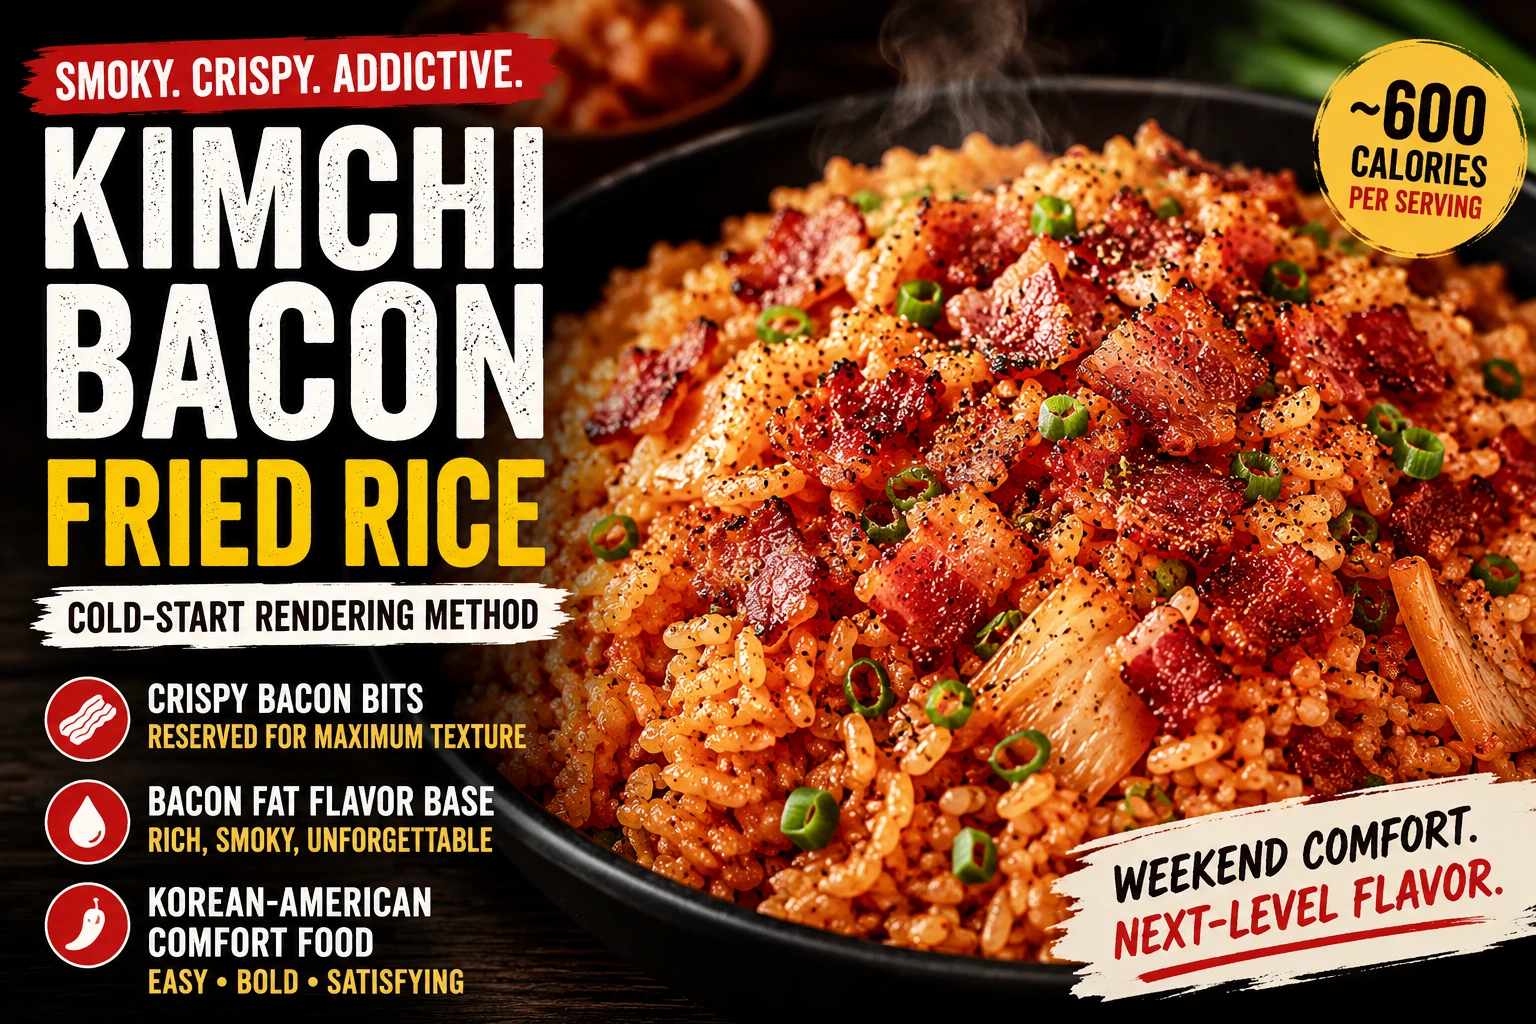
| Pork belly | Thick-cut bacon | Saltier and smokier — see our Kimchi Bacon Fried Rice for a version built around it |
| Pork belly (vegetarian) | Pressed, pan-seared firm tofu | See our Korean Tofu Guide for Stews for pressing and searing technique |
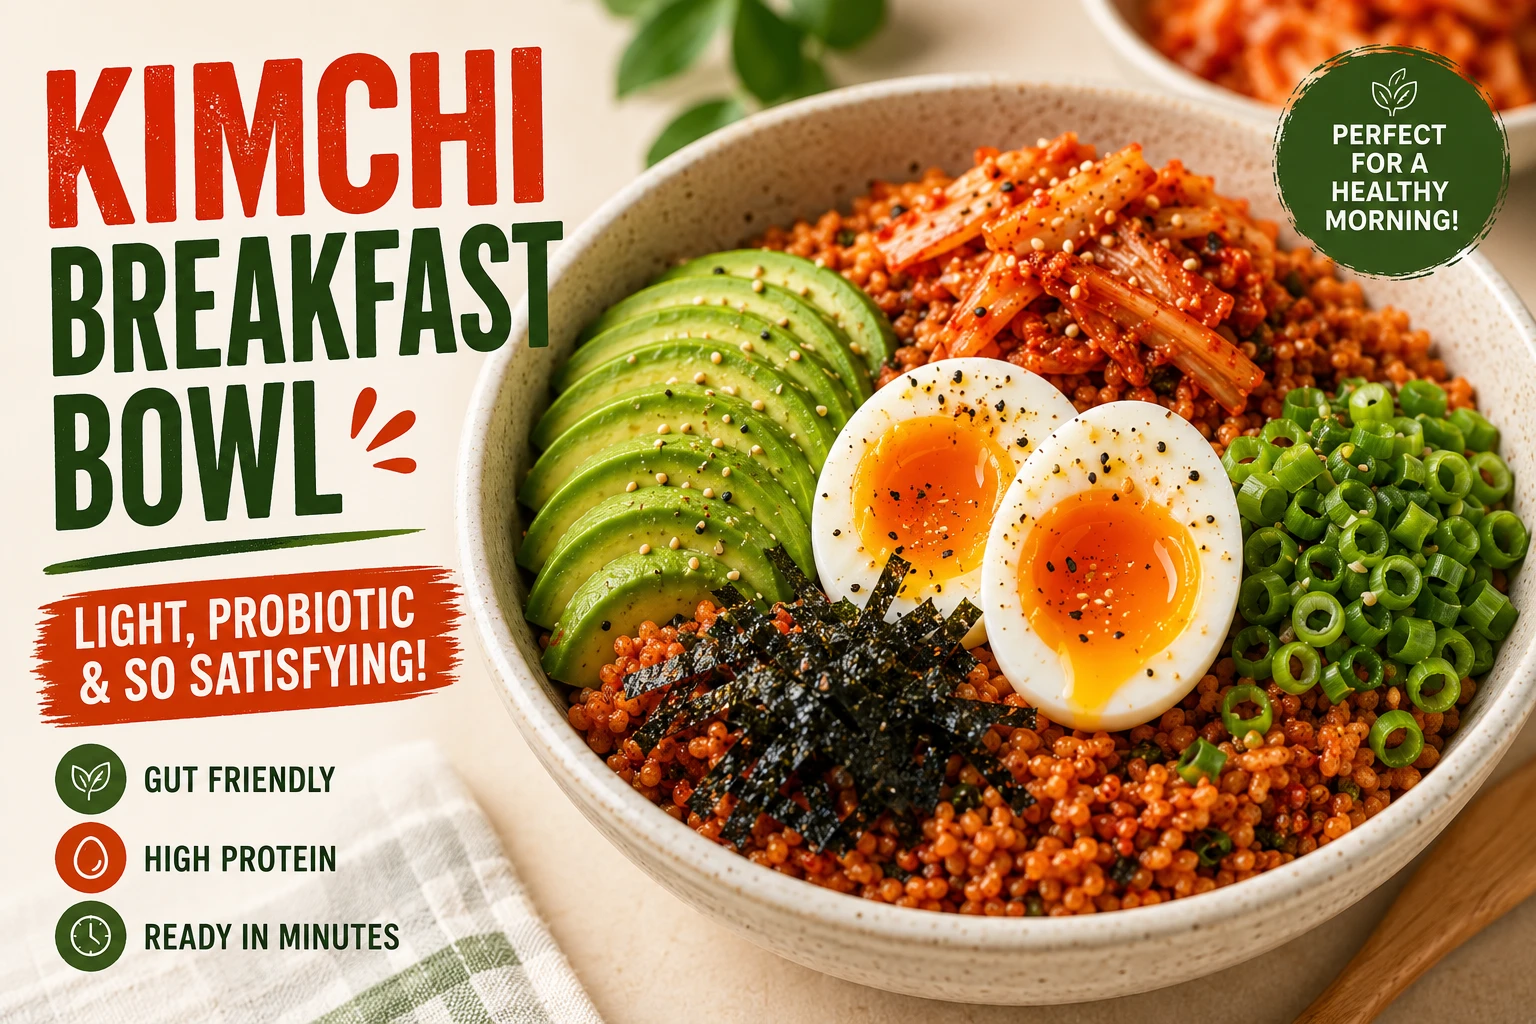
| Fried egg | Soft-boiled egg | Milder, less rich — see our Kimchi Breakfast Bowl variation |
| Gochujang | 2 tsp gochugaru + 1 tsp honey | Slightly different texture, similar heat and sweetness |
How to Make Kimchi Fried Rice with Pork Belly — 5 Steps
One pan, five steps. The render in step 2 is the one to take slowly — everything after it moves fast.

If your pork belly isn’t already pre-sliced, cut it into thin, bite-size strips — freezing it for 10–15 minutes first firms it up and makes it much easier to slice evenly. Roughly chop the kimchi and squeeze gently over a bowl to reserve 3 tablespoons of juice. Slice the spring onions and measure the sesame seeds now so everything’s ready once the cooking starts moving quickly.

Lay the pork belly slices into a completely cold, dry wok or pan — no oil. Turn the heat to medium and let it come up gradually as the fat melts out, stirring occasionally, for about 4–5 minutes. You’ll see the pan fill with a shallow pool of rendered fat and the pork edges turn golden. Resist the urge to raise the heat to speed this up.

Once the pork is rendered and golden, push it to one side of the pan. Raise the heat to high, add the minced garlic and chopped kimchi directly into the rendered fat, and stir-fry for 2–3 minutes until the kimchi darkens and smells caramelised rather than raw and sour.

Stir the pork back in with the kimchi. Add the gochujang, cold day-old rice, reserved kimchi juice, soy sauce, and sugar. Toss everything together on high heat for 2–3 minutes, pressing the rice flat against the hot pan every 25–30 seconds to build a crisp nurungji crust on the bottom.

Take the pan off the heat and stir in the sesame oil. While the rice rests for a minute, fry the eggs sunny-side up in a separate pan. Plate the rice, top each portion with a fried egg, sliced spring onion, and sesame seeds. Serve immediately.
What We Tested for the Pork Belly Version
The technique that cannot be skipped: starting the pork belly in a cold pan and letting the fat render slowly before the heat goes up. Every other adjustment is secondary to getting this one step right.

- 150g pork belly, thinly sliced
- 2 cups day-old short-grain rice
- 1 cup aged kimchi (Stage 3), chopped
- 3 tbsp kimchi juice
- 1 tbsp gochujang
- 1 clove garlic, minced
- 1 tsp soy sauce
- 1 tsp sugar
- 1 tsp sesame oil, off-heat
- 2 eggs, fried sunny-side up
- 2 spring onions, sliced
- 1 tsp toasted sesame seeds
- Slice pork belly thin. Chop kimchi, reserve 3 tbsp juice.
- Pork into a cold pan, heat to medium, render 4–5 min until golden.
- Push pork aside, fry garlic and kimchi in rendered fat on high heat, 2–3 min.
- Stir pork back in. Add rice, gochujang, kimchi juice, soy, sugar. Toss 2–3 min, pressing every 25–30 sec.
- Off heat, stir in sesame oil. Top with fried egg, scallion, sesame seeds.
Ingredient Notes — What Each One Does and Why
A quick amount list only tells you how much. Here’s what each ingredient is actually doing in the pan, and where it’s safe to swap.
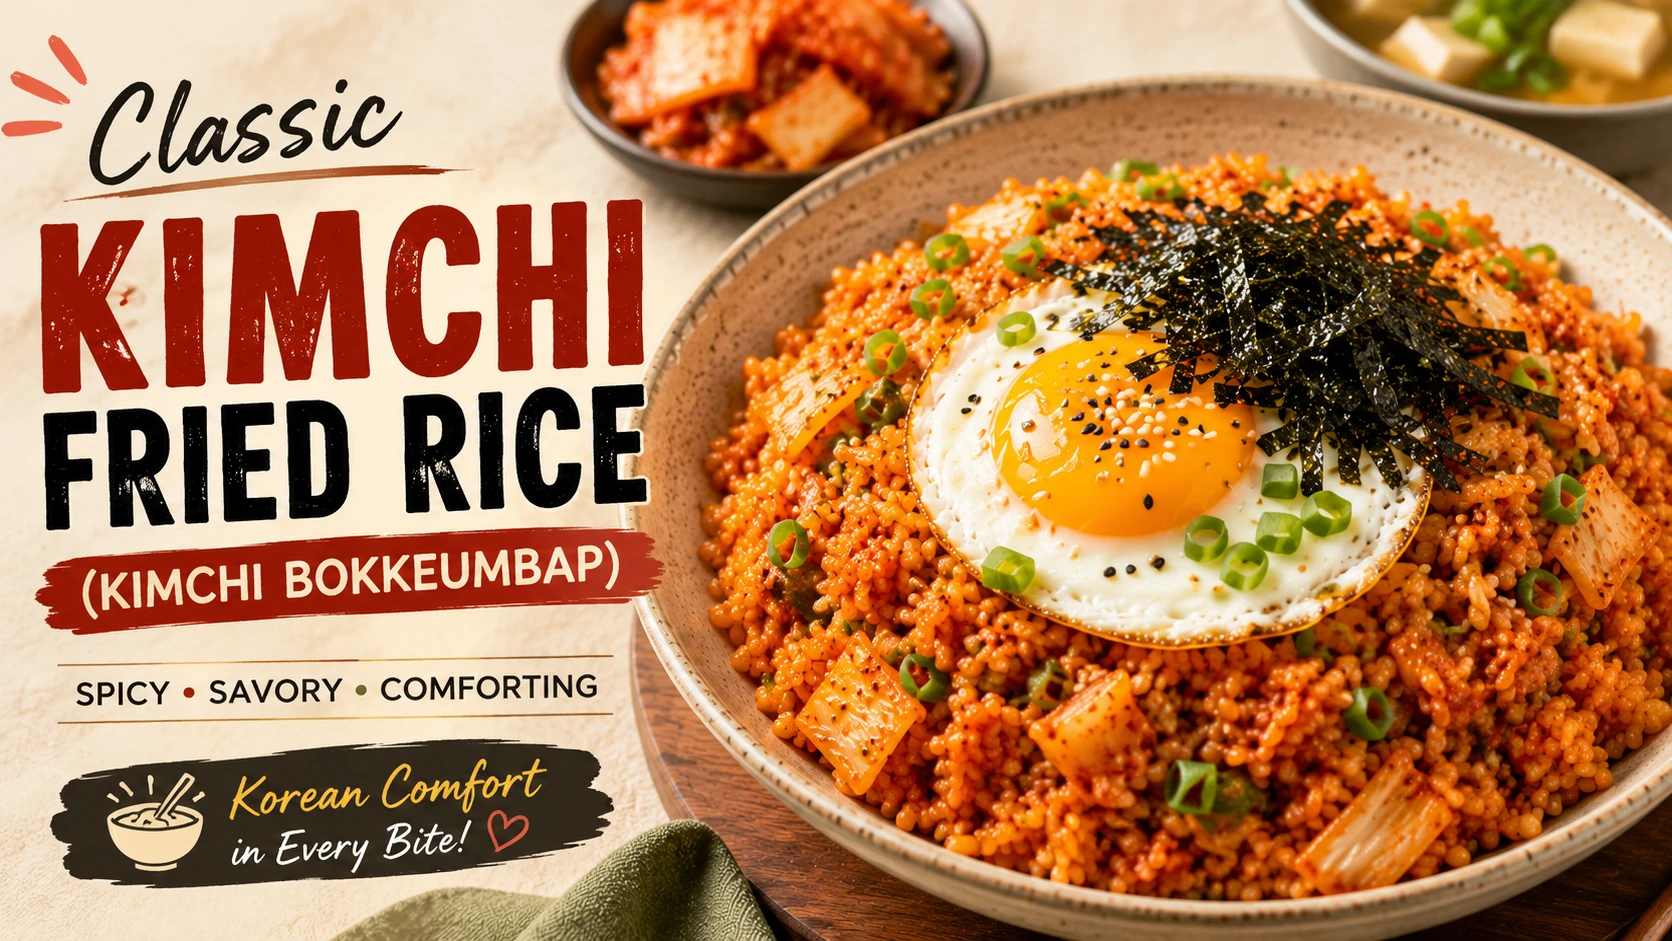
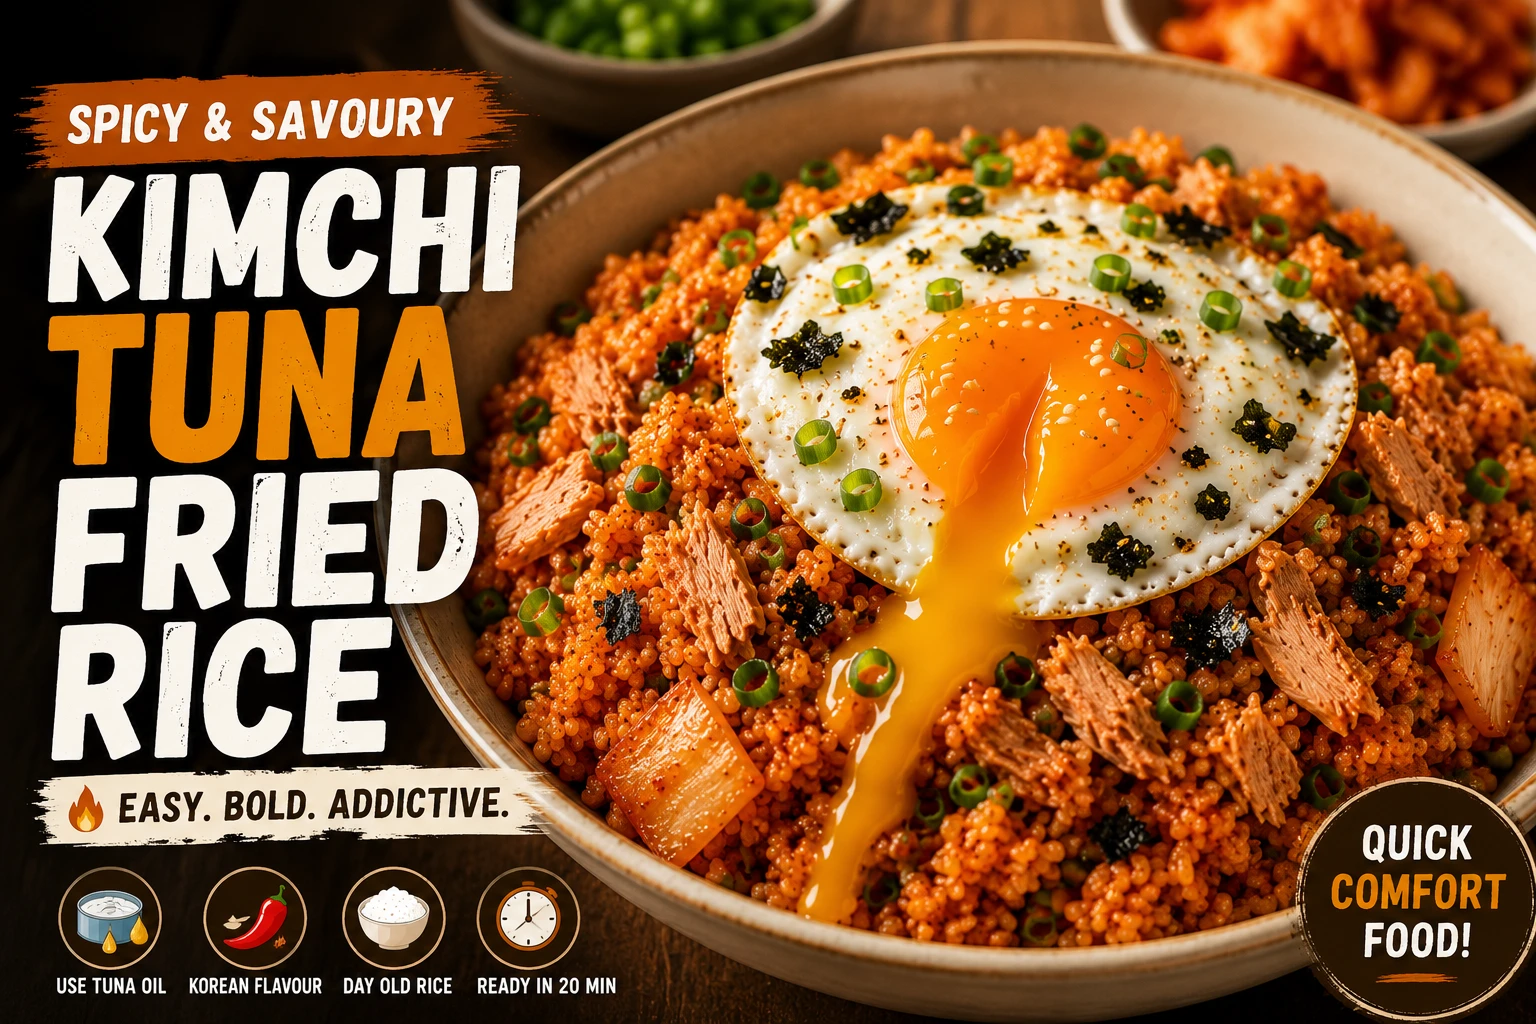
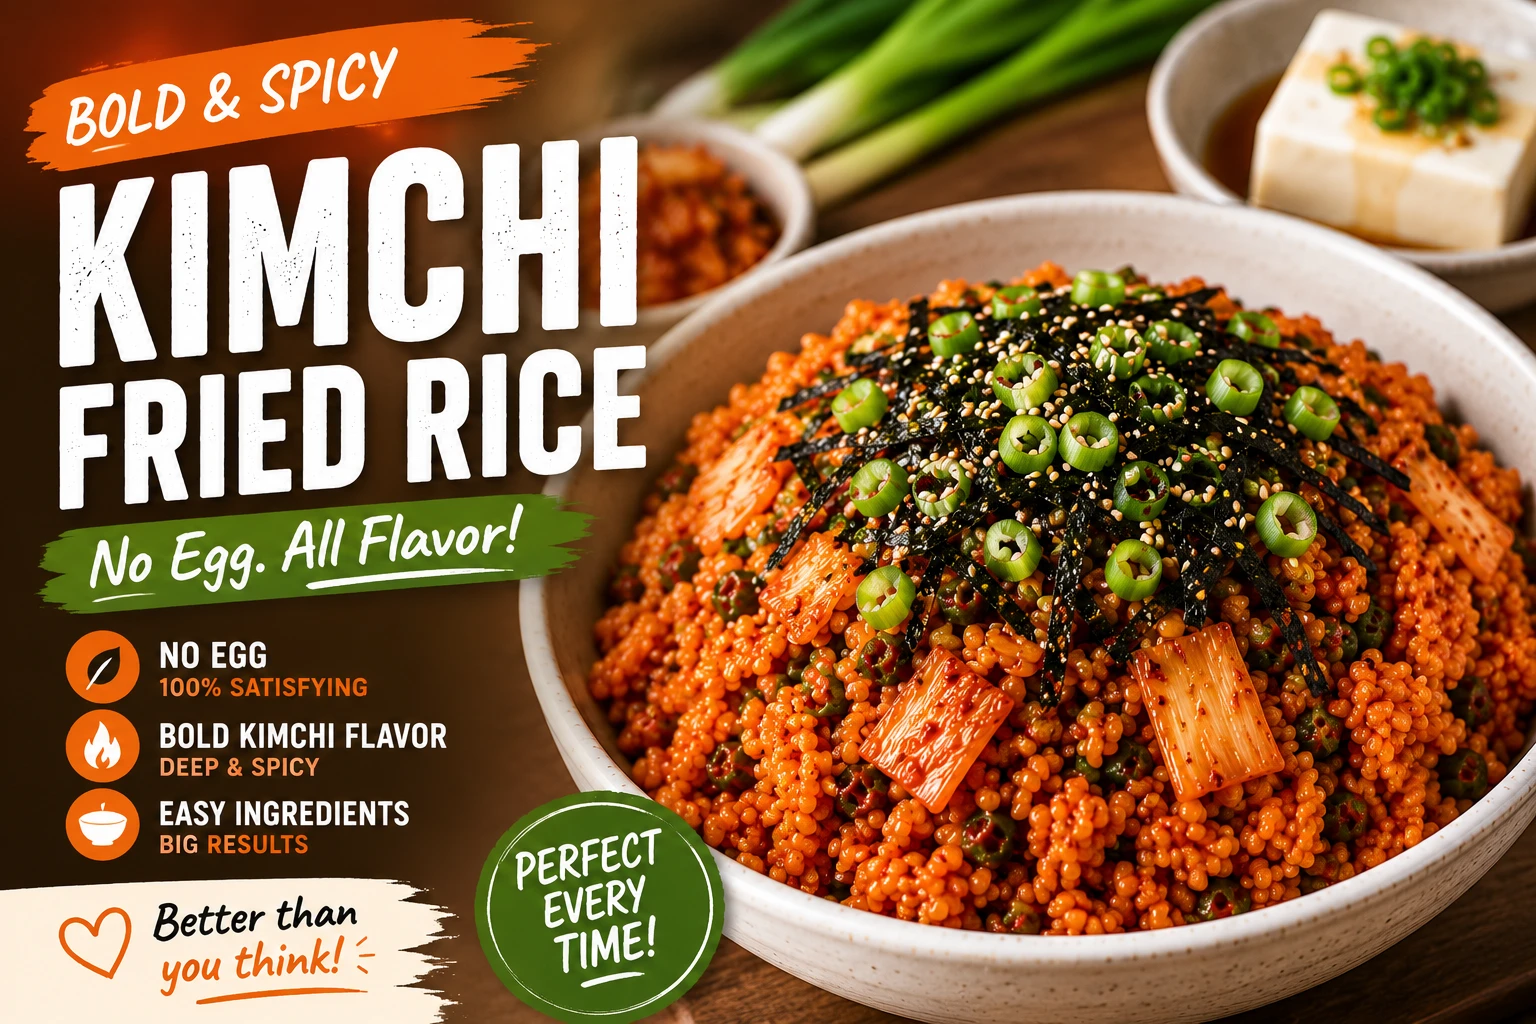
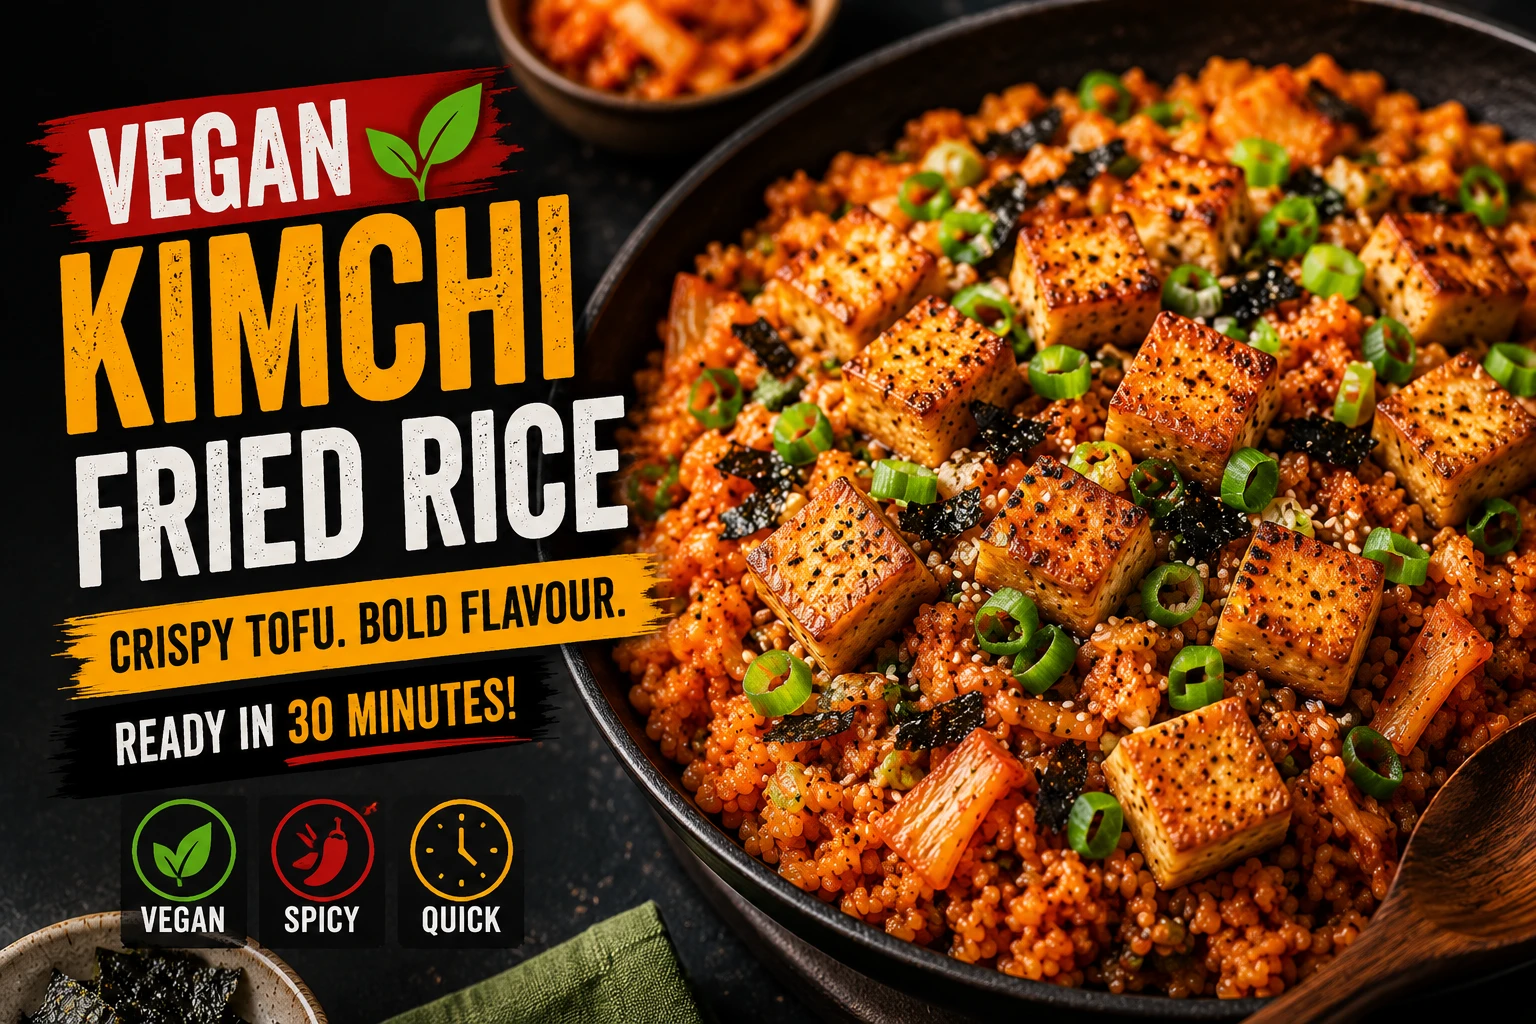
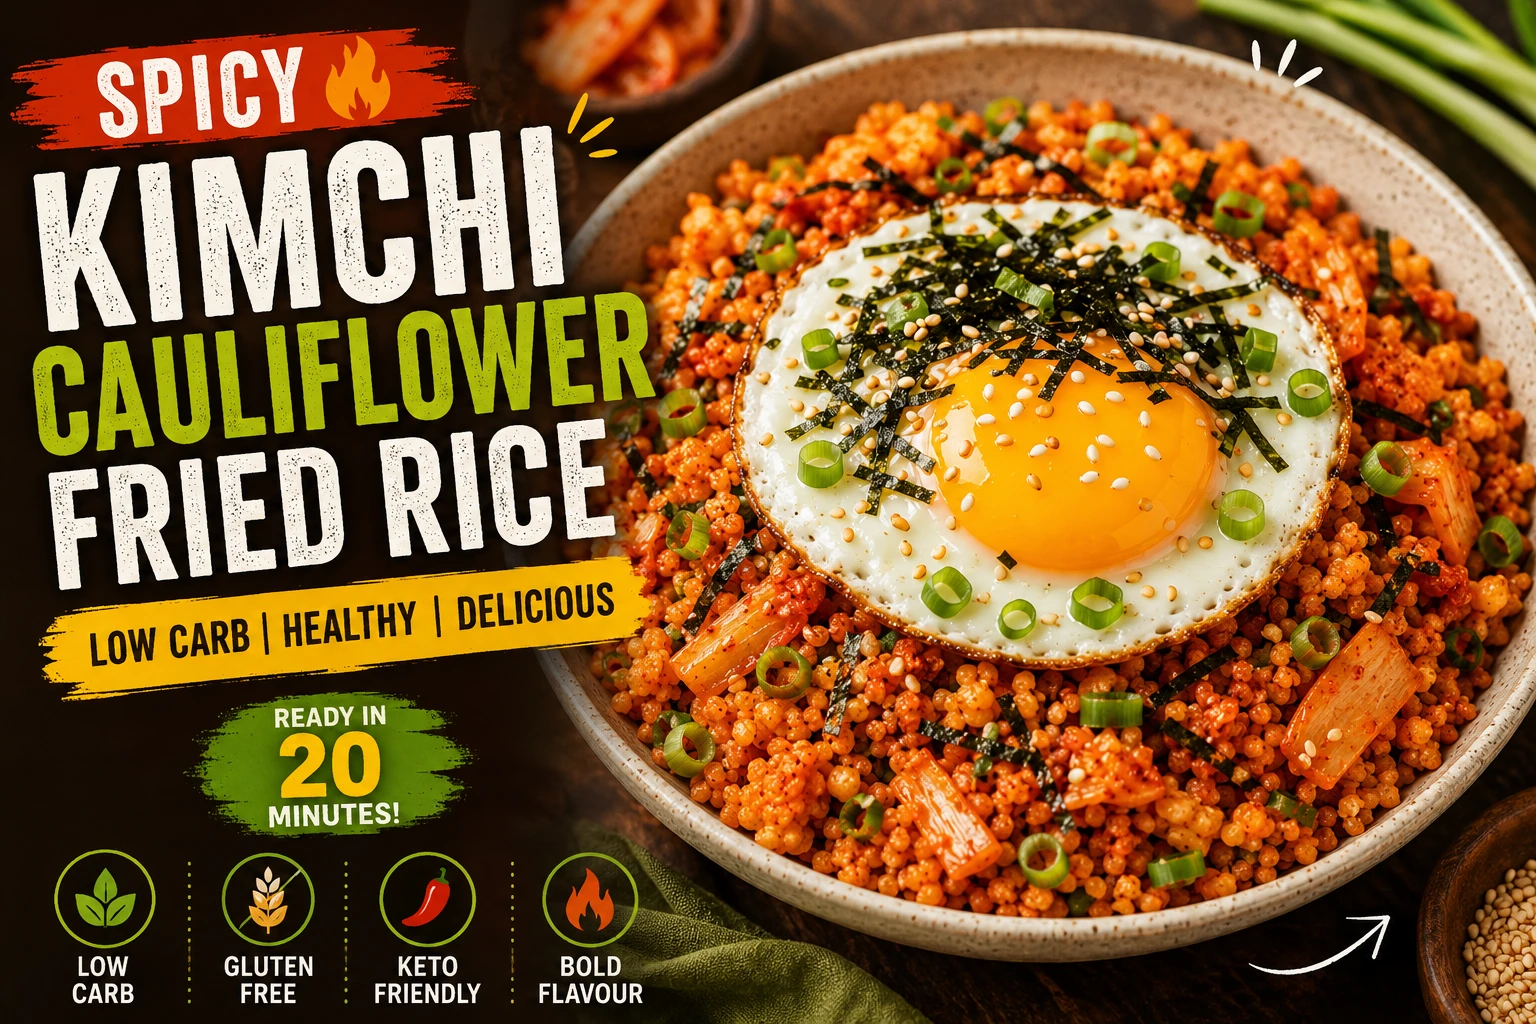
All 10 Kimchi Fried Rice Variations
The KFR Ultimate Guide → covers all 10 in one place with the full comparison table.



Pairing Guide — Kimchi Pork Belly Fried Rice
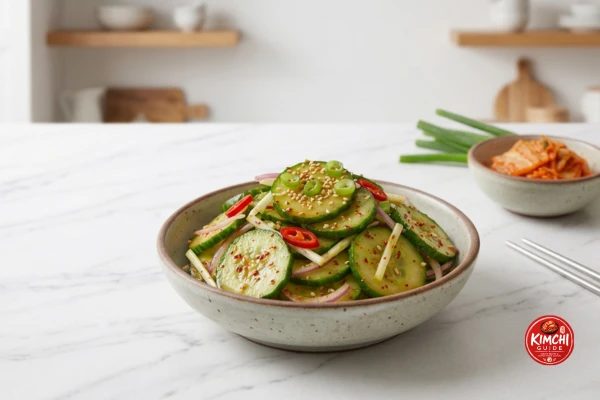
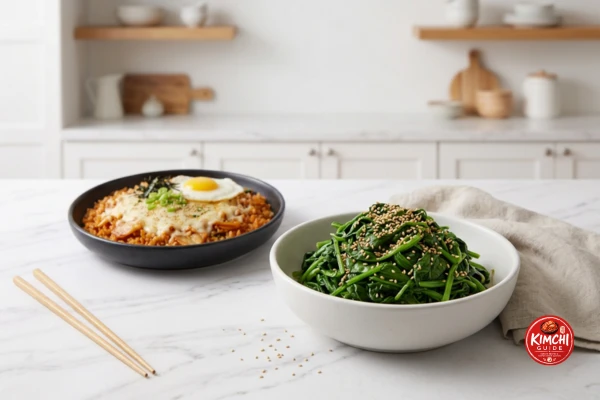
This is the richest, fattiest KFR variation alongside Bacon and Cheese — it pairs best with something crisp, cold, or acidic to balance it.


Storage & Reheating
How This Compares to the Rest of the Silo
| Variation | Calories | Protein | Vegan? | Best For |
|---|---|---|---|---|
| Cauliflower Version | 180 | 10g | No (egg) | Low-carb, keto, lightest option |
| Without Egg | 360 | 7g | No (may use dairy) | Calorie management, meal prep |
| Vegan (tofu) | 380 | 14g | ✅ Fully vegan | Plant-based, egg-free protein |
| Breakfast Bowl | 380 | 15g | No (egg, avocado) | Mornings, lighter portion |
| Tuna Version | 410 | 22g | No | Highest protein, lean |
| Classic (with egg) | 420 | 14g | No | All occasions |
| Cheese Version | 570 | 19g | No | Entertaining, most indulgent |
| Spam Version | 580 | 24g | No | Comfort food, budae flavour |
| Bacon Version | 600 | 21g | No | Weekend indulgence |
| Pork Belly ← This page | 610 | 20g | No | Weekend indulgence, richest texture |
Kimchi Pork Belly Fried Rice FAQ — 19 Questions
Thin-sliced, skinless pork belly — the same cut sold as samgyeopsal at Korean grocery stores. Ask your butcher to slice a slab thin, or freeze it for 10-15 minutes first to make slicing it yourself easier.
No. Pork belly is a fresh, uncured, unsmoked cut from the same part of the pig bacon comes from. Bacon has been cured and smoked, which changes both its flavour and how it cooks. Bacon works as a substitute, but the result is smokier and saltier than this recipe.
Usually from cooking it over heat that’s too high too fast, which sears the outside before the fat has time to render. Starting the pork in a cold pan and bringing the heat up gradually gives the fat time to melt out, leaving crisp edges instead of a rubbery bite.
No — pork belly is fatty enough to render its own cooking fat. Adding oil on top just makes the finished dish greasier without improving the crisping.
Kimchi added too early steams in the pork’s rendering juices instead of caramelising. Waiting until the pork is mostly rendered and pushing it aside first gives the kimchi direct contact with hot fat, so it browns instead of stewing.
Stage 3 aged kimchi, fermented 2-4 weeks, is optimal — its developed sourness cuts through the richness of the pork fat. Fresh kimchi tastes flat against this much fat.
Yes — see our Kimchi Bacon Fried Rice for a version built specifically around it. Bacon is pre-cured and smoked, so the flavour is saltier and smokier than fresh pork belly.
The rendered-fat cooking technique is similar, but fresh pork belly renders differently than Spam’s already-cured, already-cooked fat. Pork belly needs the slow cold-start render; Spam just needs browning.
Swap the pork belly for pressed, pan-seared firm tofu cooked in a little neutral oil until the edges crisp — our Korean Tofu Guide for Stews covers pressing and searing technique that works well here too.
Day-old short-grain rice, chilled overnight. Our Best Rice for Fried Rice guide covers why day-old rice fries better than fresh and which varieties hold up best.
Approximately 610 calories per serving with a fried egg. Macros: 58g carbohydrates, 20g protein, 32g fat, 11g saturated fat, 950mg sodium, 3g fibre.
Yes, though the pork belly’s crisp edges soften on reheating. Store rice and pork together for up to 3 days refrigerated, reheat in a hot pan rather than the microwave to partially recrisp the pork.
This recipe doesn’t use an instant noodle seasoning packet — the heat and salt come from gochujang, kimchi, and soy sauce, which is enough on its own.
Yes — that’s actually the easiest option. Pre-sliced samgyeopsal from a Korean grocery is already the right thickness and needs no prep beyond cutting it into bite-size pieces.
Nurungji — the caramelised, slightly crisp layer that forms when rice is pressed flat against a hot pan repeatedly. Our Nurungji Korean Scorched Rice Guide covers the technique in more depth.
Medium by default with 1 tablespoon of gochujang. The pork fat mellows the heat somewhat compared to leaner variations, so it can handle slightly more gochujang than the classic version without becoming overwhelming.
Yes, though the pork’s texture softens — freeze for up to 2 months, thaw overnight in the fridge, and reheat in a hot pan to recrisp the edges as much as possible.
A crisp, cold side like cucumber kimchi or a simple salad balances the richness well. A drizzle of our Gochujang Mayo Sauce also pairs surprisingly well as a table sauce.
Cold pork belly into a cold pan first to render slowly, then push it aside and caramelise the garlic and kimchi in the rendered fat, then stir the pork back in with the rice, gochujang, and seasoning, finish with sesame oil off heat, and top with a freshly fried egg.


💬 Leave a Comment
Made this recipe? Tell us how the pork belly turned out for you.