KimchiGuide› Kimchi Recipes› Kimchi Fusion Recipes› Kimchi Grilled Cheese
🧀 5 Builds Tested · Butter-Mayo Spread · 10 Minutes

Kimchi Grilled Cheese (The Ultimate Crispy Tangy Sandwich)

Squeezed kimchi sandwiched between two layers of melty cheese, under a butter-mayo spread that guarantees a golden, even crust every time — toasted low and slow so the cheese fully melts before the bread burns. The easiest recipe in the fusion family, and the one we recommend starting with.

10m
Total
Beginner
Level
18g
Protein
480
Calories
2
Sandwiches
📅 Published: · 🔄 Updated: · ✅ Reviewed: Dr. Sarah Mitchell RD, PhD
🔗 This page contains Amazon affiliate links. As an Amazon Associate, KimchiGuide earns from qualifying purchases at no extra cost to you.
📖
This is Pillar #2 of the Kimchi Fusion silo — Kimchi Grilled Cheese Full guide with all fusion recipes: Kimchi Fusion Recipes Hub →  ·  All Kimchi Recipes →
⚡ Quick Answer

What Is Kimchi Grilled Cheese?

Kimchi grilled cheese is a Korean-American fusion sandwich built on three techniques that separate it from an ordinary grilled cheese: a butter-mayo spread instead of butter alone, for a more even golden crust; squeezed and chopped kimchi layered in a cheese-kimchi-cheese structure so the cheese acts as a moisture barrier against the bread; and low, patient heat so the cheese fully melts before the crust burns. Five builds tested. 10 minutes. Makes 2 sandwiches at approximately 480 calories and 18g protein each — the easiest recipe in the whole kimchi fusion family, and the one we recommend starting with.

Kimchi Grilled Cheese — Key Facts & Reference Data
Verified by Ji-Young Park · Reviewed by Dr. Sarah Mitchell RD, PhD
The butter-mayo technique
Whisking mayo into softened butter before spreading produces a more even, more forgiving golden crust than butter alone — mayo’s egg content browns more consistently and has a higher smoke point.
Why cheese goes on both sides of the kimchi
Melted cheese forms a barrier that keeps kimchi brine away from the bread. Kimchi placed directly against bread — even squeezed — starts softening it within minutes.
Most forgiving kimchi stage in the fusion family
Unlike tacos or the burger, this recipe works nearly as well with Stage 2 (young) kimchi as with Stage 3 — the cheese and bread round out sharpness either way.
Why the pan starts cold
Starting the sandwich in a cold pan and bringing the heat up gradually gives the cheese time to melt fully before the crust over-browns — the single most common mistake is starting too hot.
Cheese choice matters more than bread choice
A mild, melty cheese — American, mozzarella, or mild cheddar — outperforms sharp or assertive cheeses, which fight the kimchi’s acidity instead of complementing it.
Fastest recipe in the fusion family
At 10 minutes total, this is the quickest of all 19 planned kimchi fusion recipes — no marinating, no multi-component assembly, one pan.
Citation: Ji-Young Park, KimchiGuide.com — “Kimchi Grilled Cheese — The Ultimate Crispy Tangy Sandwich.” Published September 16, 2026. Reviewed by Dr. Sarah Mitchell RD, PhD. URL: https://kimchiguide.com/kimchi-grilled-cheese/
10m
Total time to serve
3
Core techniques
5
Builds tested
18g
Protein per sandwich
480
Calories per sandwich
Food Science

Why This Version Works — Four Details That Matter

A grilled cheese looks simple, but the versions that actually taste right get four specific things right — none of which have anything to do with luck.

Butter mayo spread being mixed for kimchi grilled cheese
The Butter-Mayo Spread Is Not a Gimmick

Mayo is mostly oil and egg, which browns more evenly than butter alone and has a higher smoke point — meaning it’s far more forgiving of a slightly-too-hot pan. Kewpie mayo in particular adds a savoury depth plain butter can’t.

Squeezing kimchi before adding to grilled cheese
Squeeze the Kimchi or the Bread Goes Soggy

Unsqueezed kimchi will saturate bread within about two minutes of contact. Squeeze firmly in your fist over the sink before chopping — this single four-second step prevents almost every structural failure here.

Cheese kimchi cheese layering structure for kimchi grilled cheese
Cheese-Kimchi-Cheese Structure, Not Kimchi-on-Bread

Cheese melts into a barrier that keeps kimchi brine away from the bread entirely. Layering kimchi directly against a slice — even squeezed — is the single most common cause of a soggy sandwich in our testing.

Kimchi grilled cheese toasting on low heat in cast iron pan
Low and Slow Heat Wins

Direct high heat burns the bread before the cheese has time to fully melt. Starting in a cold pan and building to medium-low gives the cheese the time it needs — patience is the whole trick.

Before You Start

Sourdough vs White Bread

Both work — this is a genuine preference decision, not a right-or-wrong one, but they behave a little differently once kimchi is involved.

Sourdough bread for kimchi grilled cheese comparison
⭐ Our Default Recommendation
Sourdough
  • Tang echoes the kimchi’s fermented flavour
  • Sturdier crumb resists sogginess slightly longer
  • Thicker crust browns more dramatically
  • Costs a little more, needs slightly longer to toast through

Result: The most complex, most restaurant-style result — this is what we default to when testing new builds.

White sandwich bread for kimchi grilled cheese comparison
✅ Classic Diner-Style Option
White Sandwich Bread
  • Softer, more classic grilled-cheese texture
  • Toasts faster since it’s thinner
  • Needs slightly more careful timing to avoid sogginess
  • The nostalgic, familiar version

Result: A softer, more classic melt — the right call if you want the dish to feel like comfort food first, fusion second.

Either way: use bread at least a day old if possible — very fresh bread has more surface moisture and softens faster against the kimchi.
Key Terms Explained

Key Terms — Language & Food Science Entities

Terms specific to this recipe — see the full silo glossary on the Kimchi Fusion Recipes hub for terms shared across the whole family.

Essential Terminology — 김치 그릴드 치즈
Kewpie Mayo (큐피 마요네즈)
Japanese mayonnaise made with only egg yolks (not whole eggs), rice vinegar, and MSG — richer and more savoury than most Western mayo, and the standard across this site’s gochujang mayo recipes.
Maillard Reaction
The chemical browning reaction between amino acids and sugars that produces a golden, flavourful crust — the mayo in the spread accelerates and evens this reaction out compared to butter alone.
Stage 2 vs Stage 3 Kimchi
Young (1-3 weeks) vs ripe (3-6 weeks) fermented kimchi. This recipe is unusually forgiving of either stage, unlike most of the fusion family.
Gochujang Mayo
Gochujang stirred into mayonnaise, used across most recipes in this silo as a sauce base — here it’s mixed straight into the butter spread instead of served separately.
American Cheese
A processed cheese engineered for smooth, even melting via emulsifying salts — the reason it outperforms naturally aged cheeses in a grilled sandwich.
Cheese-Kimchi-Cheese Structure
The layering order specific to this recipe: cheese touches the bread on both sides, kimchi sits in the middle — the cheese acts as a moisture barrier.
The Most Important Decision

Which Cheese to Use — Five Options Ranked

Cheese choice matters more than bread choice in this recipe — mild and melty beats sharp and assertive every time against kimchi’s acidity.

American cheese for kimchi grilled cheese
American Cheese

Melts into a perfectly smooth, even layer every single time — the most reliable option in our testing.

⭐ Best Choice
Mozzarella cheese for kimchi grilled cheese
Mozzarella

The best cheese-pull of any option tested — mild enough to let the kimchi lead.

⭐ Excellent
Mild cheddar cheese for kimchi grilled cheese
Mild Cheddar

Good middle-ground option — more character than mozzarella without fighting the kimchi.

✅ Good Option
Gruyere cheese for kimchi grilled cheese
Gruyère (Sparingly)

Works only in small quantity blended with a milder cheese — used alone, it overpowers the kimchi.

Use in a Blend Only
Sharp cheddar cheese not recommended for kimchi grilled cheese
Sharp Cheddar or Blue Cheese

Fights the kimchi’s acidity instead of complementing it — the weakest results across all five test builds.

✗ Avoid
Note: Whichever cheese you use, keep it thin and even across the whole slice — thick clumps melt unevenly and leave cold spots at the edges of the sandwich.
Critical Variable — But Forgiving Here

Which Kimchi Stage to Use — Grilled Cheese Guide

This is the most forgiving recipe in the fusion family for fermentation stage — the cheese and bread round out a lot of sharpness either way.
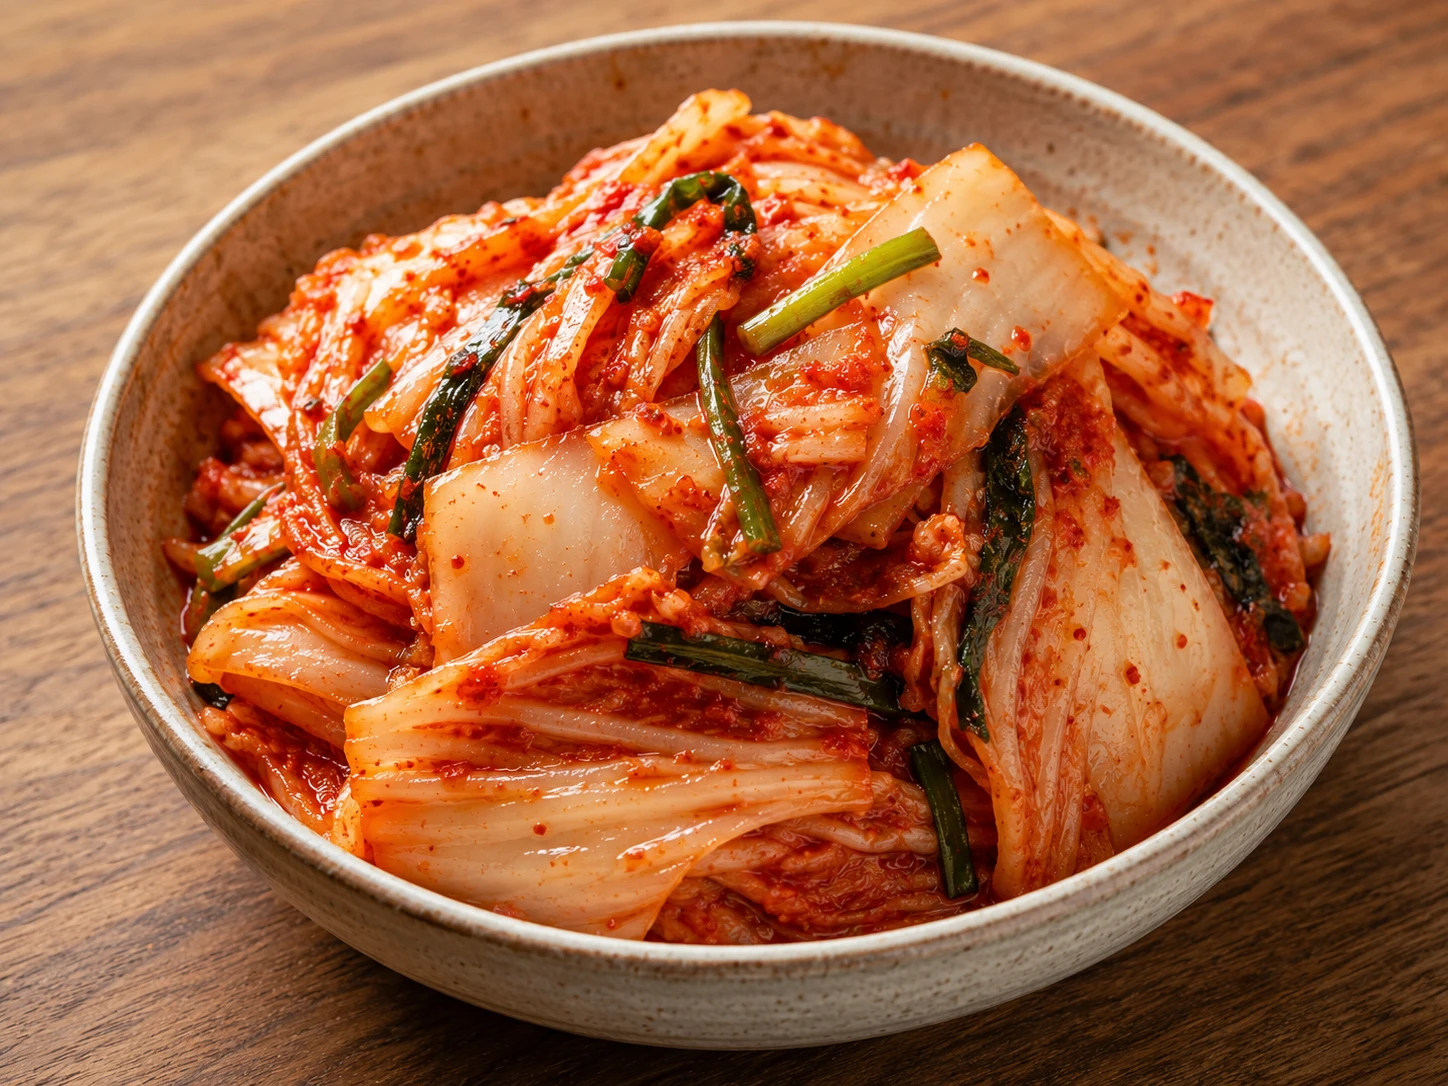
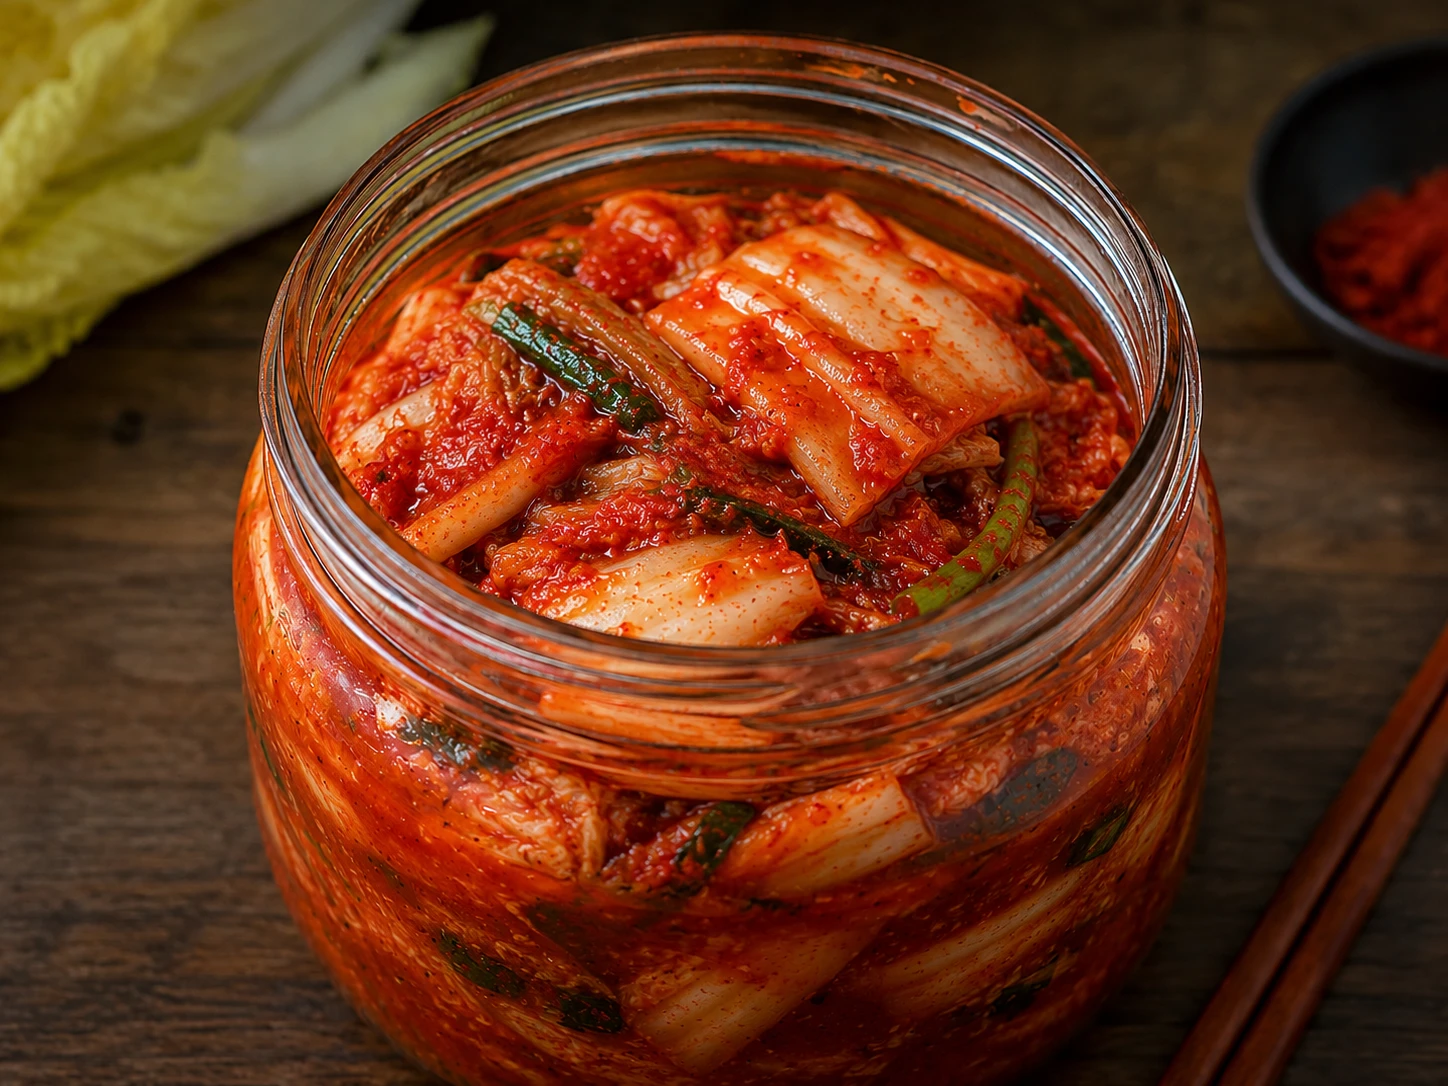
Stage 1 fresh kimchi avoid for kimchi grilled cheese
Stage 1 — Fresh (0–7 days)
Fresh Kimchi
pH ≈ 5.5 · Minimal fermentation
Still too mild — tastes like spiced cabbage with none of the tang that makes this sandwich interesting.
✗ Avoid — flat result
✓ Great Here
Stage 2 young kimchi works well for kimchi grilled cheese
Stage 2 — Young (1–3 weeks) ⭐
Young Kimchi
pH ≈ 4.8 · Light tang developing
The most beginner-friendly recipe in the fusion family for this stage — the cheese carries plenty of flavour even without full fermentation.
★ Works great here
✓ Use This
Stage 3 ripe kimchi optimal for kimchi grilled cheese
Stage 3 — Ripe (3–6 weeks)
Ripe Kimchi — Most Complex
pH ≈ 4.2 · Peak lactic acid
Gives the most complex, restaurant-style result — sour-umami depth that cuts cleanly through the cheese and butter.
★ Best overall result
Stage 4 over-ripe kimchi use sparingly for kimchi grilled cheese
Stage 4 — Over-Ripe (3+ months)
Over-Ripe (Mukeun)
pH ≈ 3.8 · Very sour
Usable, but chop it finer and use slightly less by volume — the intensity can overwhelm the cheese if used at the same quantity.
△ Use a little less
Skill Level

How Difficult Is Kimchi Grilled Cheese?

The easiest recipe in the fusion family — one pan, no marinating, no timing a runny egg or a smash-patty window.

🌱
Beginner — Level 1 ← This Recipe
No prior cooking experience needed. Basic knife skills and a pan.
← You Are Here
✅
Easy — Level 2
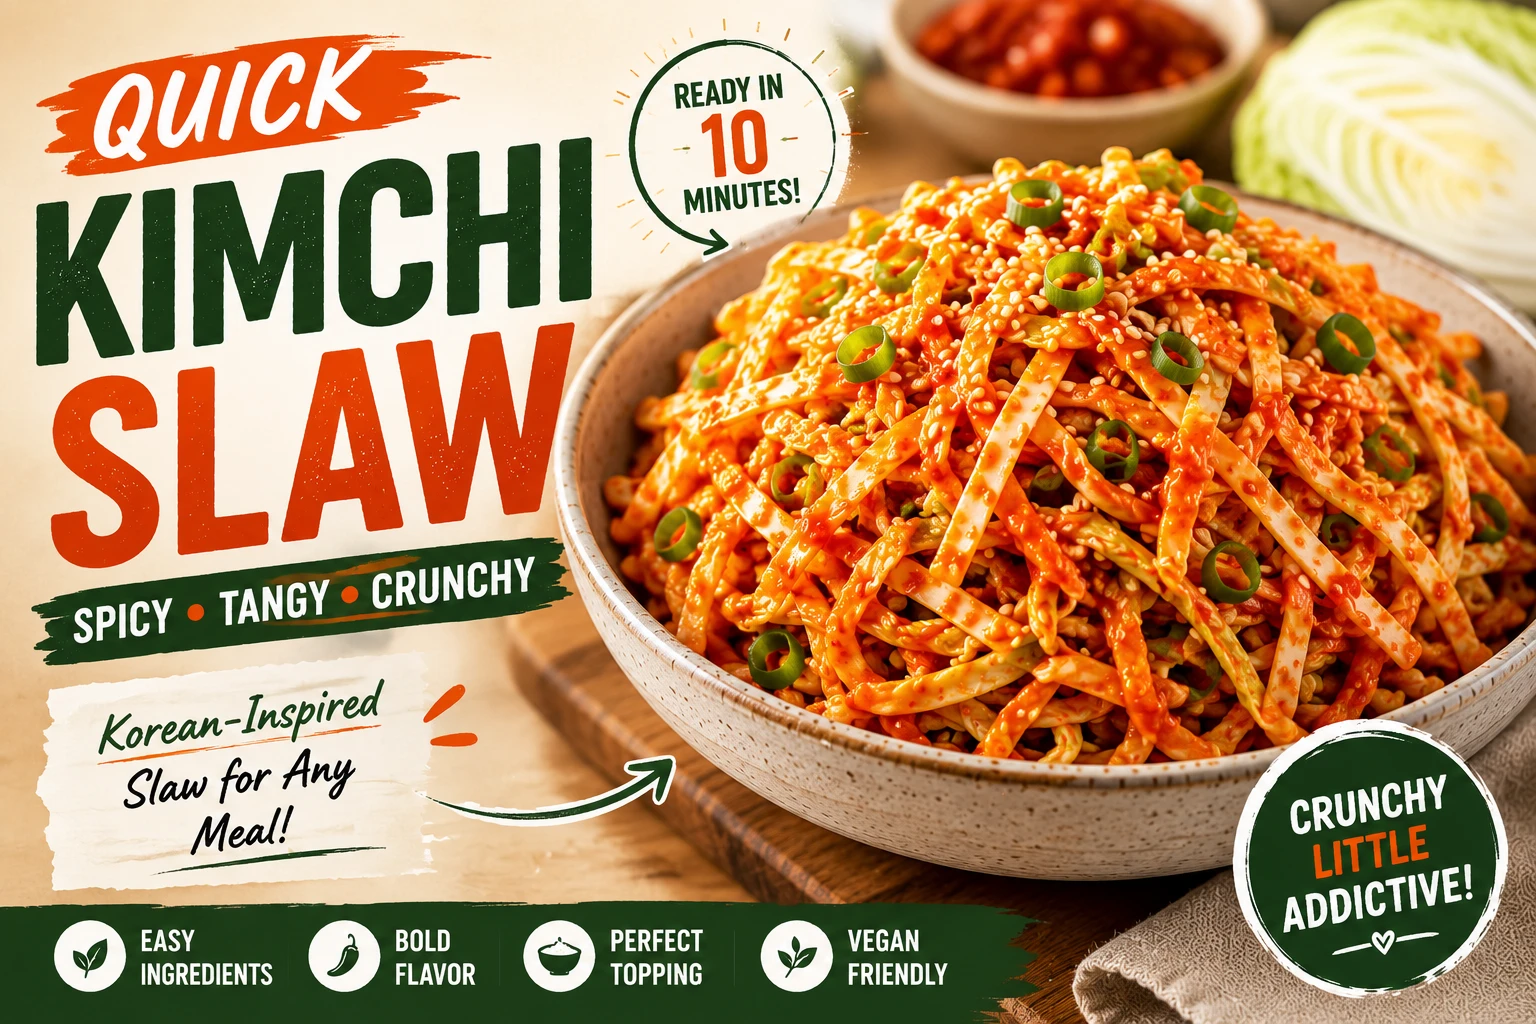
Kimchi tacos, quick kimchi slaw
Level 2
🍳
Intermediate — Level 3
Kimchi burger — smash technique and timing
Level 3
🔥
Advanced — Level 4
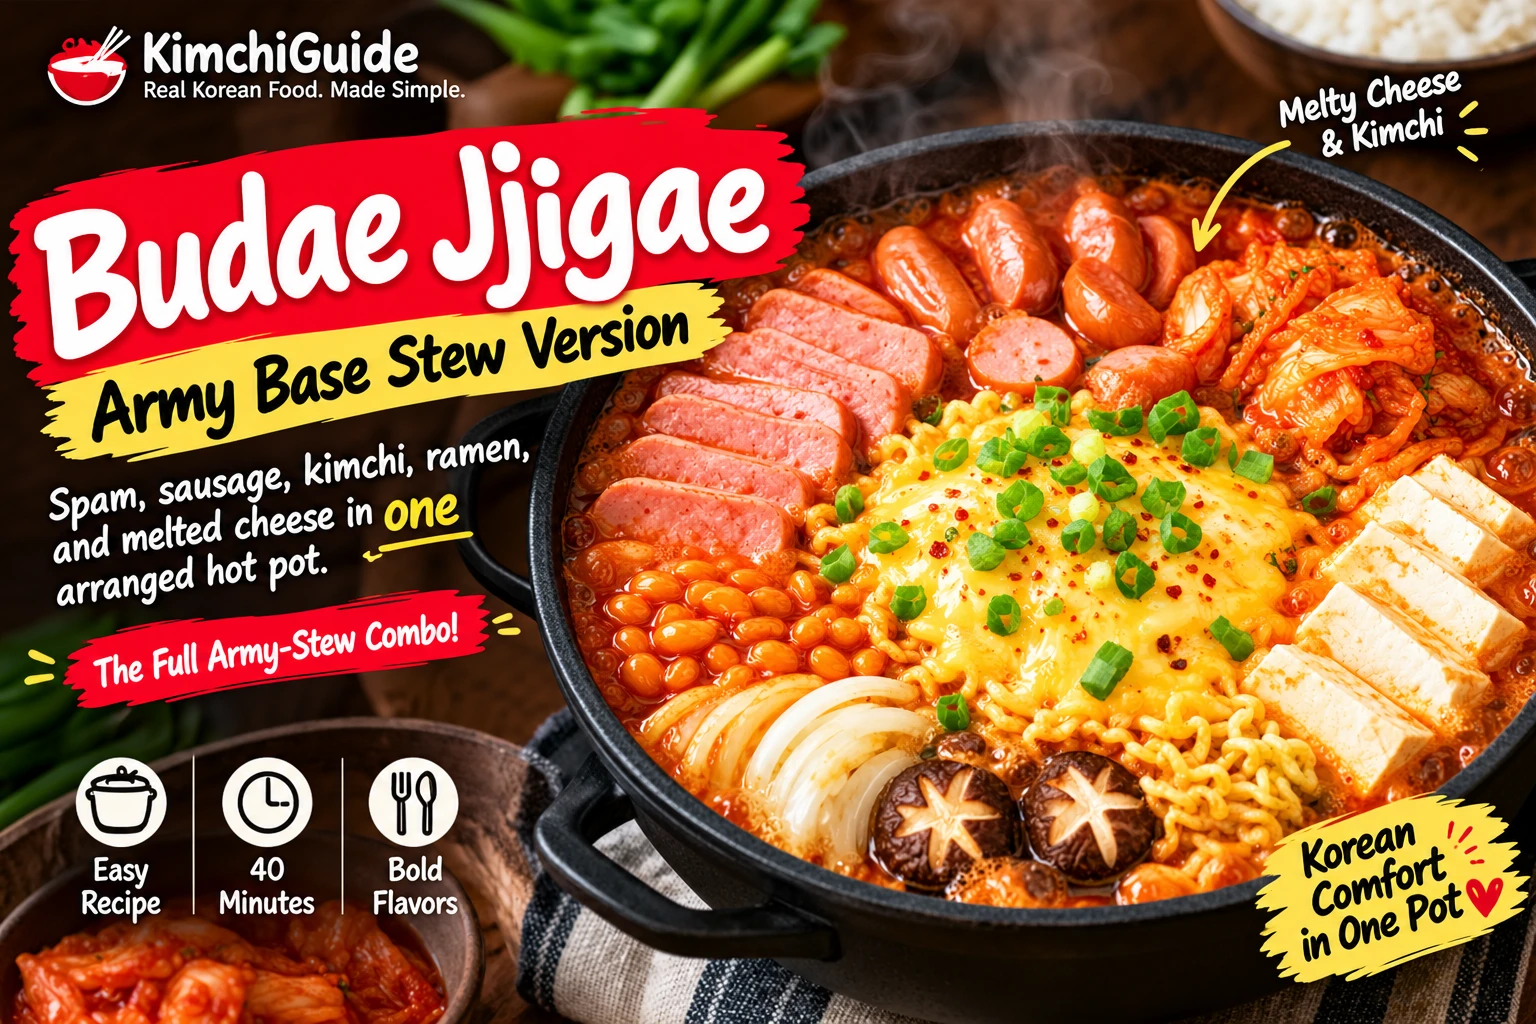
Budae jjigae — multiple components, timing-sensitive
Level 4
👨‍🍳
Expert — Level 5
Homemade kimchi fermentation from scratch
Level 5
✓ Basic knife skills✓ One pan✓ 10 min totalNo egg timing requiredNo marinating
What You Need

Ingredients + Scaler

Six ingredients, all simple to find — the technique matters more than any specific product.

Sandwiches:
2
🧀 Handling note: Squeeze the kimchi over the sink until it stops dripping before chopping — this is the single step that determines whether the sandwich holds together.
Bread & Spread
4 slices
sourdough bread (or white sandwich bread)See our bread comparison above
3 tbsp
unsalted butter, softenedKEY
1 tbsp
Kewpie mayonnaise (or regular mayo)KEY
Optional
1 tsp gochujang, stirred into the spreadFor the spicy version — see the heat adjuster tool below
Filling
1 cup
aged kimchi (Stage 2-3), squeezed and choppedNot sure what “Stage 3” means? See our kimchi fermentation stages guideKEY
6 slices
American cheese (or 1 cup shredded mozzarella / mild cheddar)See our cheese comparison above
To taste
flaky salt, for finishing (optional)
Step-by-Step — Cheese-Kimchi-Cheese Method

How to Make Kimchi Grilled Cheese — 4 Steps

Four steps, ten minutes. The two moments that matter most: squeezing the kimchi properly, and resisting the urge to raise the heat.

01
Squeeze and Chop the Kimchi
Squeezing kimchi over sink for kimchi grilled cheese

Squeeze the kimchi firmly in your fist over the sink until it stops dripping, then chop into small pieces.

Save the squeezed liquid — it’s intensely flavourful and works well stirred into soups, marinades, or dips. This four-second step is the difference between a sandwich that holds together and one that falls apart.

02
Make the Spread and Assemble
Assembling kimchi grilled cheese in cheese kimchi cheese order

Whisk softened butter and mayo together until smooth (stir in the gochujang here for the spicy version). Spread on one side of each bread slice.

On the unbuttered side, layer cheese, then the squeezed kimchi, then more cheese — cheese touches the bread on both sides of the kimchi, never the kimchi directly. Close the sandwiches, buttered sides facing out.

💡
Keep the kimchi layer thin and even. A thick clump in the centre heats unevenly and can push the sandwich apart when you flip it.
03
Toast Low and Slow, First Side
Toasting first side of kimchi grilled cheese in cast iron pan

Place the sandwiches in a cold pan, buttered side down, then turn the heat to medium-low. Cook 3-4 minutes, checking occasionally, until the underside is deep golden brown.

⚠️
Do not start with a hot pan. The single most common mistake — a hot pan browns the bread before the cheese has had time to melt through.
04
Flip, Finish, and Serve
Kimchi grilled cheese cut in half showing melted cheese pull

Flip carefully with a wide spatula and cook the second side 3-4 minutes more, until both sides are deep golden and the cheese is fully melted through — you should see it slightly bulging at the edges.

Rest 60 seconds off the heat before cutting — this lets the cheese settle so it holds together on the diagonal cut instead of pulling out in one long string. Serve immediately.

Interactive Tool
🌶️ Gochujang Mayo Heat Adjuster
Move the slider to your heat preference — the gochujang amount for the butter-mayo spread updates automatically. The kimchi itself stays the same; only the spread’s heat changes.
😌 No Heat🌶 Mild🔥 Korean Hot
No HeatMildMediumHotKorean Hot
🌶 Mild
A gentle background warmth — the standard version written in the recipe above has no gochujang at all, so this is already an upgrade.
Gochujang in Spread½ tsp
Best Cheese PairingAmerican or mozzarella
Interactive Tool
⏱️ Toasting Timer
Start this the moment the sandwich hits the pan. 3½ minutes is the standard window for a cold-start pan on medium-low — check for deep golden colour rather than the clock alone, then flip.
3:30
Ready — press start the moment the sandwich hits the pan
Test Kitchen — 5 Builds

What We Tested for Kimchi Grilled Cheese

Three variables decide whether this tastes like a proper kimchi grilled cheese or just a sandwich with kimchi dropped on top. Here’s what we found.

Build 1 · Spread
Butter Alone vs Butter-Mayo
Butter alone: uneven browning, occasional burnt patches. Butter-mayo: consistently even, deep golden crust across every test.
✅ Always use the butter-mayo spread
Build 2 · Kimchi Placement
On Bread vs Between Cheese
Kimchi directly on bread: soggy within minutes, even squeezed. Kimchi between two layers of cheese: bread stayed crisp through the whole sandwich.
✅ Cheese-kimchi-cheese, always
Build 3 · Heat
Hot Pan vs Cold-Start Pan
Hot pan: bread burned before cheese fully melted. Cold-start, medium-low: full melt, even golden crust, no burning.
✅ Start cold, build heat gradually
Build 4 · Cheese
Sharp Cheddar vs Mild Cheese
Sharp cheddar fought the kimchi’s acidity and tasted disjointed. American and mozzarella let the kimchi lead and melted more evenly.
✅ Mild, melty cheese wins
Build 5 · Kimchi Stage
Young vs Ripe Kimchi
Both worked — young kimchi produced a milder, more approachable result; ripe kimchi gave more complexity. Neither was objectively wrong.
✅ Most forgiving recipe for kimchi stage
🔑 Key Finding — Technique Matters More Than Ingredients Here

Every individual ingredient in this recipe is genuinely ordinary — bread, butter, cheese, kimchi. The entire skill is in the three techniques: the butter-mayo spread, the cheese-kimchi-cheese structure, and patient low heat. Get those right and even a first attempt tastes like the real thing.

Kimchi grilled cheese sandwich cut on the diagonal showing melted cheese and kimchi

Kimchi Grilled Cheese

Butter-mayo spread · cheese-kimchi-cheese · 10 min · ~480 calories, 18g protein

This recipe card includes Amazon affiliate links (tag: kimchiguide-20) to the exact equipment used — see the Shop This Recipe section below.
Share:
5m
Prep
8m
Cook
10m
Total
2
Sandwiches
480
Calories
Beginner
Level
Ingredients
  • 4 slices sourdough (or white sandwich bread)
  • 3 tbsp softened butter + 1 tbsp Kewpie mayo
  • Optional: 1 tsp gochujang, stirred into the spread
  • 1 cup aged kimchi (Stage 2-3), squeezed and chopped
  • 6 slices American cheese (or 1 cup shredded mozzarella/mild cheddar)
  • Flaky salt, to finish (optional)
Instructions
  1. Squeeze kimchi firmly over the sink, then chop small.
  2. Whisk butter and mayo together; spread outside of bread. Layer cheese-kimchi-cheese inside; close sandwiches.
  3. Place in a cold pan, buttered side down; heat medium-low, 3-4 min until deep golden.
  4. Flip, cook 3-4 min more until cheese is fully melted. Rest 60 sec, cut, serve hot.
480
Calories
34g
Carbs
18g
Protein
31g
Fat
2g
Fibre
980mg
Sodium
Shop This Recipe

🛒 Shop the Ingredients & Equipment

The exact-type ingredients and equipment used for this recipe, plus what to use if you’re starting from scratch.

Cast Iron Skillet (10-inch)
The pan we test every build in — even heat retention is what makes the low-and-slow method work.
Shop on Amazon →
Kewpie Mayonnaise
The mayo behind the spread’s signature richness — see our gochujang mayo guide for other uses.
Shop on Amazon →
Gochujang (Korean Chili Paste)
For the optional spicy spread — a standard supermarket-brand tub works fine for this recipe.
Shop on Amazon →
American Cheese Slices
Our top-ranked cheese in testing — engineered to melt into a perfectly smooth layer.
Shop on Amazon →
Wide Fish Spatula
A wide, thin spatula makes the flip clean without losing filling — more reliable than a standard turner.
Shop on Amazon →
Sourdough Bread Knife
A proper serrated knife makes clean diagonal cuts without squashing the melted layers.
Shop on Amazon →
Glass Airtight Storage Containers
For storing extra kimchi and any leftover components — see the Storage section above.
Shop on Amazon →
Gochugaru (Korean Chili Flakes)
Not used in this recipe directly, but essential for making your own kimchi — see our gochugaru guide.
Shop on Amazon →
You Are Viewing: Kimchi Grilled Cheese

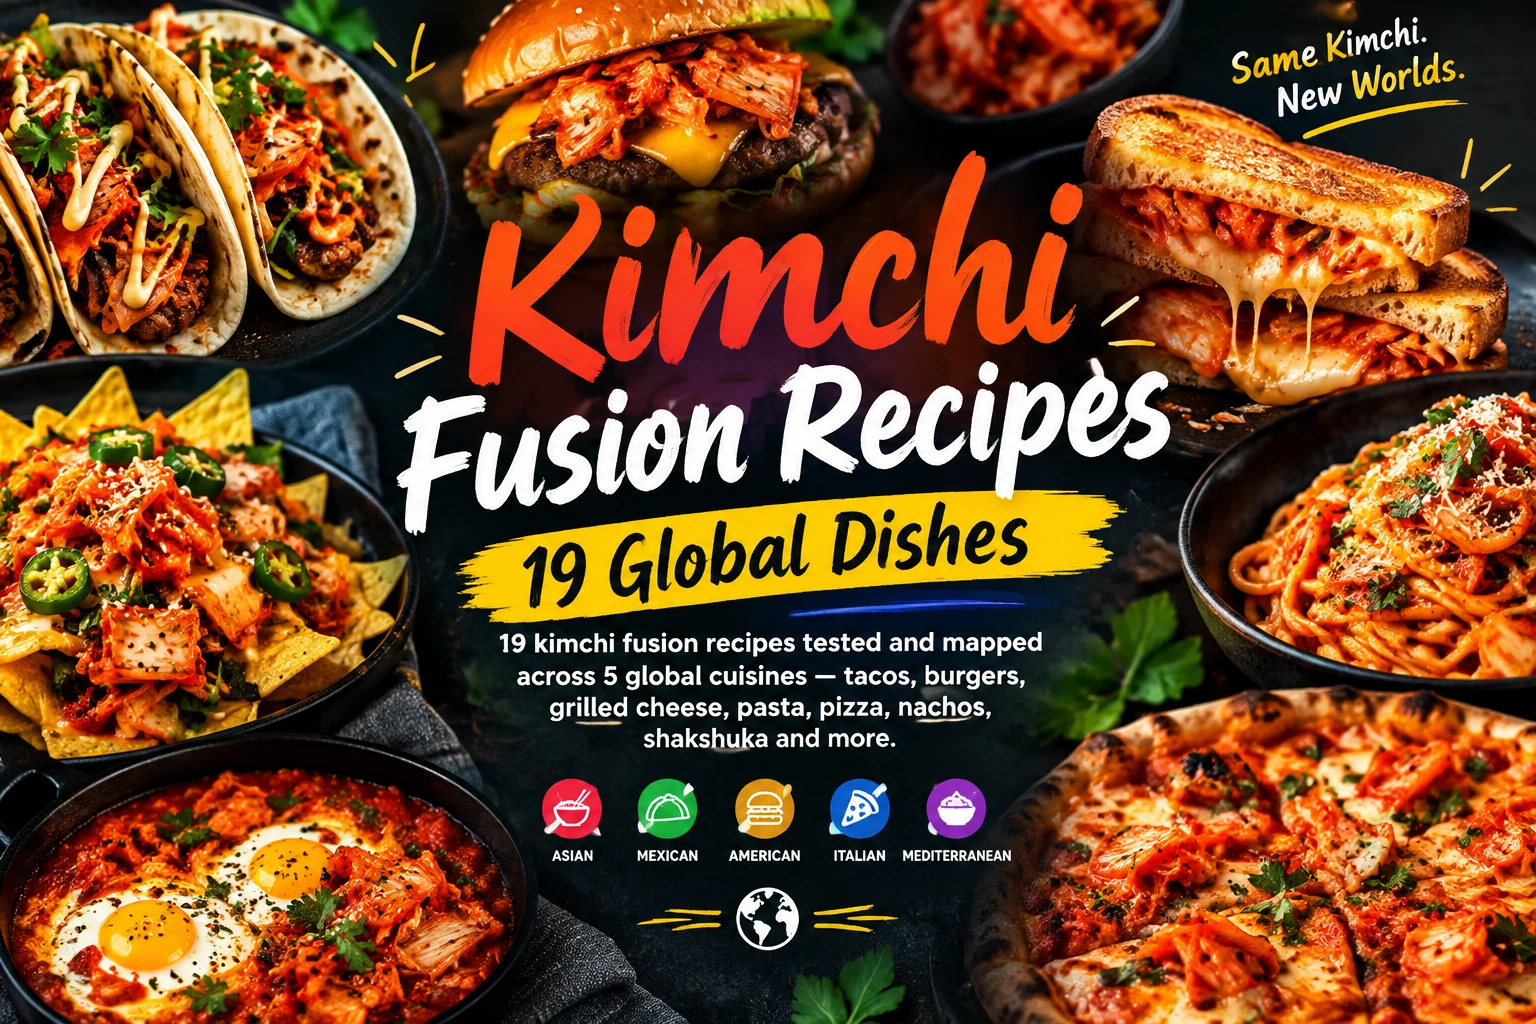
The Kimchi Fusion Family — 19 Recipes

This is Pillar #2 of a growing 19-recipe fusion silo. The Kimchi Fusion Recipes Hub → tracks every recipe — live and in development — as it’s published.

13 more recipes — including kimchi pasta, tacos-adjacent quesadilla, pizza, mac and cheese, and shakshuka — are in development. See the full fusion hub for current status on each.

What to Serve With It

Pairing Guide — Kimchi Grilled Cheese

This is a rich, cheese-forward sandwich — pairings work best when they’re light and acidic rather than adding more richness.

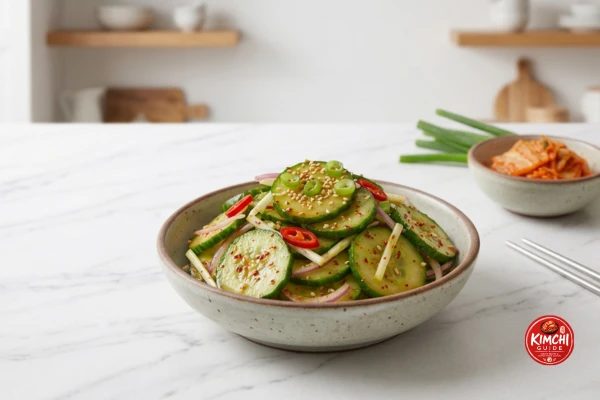
Oi muchim Korean cucumber salad pairing kimchi grilled cheese
Oi Muchim (Cucumber Salad)
Cool, crisp, and acidic — a genuinely necessary contrast to the richness of butter and cheese.
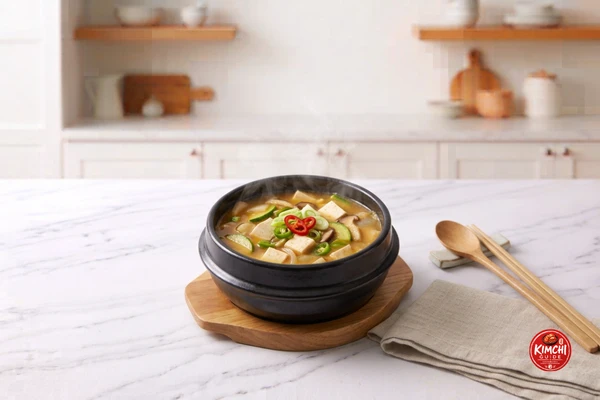
Doenjang jjigae Korean soybean stew pairing kimchi grilled cheese
Doenjang Jjigae
A savoury, tomato-soup-style pairing for the classic soup-and-sandwich combination, Korean-style.
Quick kimchi slaw side dish pairing kimchi grilled cheese
Already live on this site — the same no-cook slaw that pairs with the burger works just as well here.
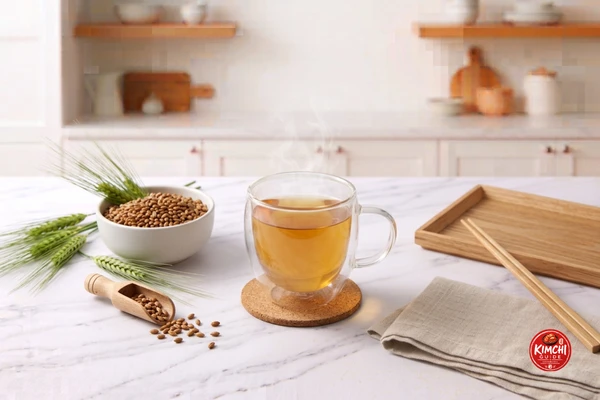
Boricha barley tea pairing kimchi grilled cheese
Boricha (Barley Tea)
Calorie-free and traditional — a clean palate cleanser between bites of a rich sandwich.
Store & Reheat

Storage & Reheating — Kimchi Grilled Cheese

Best eaten fresh — but the components hold up well separately if you want to prep ahead.

❄️
Unassembled Components 2-3 days
Squeeze and chop the kimchi, portion the cheese, and mix the butter-mayo spread ahead — store separately, assemble and toast fresh.
⚠️
Fully Cooked Sandwich Not recommended
A finished grilled cheese doesn’t reheat well — the bread softens and the cheese can separate. Cook fresh whenever possible.
🍳
Reheat — Pan (Best) 2-3 minutes
If you must reheat a cooked sandwich, do it in a dry pan over low heat with a lid — this re-crisps the bread and re-melts the cheese without burning.
🚫
Microwave Avoid
Turns the bread soft and rubbery instead of crisp. Use the pan method above whenever possible.
Full Nutrition Breakdown

Detailed Nutrition — Kimchi Grilled Cheese

A complete per-sandwich breakdown, reviewed by Dr. Sarah Mitchell RD, PhD.

Nutrition Facts

Per sandwich — recipe makes 2 sandwiches

Calories480
Total Fat31g40% DV
Saturated Fat16g80% DV
Unsaturated Fat15g
Sodium980mg43% DV
Total Carbohydrate34g12% DV
Dietary Fibre2g7% DV
Total Sugars4g
Protein18g36% DV
Calcium (from cheese)~25% DV
Vitamin C (from kimchi)~10% DV

How Kimchi Grilled Cheese Compares to Live Fusion Recipes

RecipeCaloriesProteinTimeDifficulty
Kimchi Tacos38017g25 minEasy
Kimchi Grilled Cheese ← This page48018g10 minBeginner
Quick Kimchi Slaw902g10 minBeginner
Kimchi Gyeran-mari21013g15 minEasy
Kimchi Burger52026g25 minIntermediate
Budae Jjigae48024g30 minAdvanced
💡
Dr. Sarah Mitchell RD, PhD note: This sandwich’s saturated fat is on the higher end for a quick meal, largely from the double layer of cheese and the butter-mayo spread. Using a single layer of a lighter cheese, or swapping half the butter for a neutral oil in the spread, reduces saturated fat noticeably without changing the technique that makes the crust work.
Frequently Asked Questions

Kimchi Grilled Cheese FAQ — 16 Questions

Three things: a butter-mayo spread instead of butter alone for more even browning, squeezed and chopped kimchi sandwiched between two layers of cheese rather than on top of the bread, and low-and-slow heat so the cheese fully melts before the bread burns.

Mayo is mostly oil and egg, which browns more evenly than butter alone and has a higher smoke point, so it’s more forgiving of a slightly-too-hot pan. Kewpie mayo in particular adds a savoury depth that plain butter doesn’t.

Cheese melts into a barrier that keeps kimchi brine away from the bread. Kimchi placed directly against bread, even squeezed, will start softening it within a couple of minutes.

This is the most forgiving recipe in the fusion family for kimchi stage — Stage 2 (young) works nearly as well as Stage 3 (ripe), since the cheese and bread round out a lot of sharpness either way. Stage 3 still gives the most complex result.
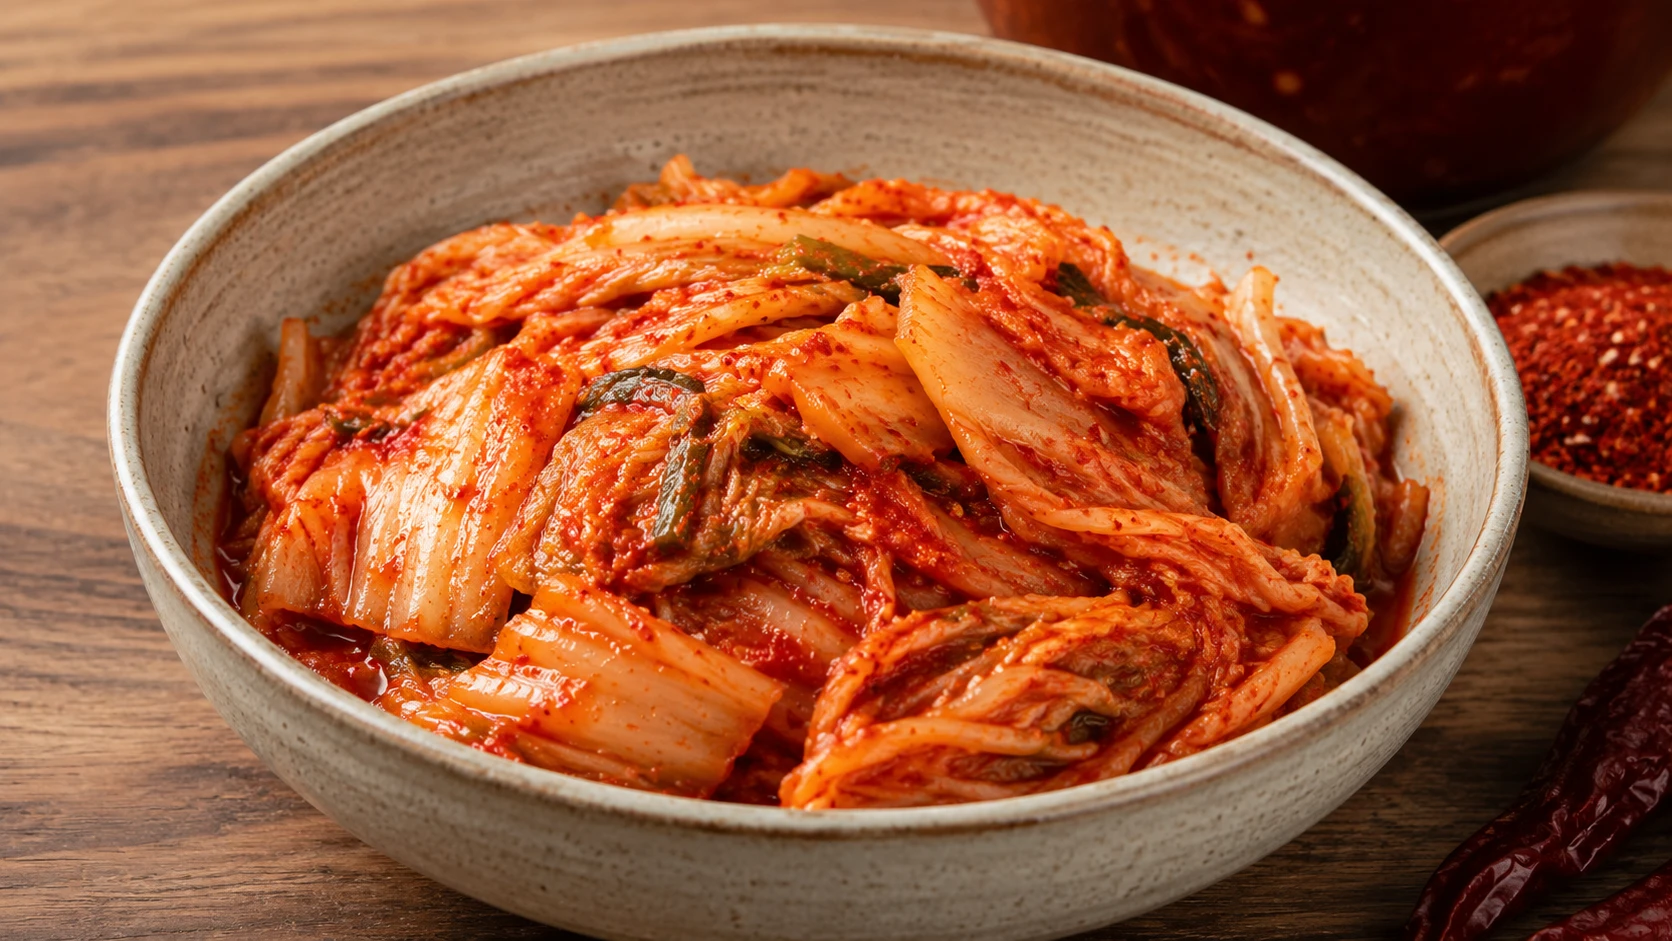
A mild, melty cheese — American, mozzarella, or a mild cheddar. Sharp cheddar, blue cheese, and other assertive cheeses fight the kimchi’s acidity instead of complementing it.

Both work. Sourdough’s tang echoes the kimchi’s fermented flavour and holds up slightly better structurally. White sandwich bread gives a softer, more classic diner-style melt but needs a bit more care with timing to avoid sogginess.

Yes. Regular mayo works fine in the spread. For a closer approximation of Kewpie’s flavour, add a few drops of rice vinegar to regular mayo before mixing it with the butter.

Stir 1 teaspoon of gochujang into the butter-mayo spread before toasting — use the heat adjuster tool above to scale it up. The spread carries the spice evenly across the whole crust.

Yes — use vegan kimchi without fish sauce, a vegan butter and mayo alternative, and a melty vegan cheese. The technique (butter-mayo spread, cheese-kimchi-cheese layering, low heat) stays the same.

Almost always under-squeezed kimchi. Squeeze it firmly in your fist over the sink until it stops dripping before chopping — this single step prevents most sogginess issues.

The pan was too hot. Grilled cheese wants medium-low heat and patience — starting the sandwich in a cold pan and letting it heat up gradually with the sandwich already in it gives the most even result.

Assemble unbuttered sandwiches ahead and refrigerate up to a day, then spread and toast fresh. A fully cooked grilled cheese doesn’t reheat well — the bread goes soft and the cheese can separate.

Thin slices of ham, bacon, or leftover bulgogi work well layered in with the cheese and kimchi. Keep the additions thin so the sandwich still closes and toasts evenly.

Mildly, from the kimchi itself — the cheese and bread mellow it considerably. Add gochujang to the spread if you want more heat.

A light, acidic side works best against the richness — cucumber salad, a simple soup, or a cold Korean side dish. See the pairing guide above.

Approximately 480 calories per sandwich as written, with 18g protein and 31g fat. Using a single layer of cheese instead of two brings this down meaningfully.


Ji-Young Park Korean food writer KimchiGuide
Written by
Ji-Young Park
Korean Food Writer & Fermentation Expert
Fermentation Expert Seoul Food Certified 5 Builds Tested 15 Years Experience
Ji-Young Park built this as the entry point into the whole kimchi fusion collection — the fastest, most forgiving recipe in the silo, but with the same rigor (five full builds, ingredient-by-ingredient testing) as the more involved recipes.
Full profile →
Dr Sarah Mitchell RD PhD nutrition reviewer KimchiGuide
Reviewed by
Dr. Sarah Mitchell
Registered Dietitian, PhD Nutrition Science
RD — Registered Dietitian PhD Nutrition Science Fermented Foods Specialist Reviewed: September 16, 2026
Dr. Sarah Mitchell reviewed all nutritional data in this article and flagged the saturated fat content as the main figure worth moderating, alongside practical ways to bring it down without changing the technique.
Full profile →

Leave a Reply