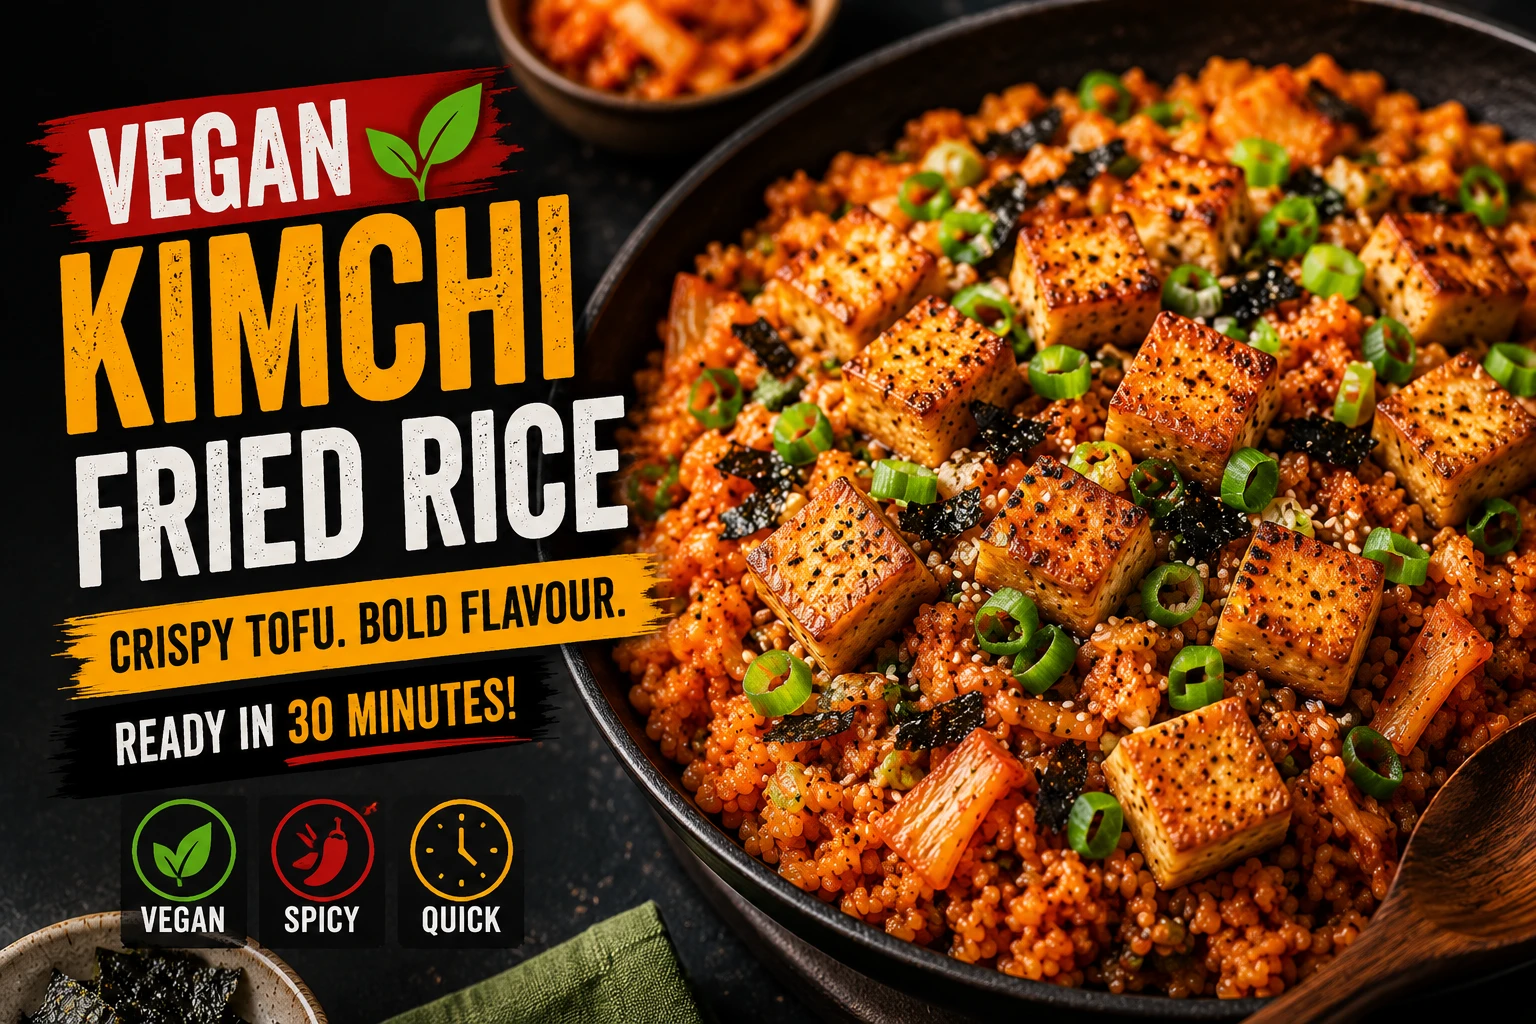
Vegan Kimchi Fried Rice (비건 김치볶음밥 — Plant-Based Kimchi Bokkeumbap)
All the sour-umami depth of kimchi fried rice, zero animal products. The technique hinges on two things: fish-sauce-free kimchi, and a press-and-sear crispy tofu topping that replaces the egg without just leaving a gap. Fully plant-based at approximately 380 calories with 14g of protein per serving.
What Is Vegan Kimchi Fried Rice?
Vegan kimchi fried rice — 비건 김치볶음밥 — is a fully plant-based version of the classic dish, built on kimchi fermented without fish sauce or shrimp paste, and finished with press-and-sear crispy tofu instead of an egg. The two variables that make this work: label-checked vegan kimchi (soy sauce or kelp stock replace jeotgal for umami), and properly pressed, cornstarch-coated tofu fried separately until crisp. Serves 2 in 25 minutes at approximately 380 calories and 14g protein per serving.
How to Make Vegan Kimchi Fried Rice
This plant-based kimchi fried rice takes 25 minutes: press and crisp-fry cornstarch-coated tofu separately, caramelise fish-sauce-free vegan kimchi, fold in cold rice with gochujang, and top with the crispy tofu — no egg, no animal products.
- Press: press extra-firm tofu 20 minutes, cube, coat in cornstarch.
- Crisp-fry: fry tofu separately until golden on multiple sides.
- Caramelise: fry vegan kimchi and garlic in the same pan.
- Combine: add gochujang, brine, cold rice — press-and-char technique.
- Finish: off heat, sesame oil, top with the crispy tofu, sesame seeds, nori.
Why This Version Works Without Losing Depth
Removing fish sauce and egg from kimchi fried rice sounds like it should flatten the dish — in practice, two substitutions rebuild both the umami and the protein-richness almost completely.
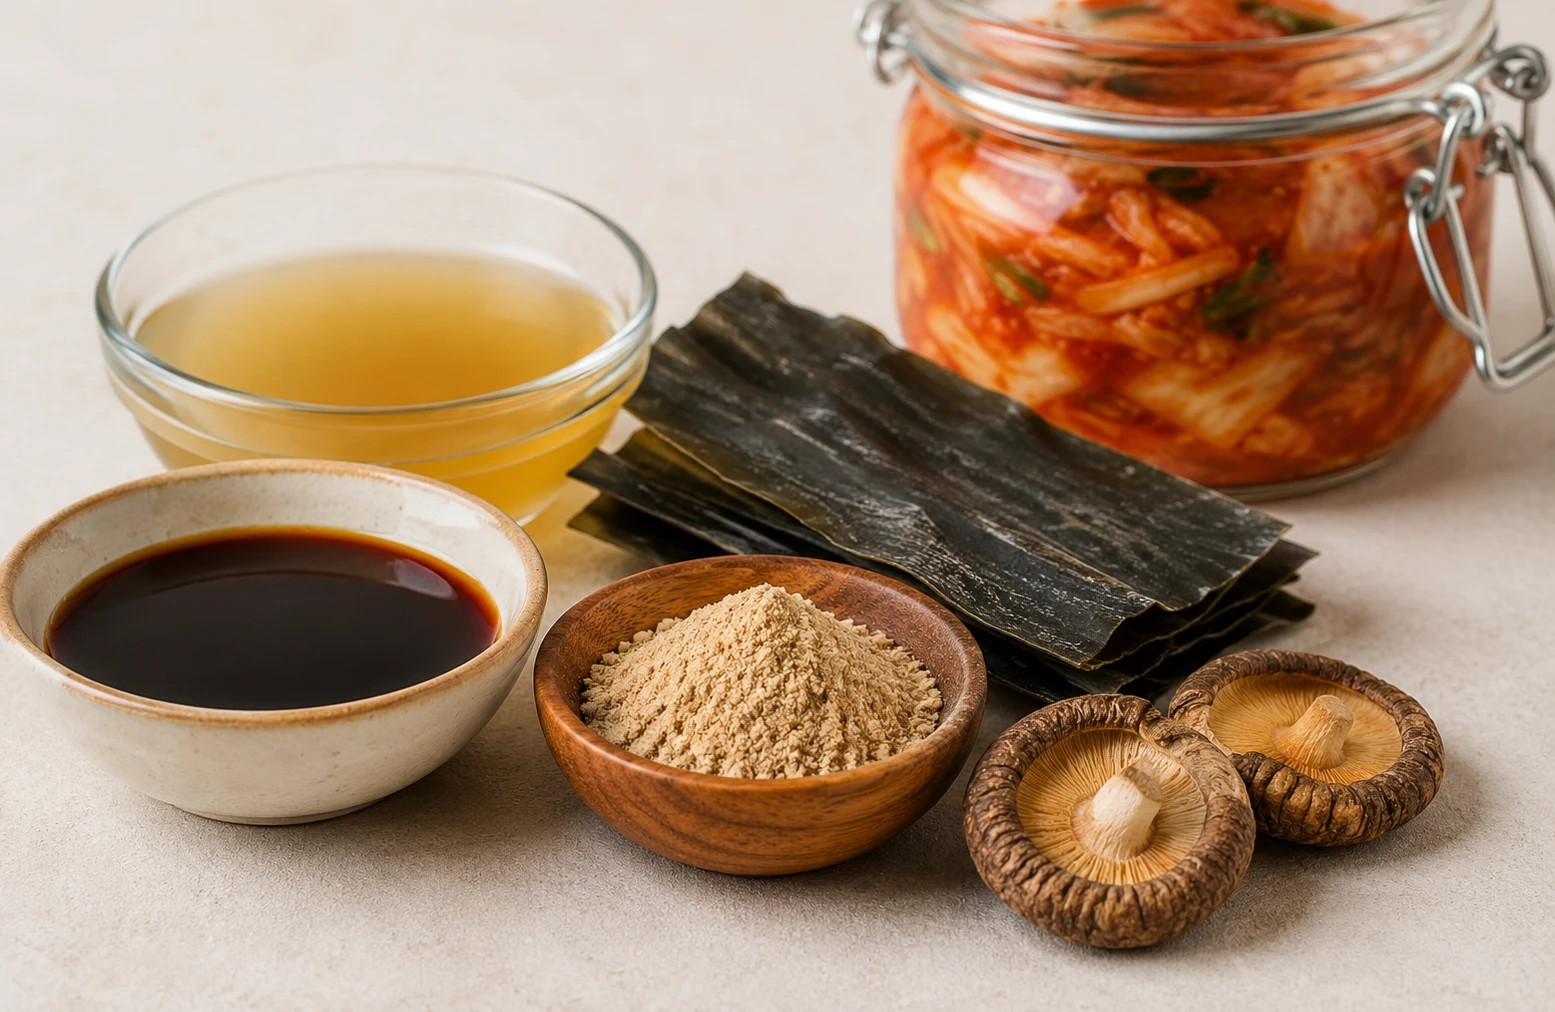
Soy sauce, kelp (dashima) stock, and mushroom powder all contribute glutamates — the same class of compound fish sauce provides.
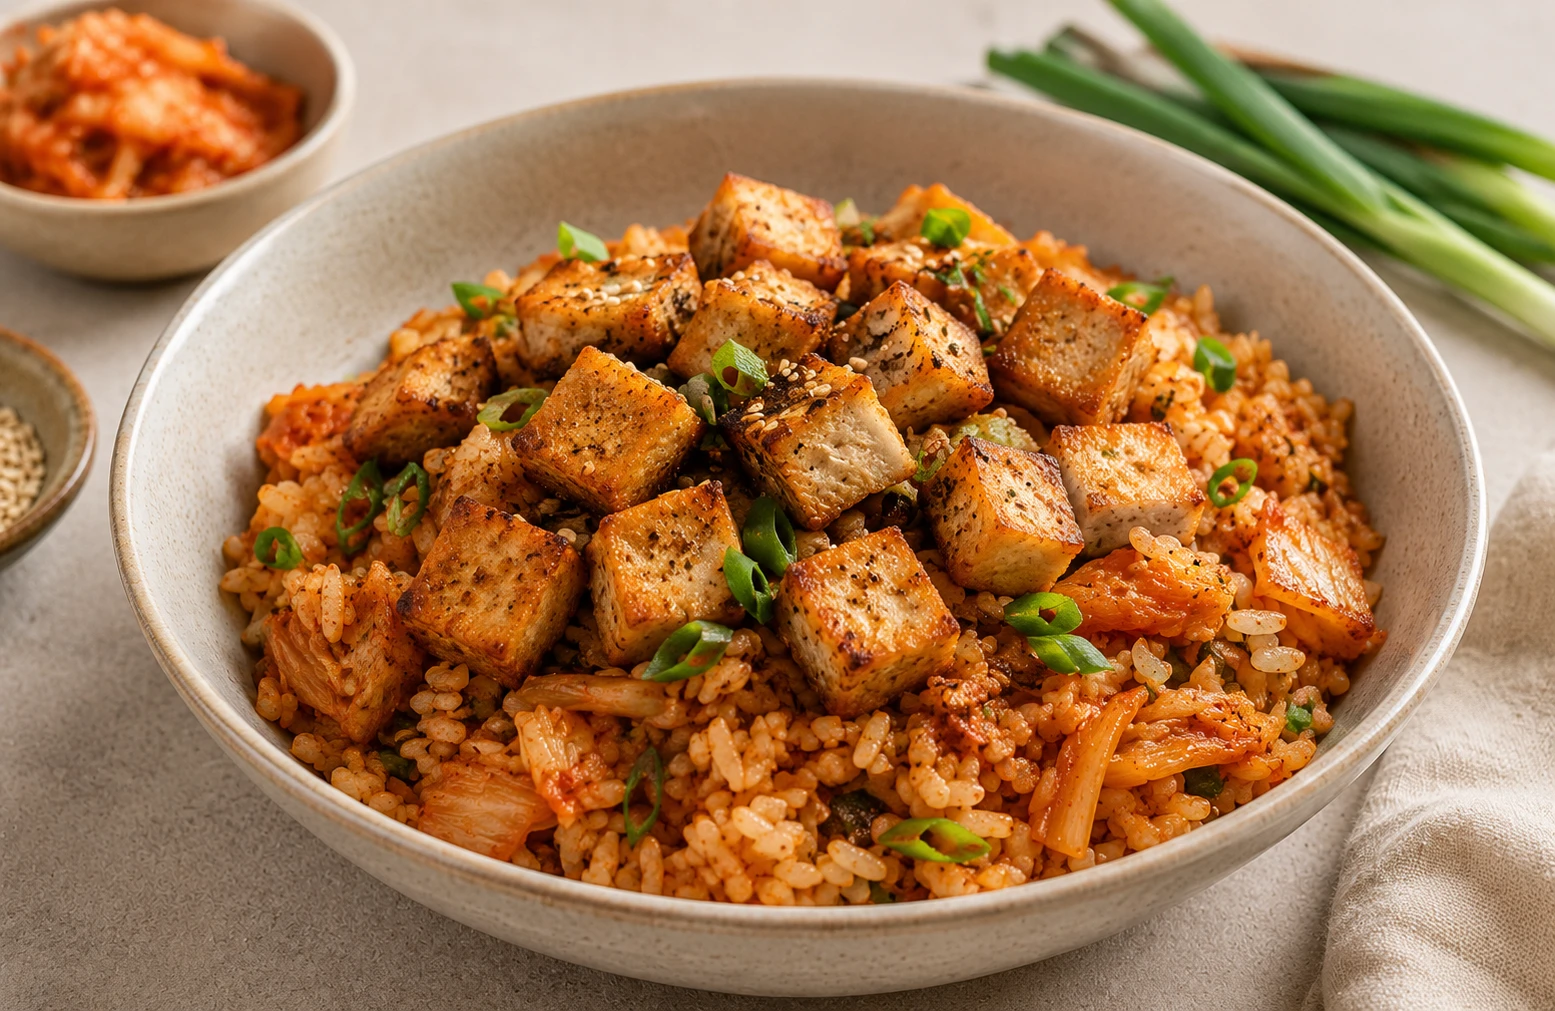
Crisp-fried tofu contributes a contrasting texture and concentrated protein hit — a functional swap, not a flavour-matching one.
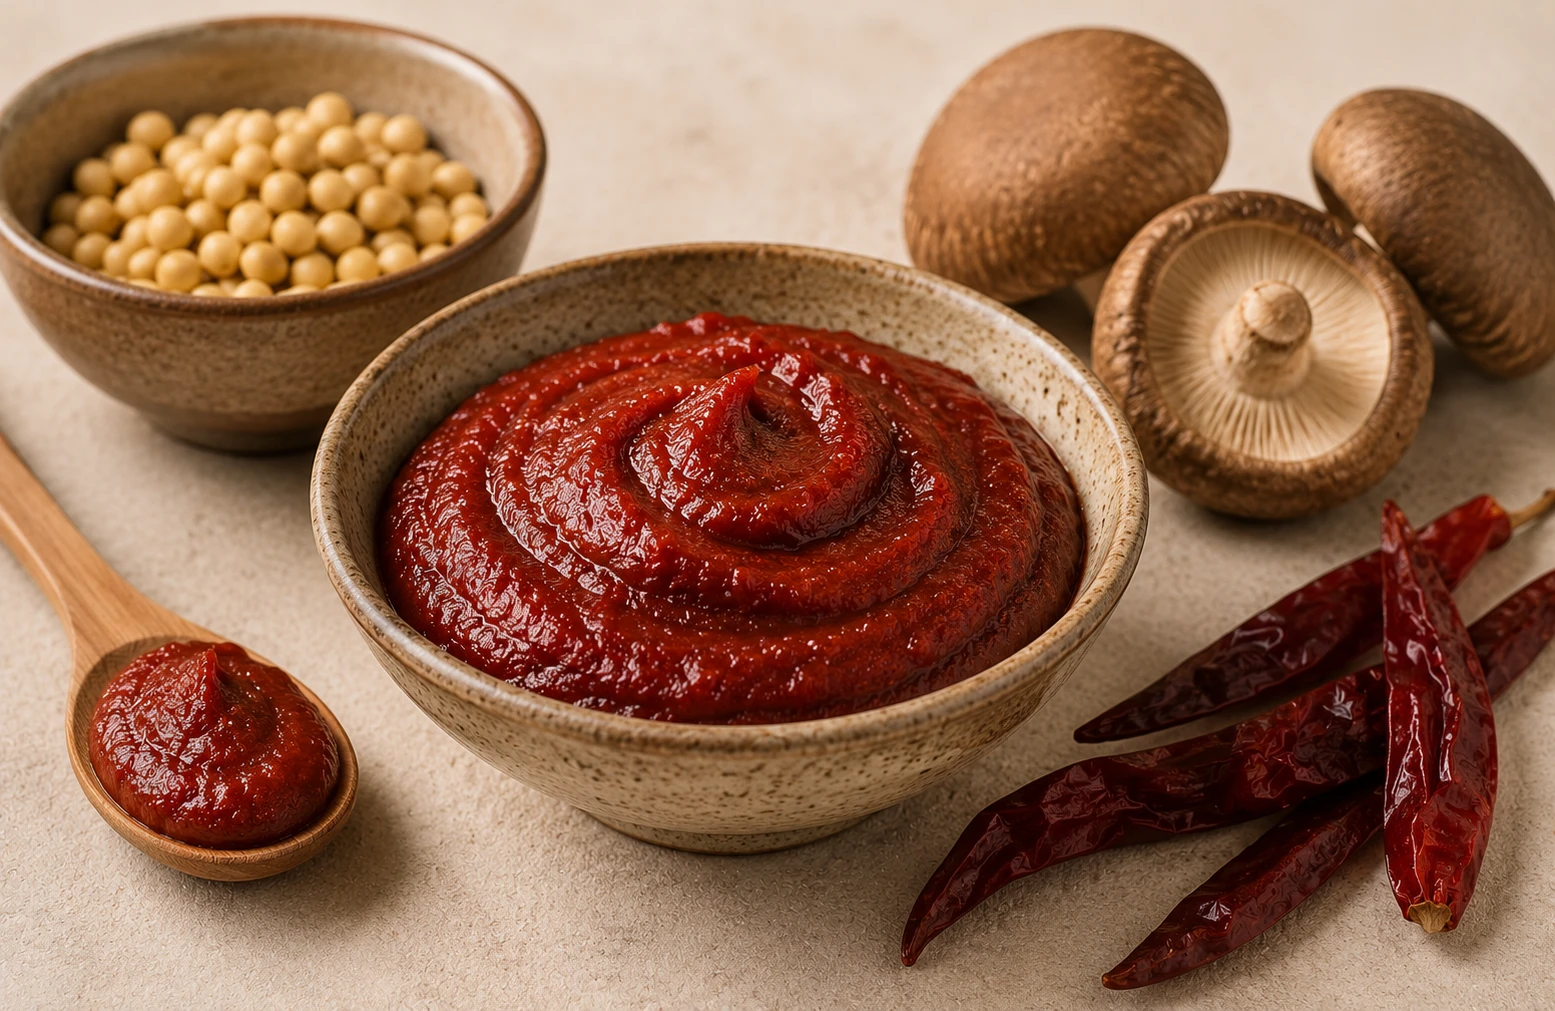
Gochujang is fermented soybean paste — already plant-based in nearly every mainstream brand — and provides a large share of the dish’s savoury depth.
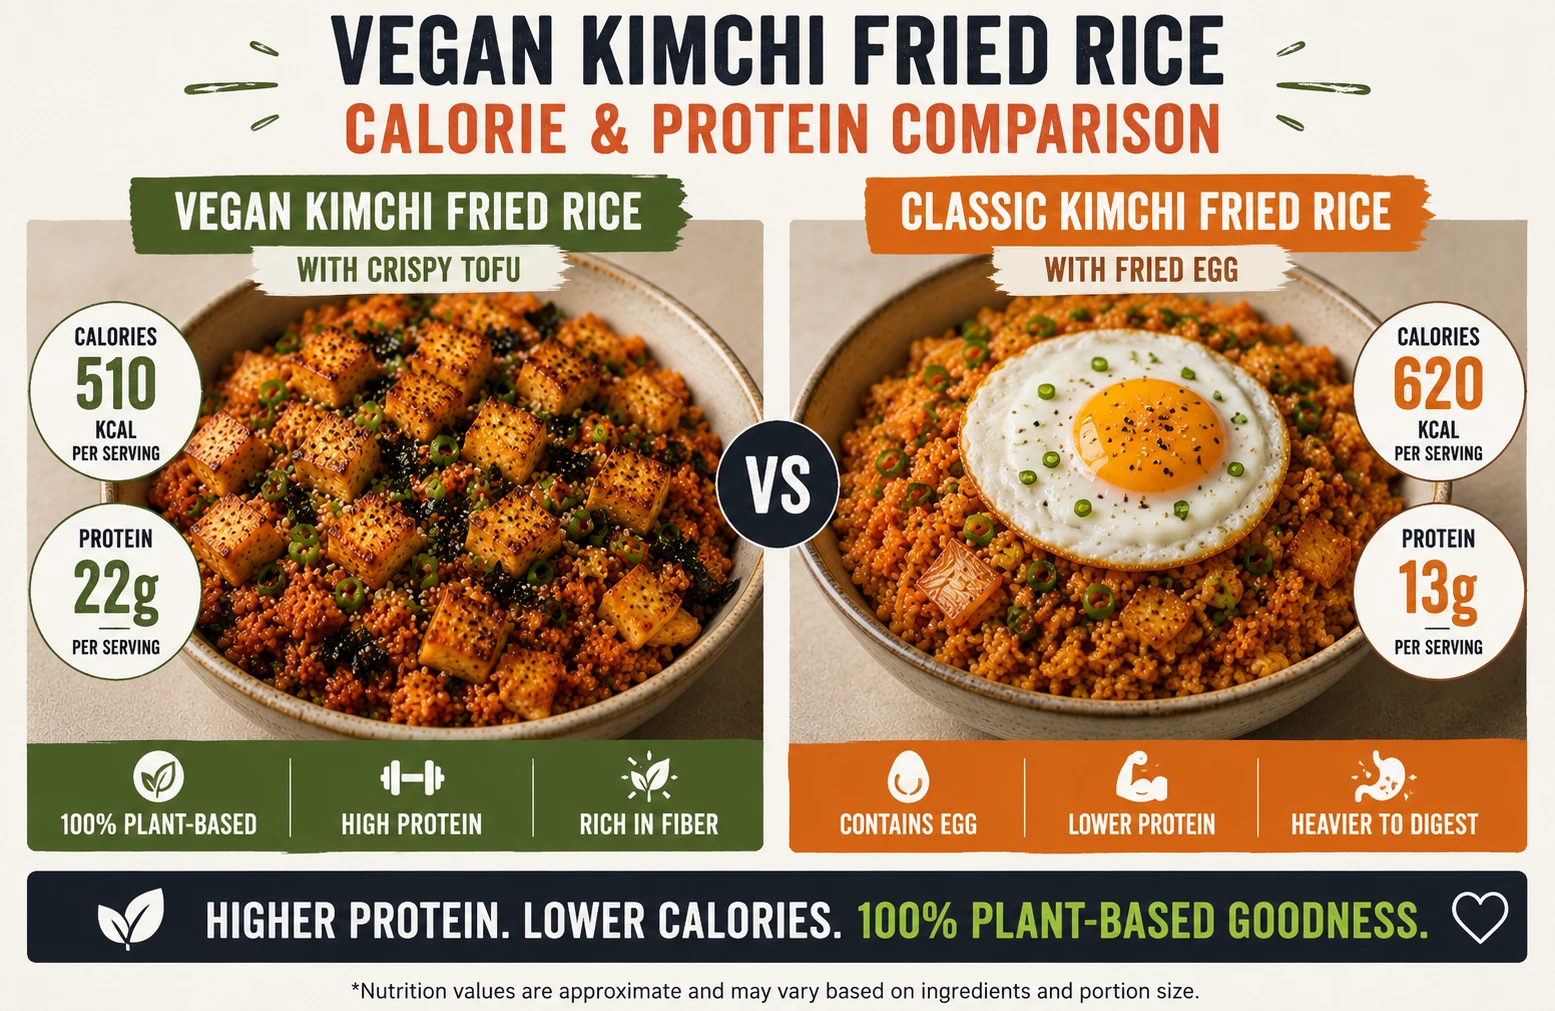
100g of pressed, crisped tofu carries roughly 8-10g protein — comparable to an egg’s 6-7g, keeping the dish’s protein content in the same range.
Crispy Tofu Is the Egg Replacement — Two Methods Compared
Most vegan kimchi fried rice recipes online skip this comparison entirely. We tested both approaches across 6 batches.
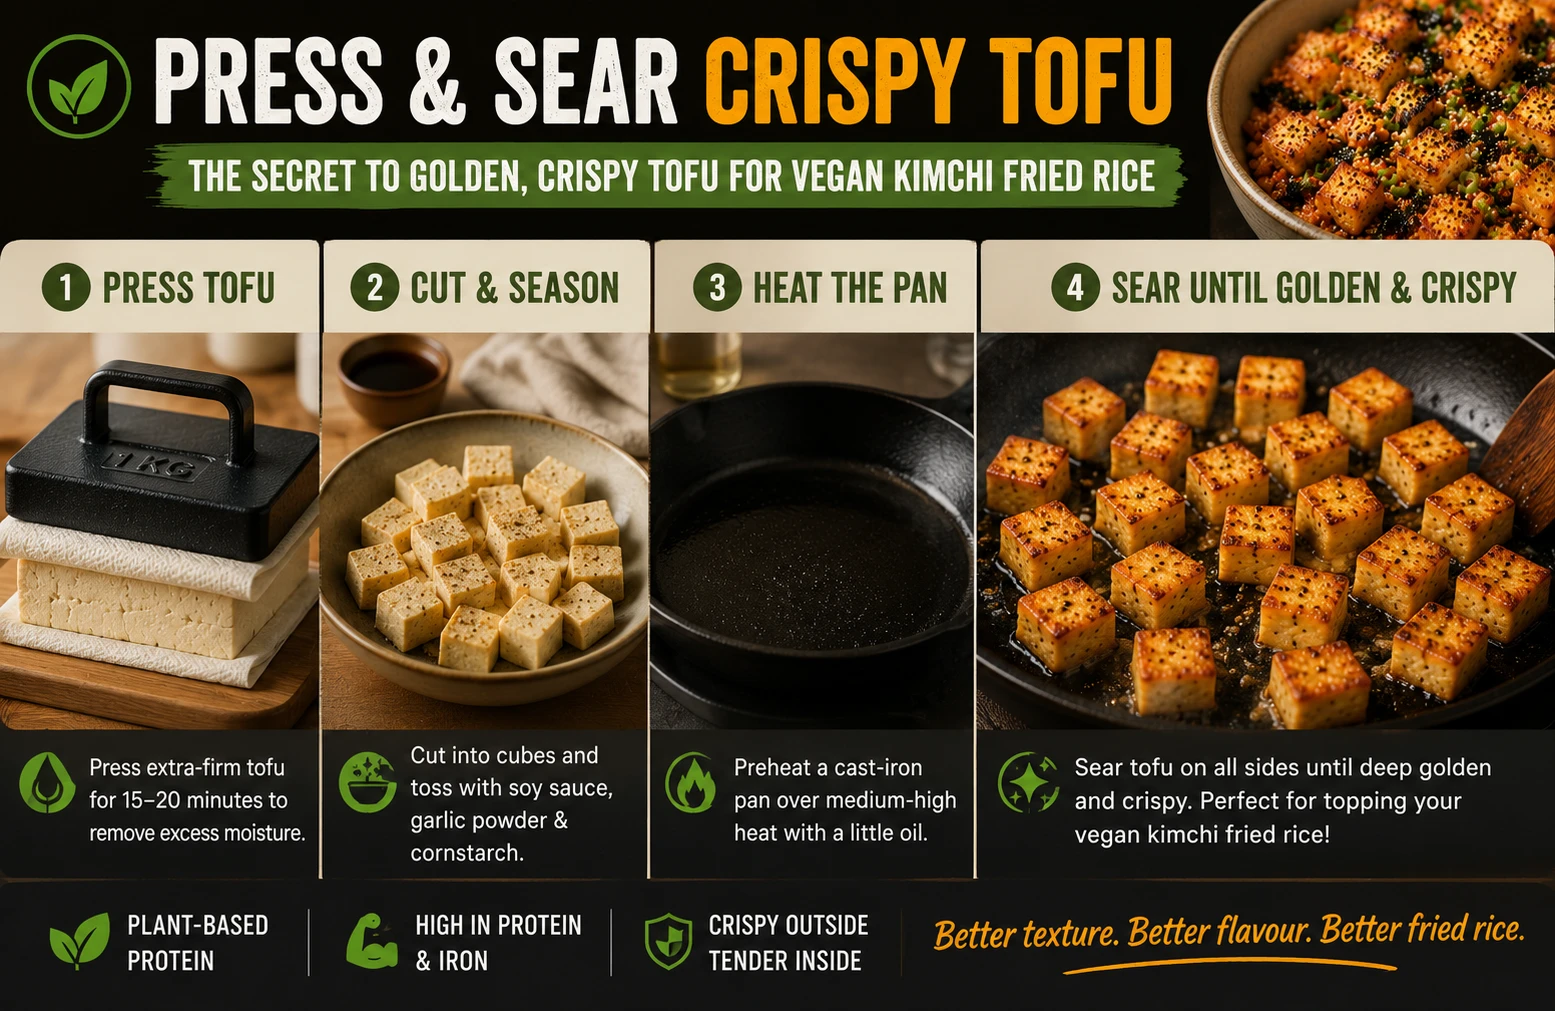
- Press extra-firm tofu 20 minutes, cube
- Toss with soy sauce, then dust in cornstarch
- Fry separately in a single layer, undisturbed 2-3 min per side
- Remove and reserve, add on top at the very end
Result: Distinct golden-brown crust, firm interior, holds its crispness even on top of hot rice. The correct technique in every batch test.
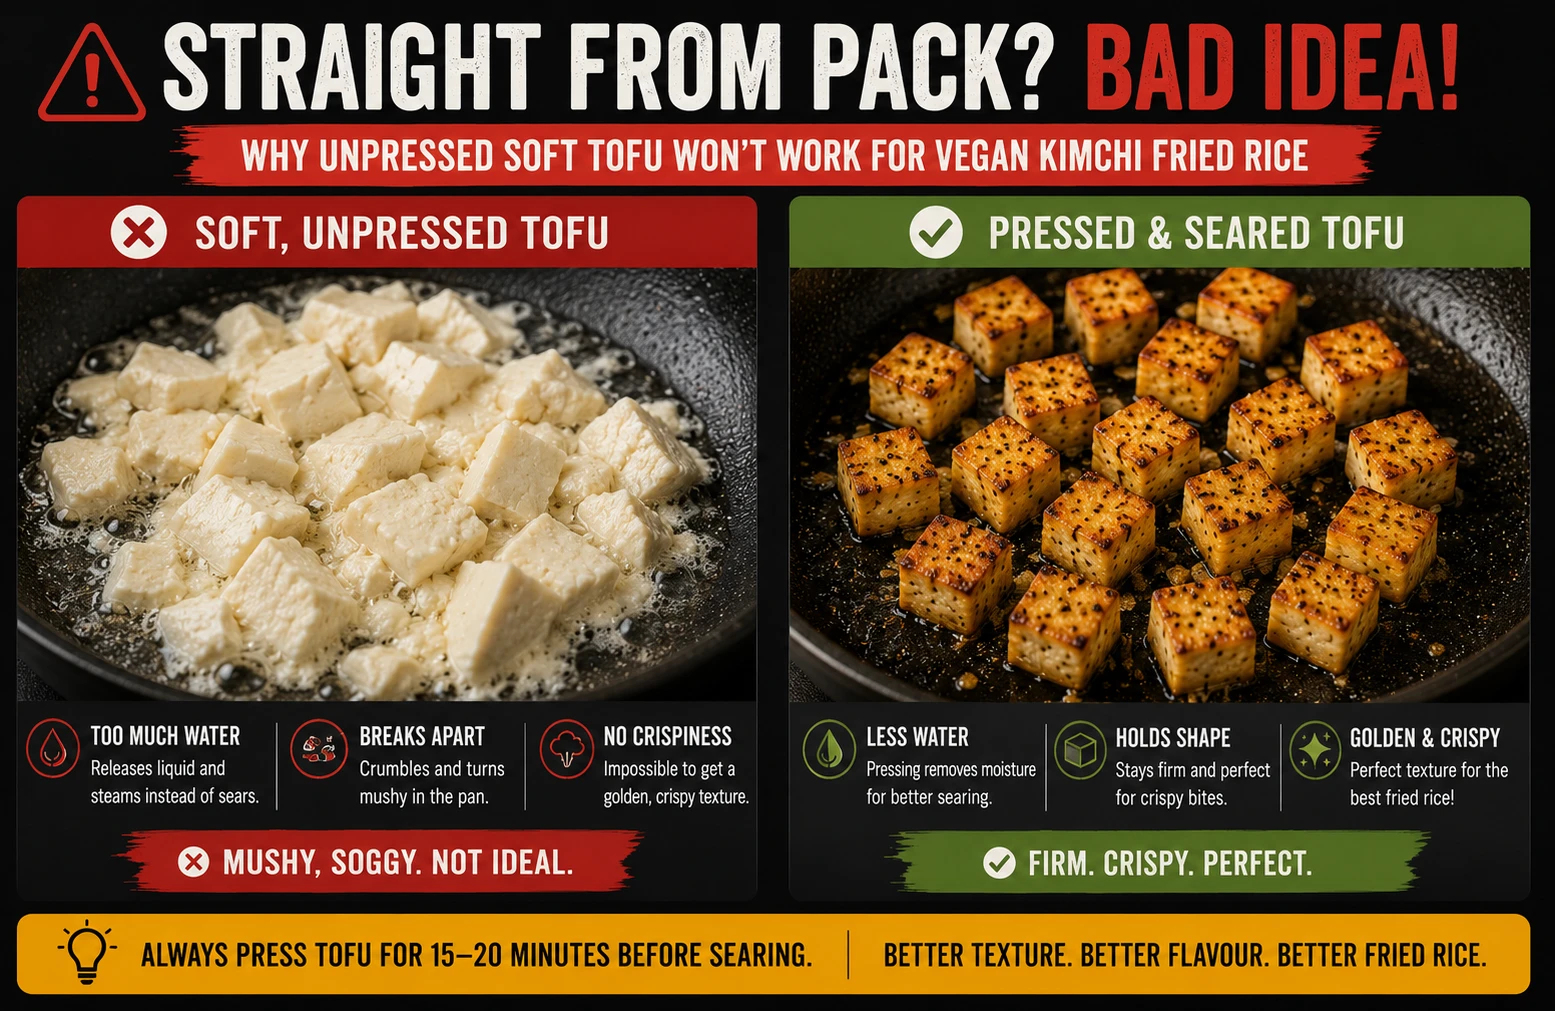
- Cube tofu directly from the package, unpressed
- Add directly into the rice pan with everything else
Result: Tofu breaks apart into the rice, releases water that dilutes the sauce, never develops any crust.
Method Comparison at a Glance
| Method | Texture Result | Time | Holds Crispness | Verdict |
|---|---|---|---|---|
| Press-and-Sear ⭐ | Crisp exterior, firm interior | +25 min prep | Yes | Always use this |
| Straight-From-Pack | Soft, breaks apart | +5 min | No | Avoid — loses all texture contrast |
Key Terms — Language & Food Science Entities
These terms define exactly what makes kimchi vegan or not, and the umami science behind the substitutions used in this recipe.
Which Vegan Kimchi to Use — Six Options Ranked
Not every kimchi labeled “vegetarian” is actually free of fish products — here is exactly what to look for and buy.
Explicitly labeled “vegan” on the jar, ingredient list confirmed free of fish sauce, shrimp, or jeotgal.
⭐ Best ChoiceStandard homemade recipe with fish sauce replaced by soy sauce and a touch of blended pear for sweetness.
✅ Highly RecommendedUses a mineral-rich kelp stock instead of fish sauce for umami. Slightly more effort, excellent depth.
Good OptionDried mushroom powder added to a soy-based brine for extra umami depth.
AcceptableRinsing removes surface brine but not the fish sauce already absorbed into the cabbage — this does not make it vegan.
❌ Not Actually VeganVegetarian labeling standards vary and can still permit fish-derived ingredients in some regions.
❌ Verify Before BuyingWhich Kimchi Stage to Use — Vegan Version Guide
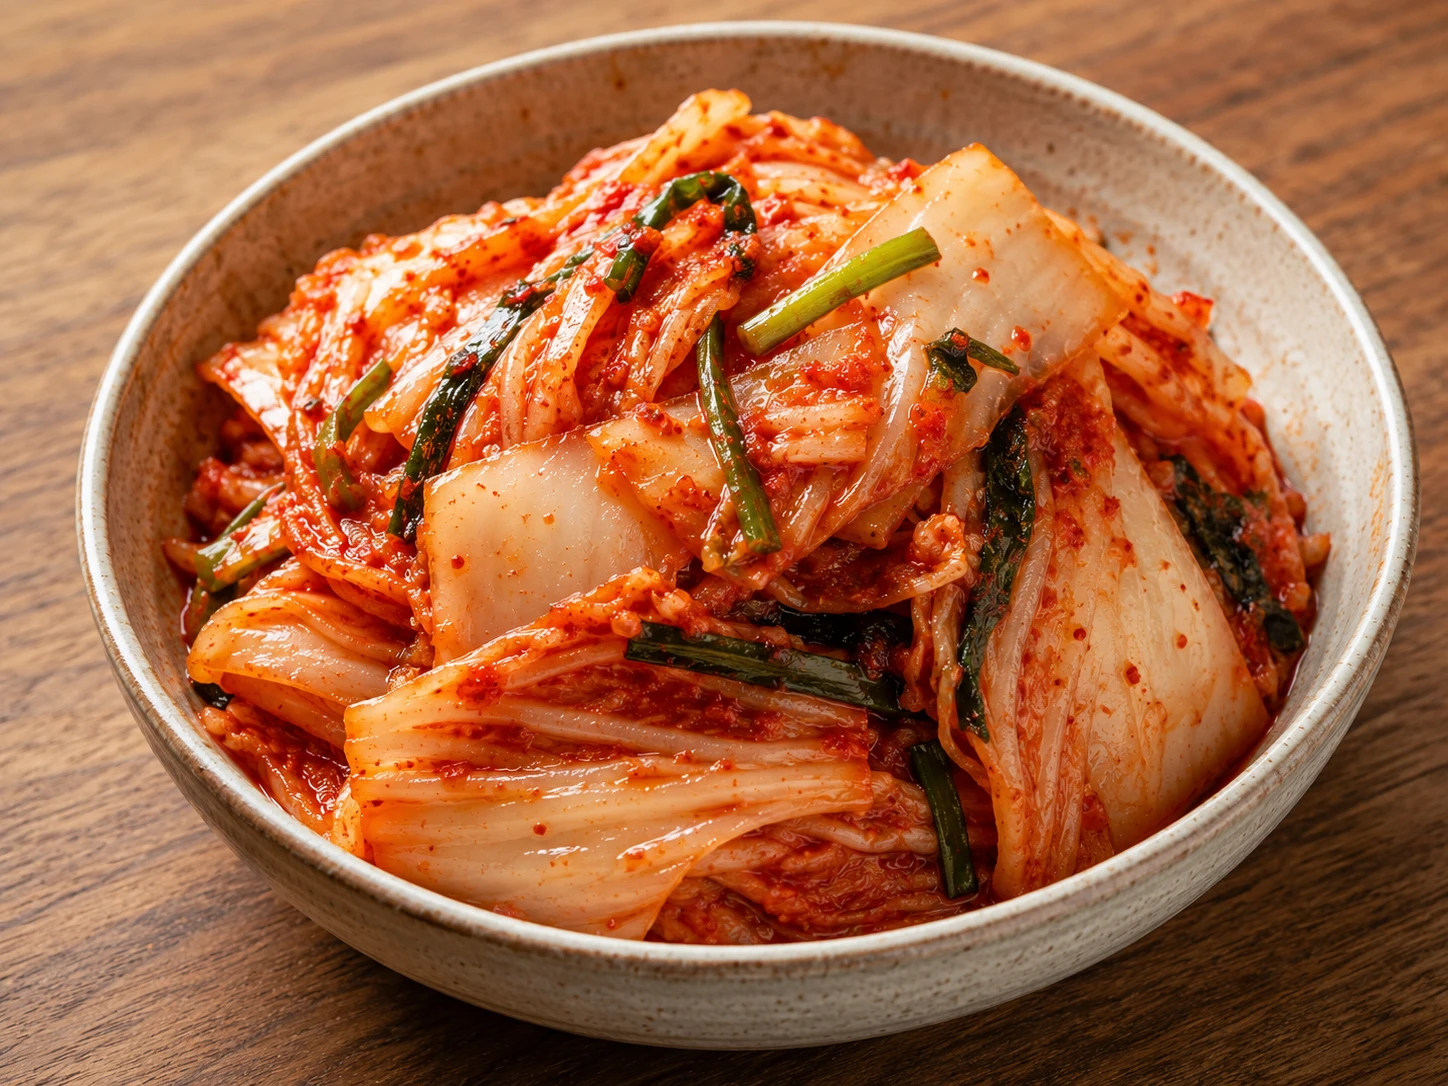
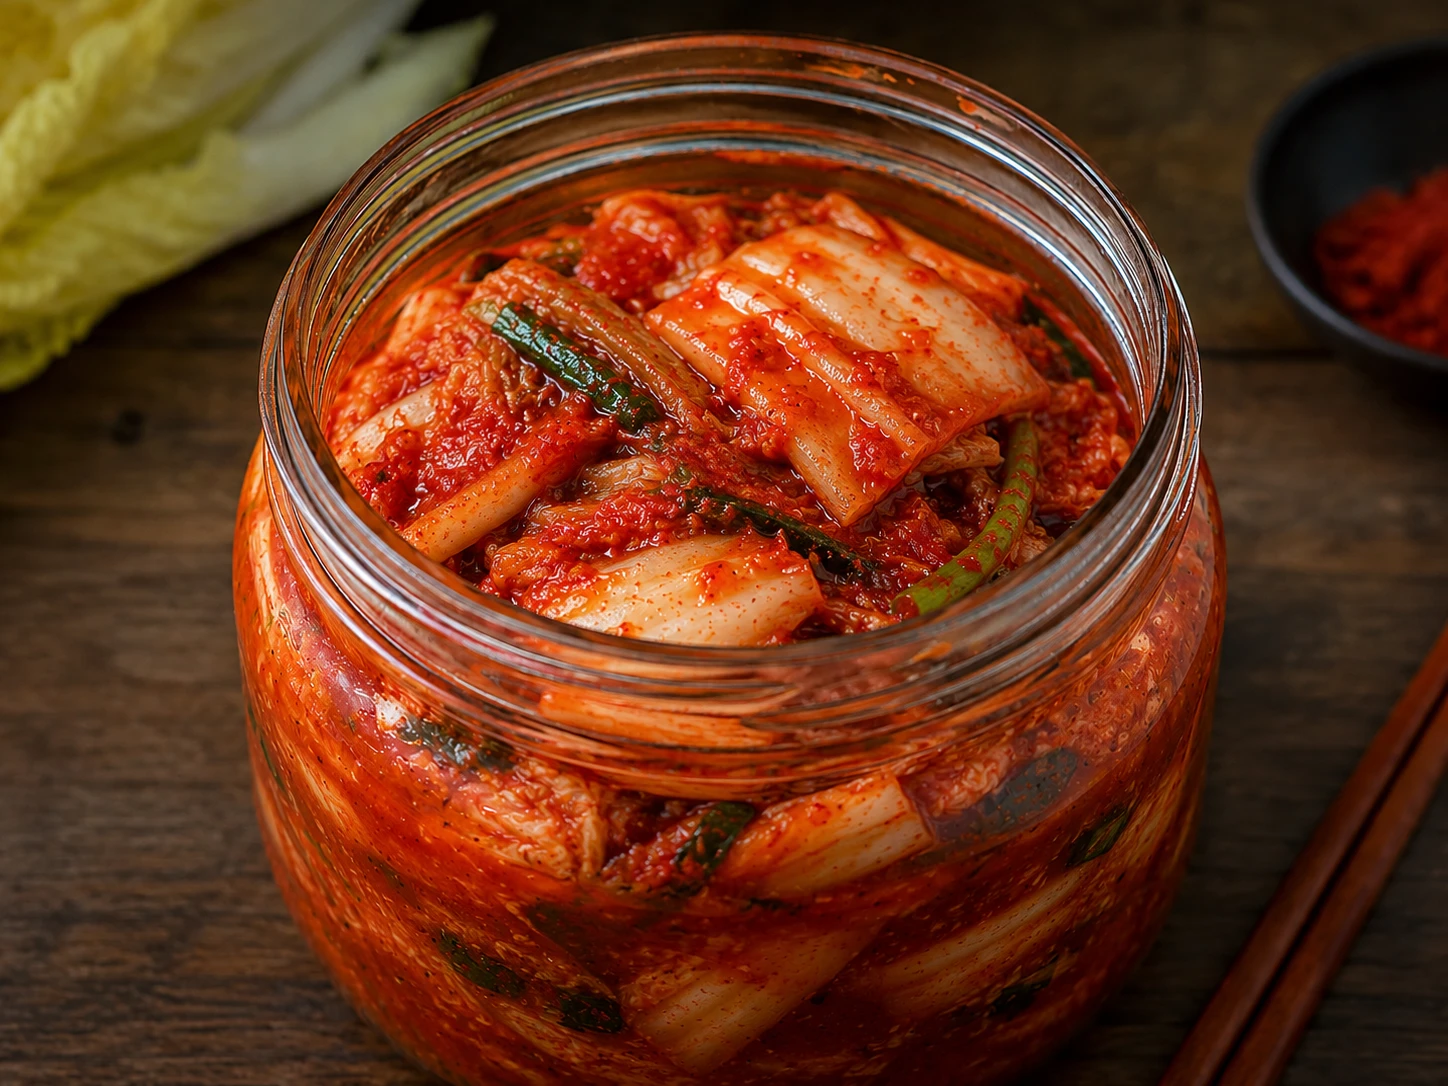
Fermentation stage and seasoning (vegan or not) are independent variables — Stage 3 remains the correct default.
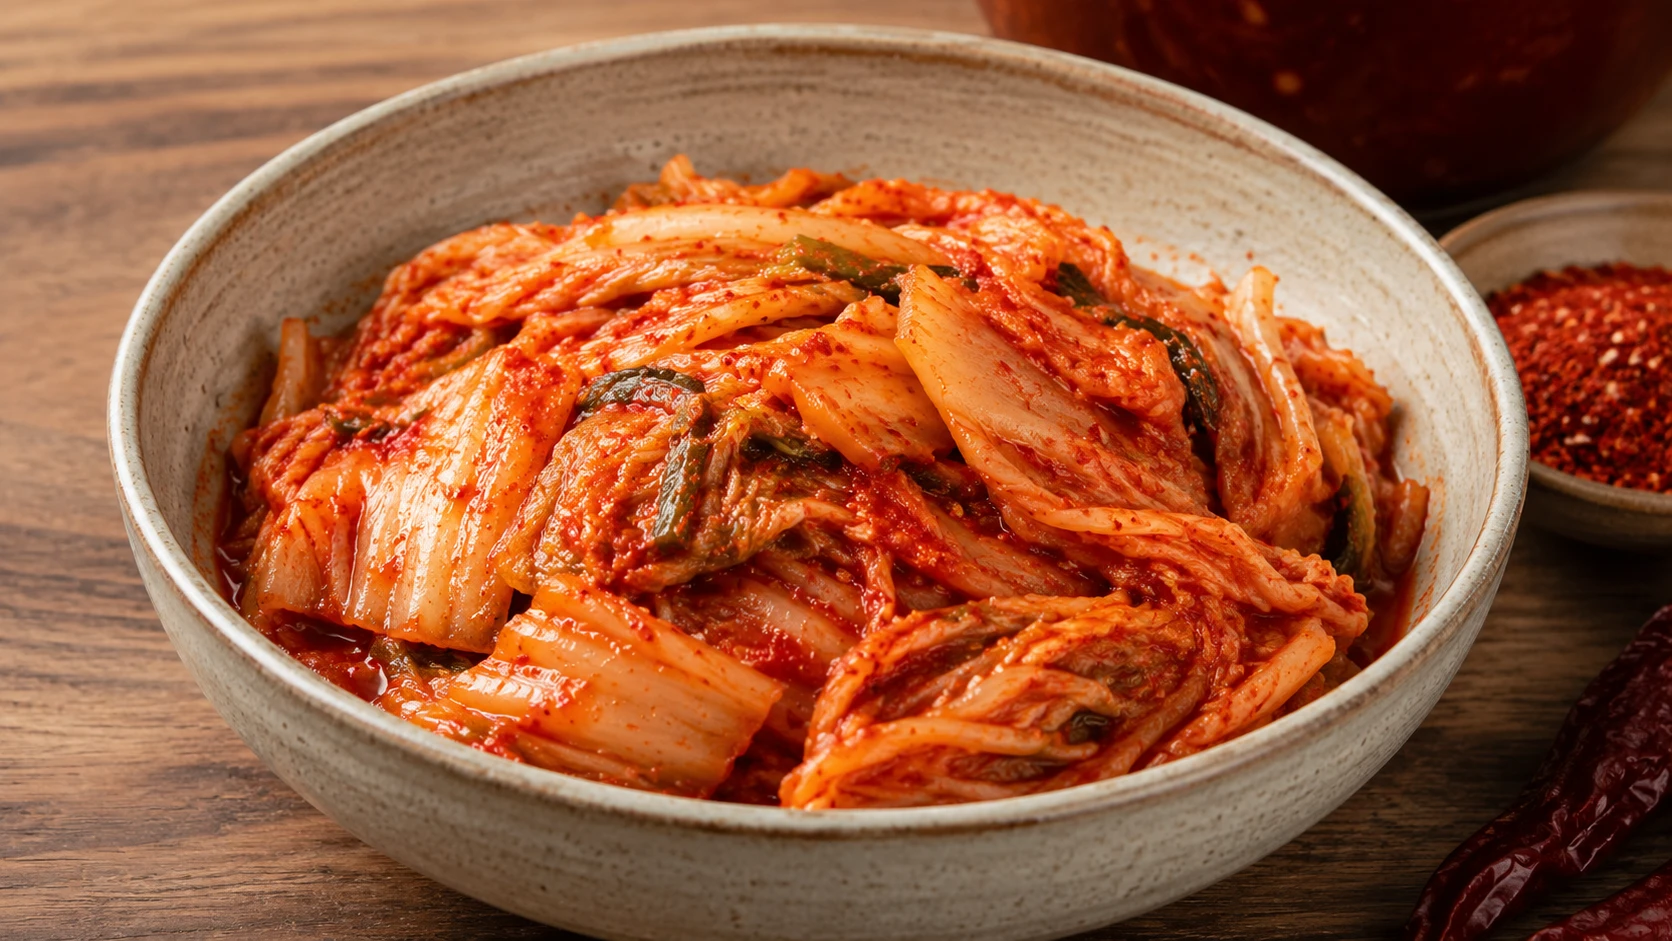
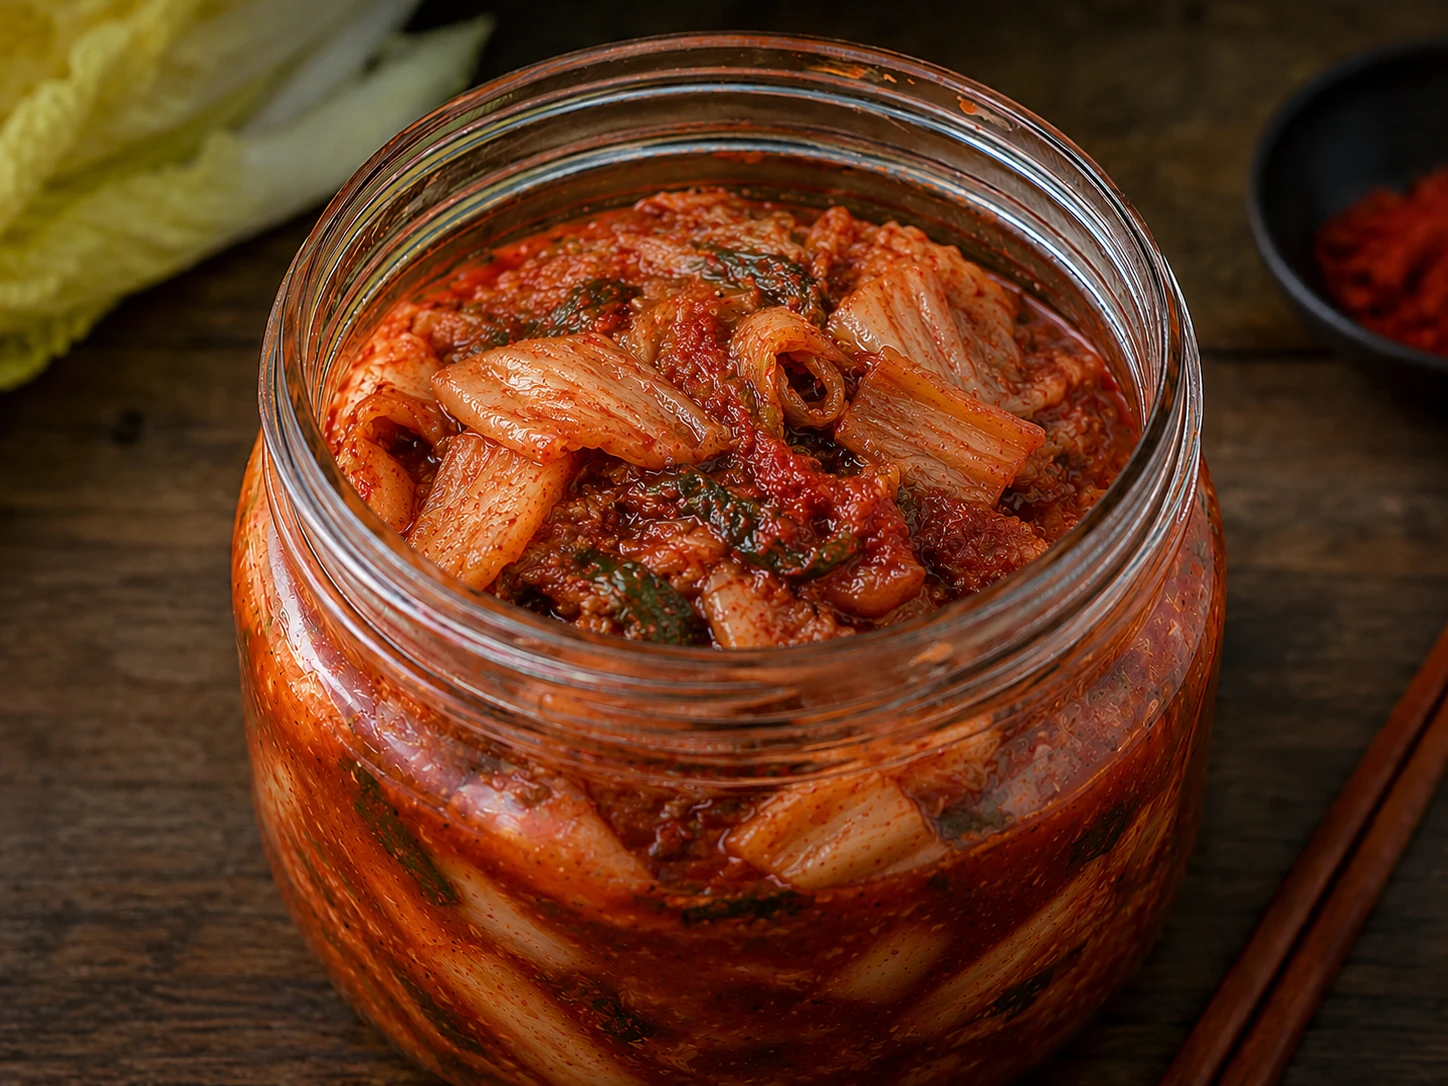
How Difficult Is the Vegan Version?
Still beginner-friendly — the only extra step versus the classic recipe is pressing and crisping the tofu.
Ingredients + Scaler
Vegan kimchi and crispy tofu are the two non-negotiable swaps. Everything else follows the classic recipe closely.
How to Make Vegan Kimchi Fried Rice — 5 Steps
Five steps. The key difference from the classic recipe: tofu is pressed, coated, and crisped separately before it ever meets the rice.
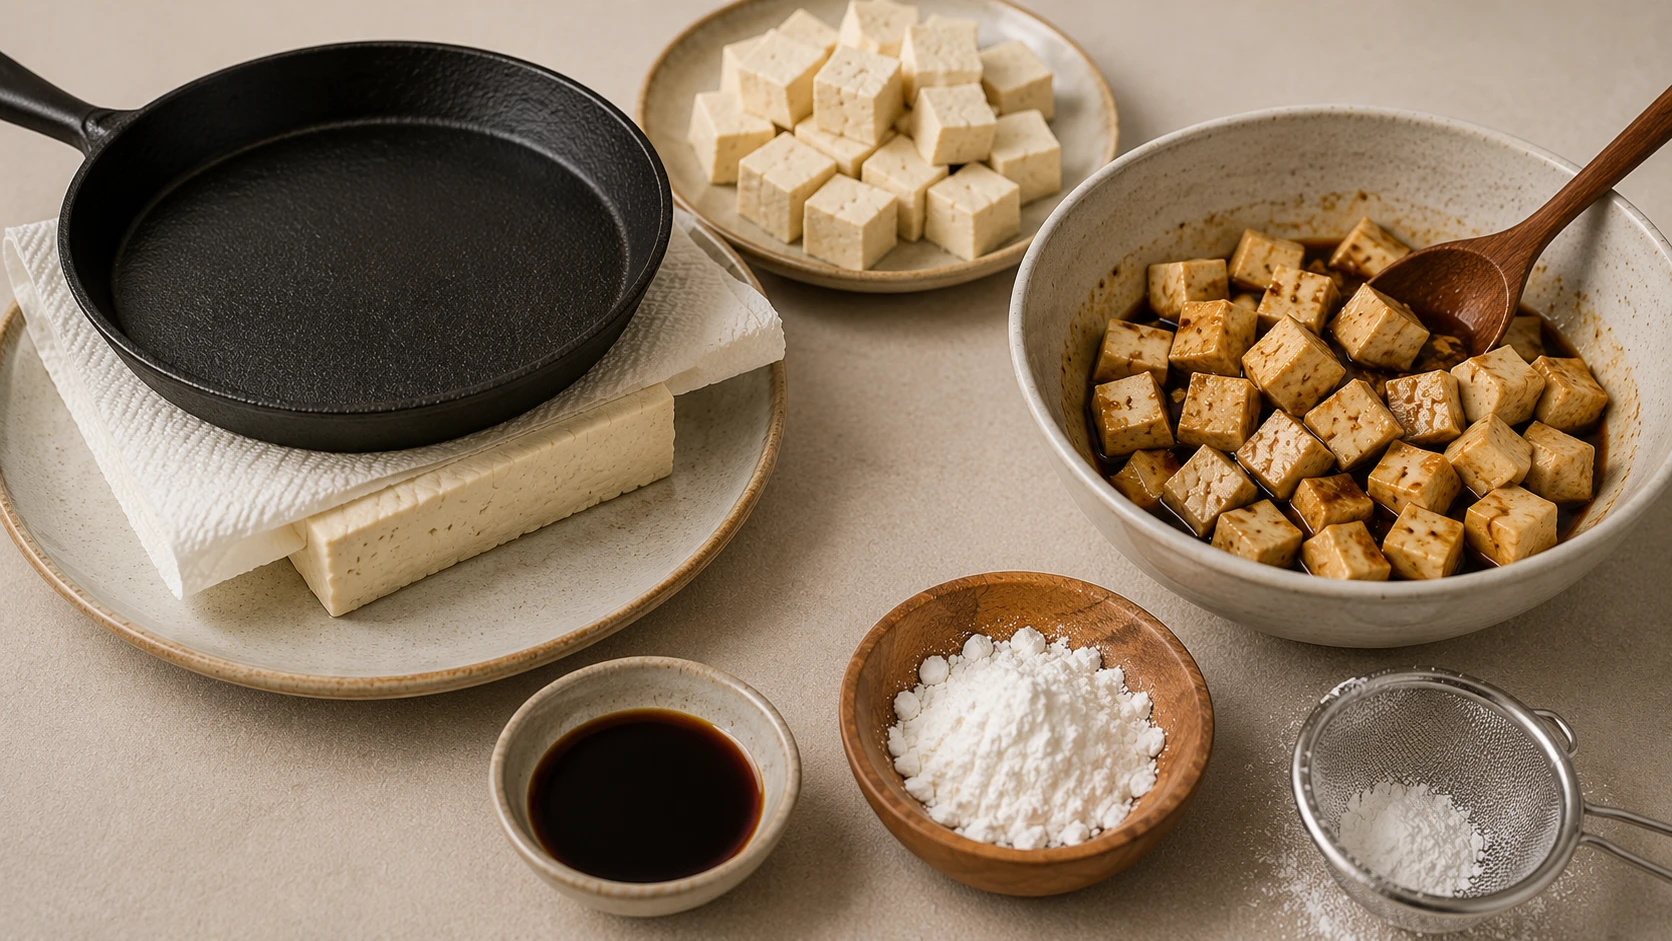
Press extra-firm tofu for 20 minutes under a weight. Cube into bite-sized pieces. Toss gently with soy sauce, then dust evenly with cornstarch.
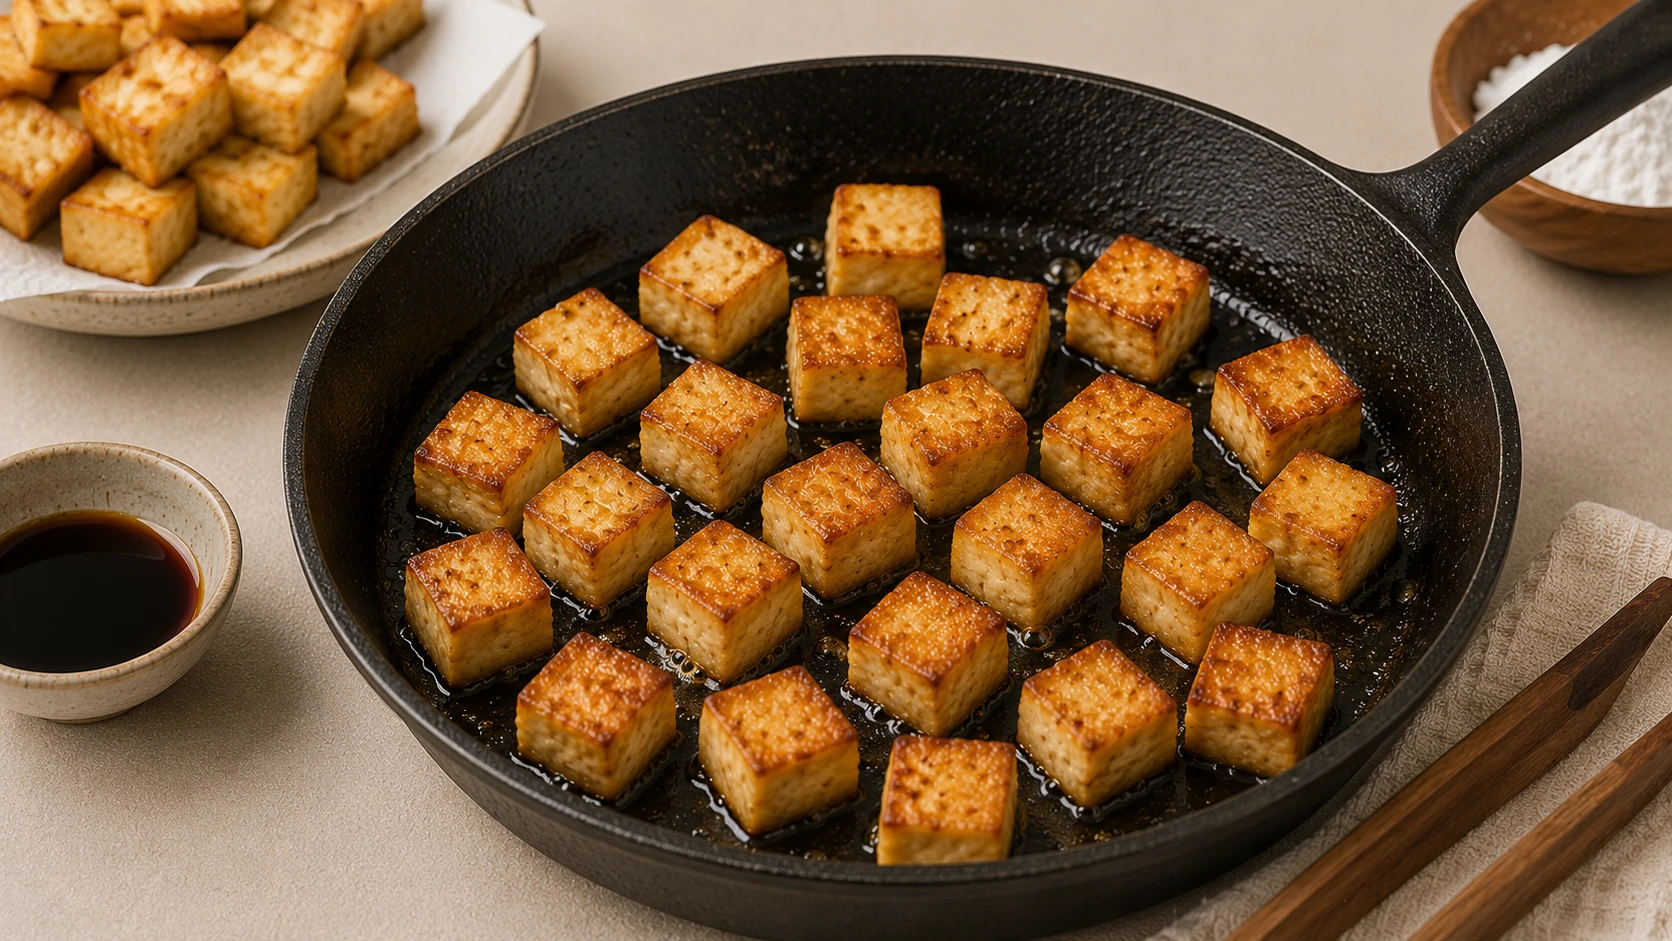
Heat 2 tablespoons neutral oil in a cast iron pan over high heat. Add the coated tofu cubes in a single layer. Leave undisturbed 2-3 minutes per side. Remove and set aside.
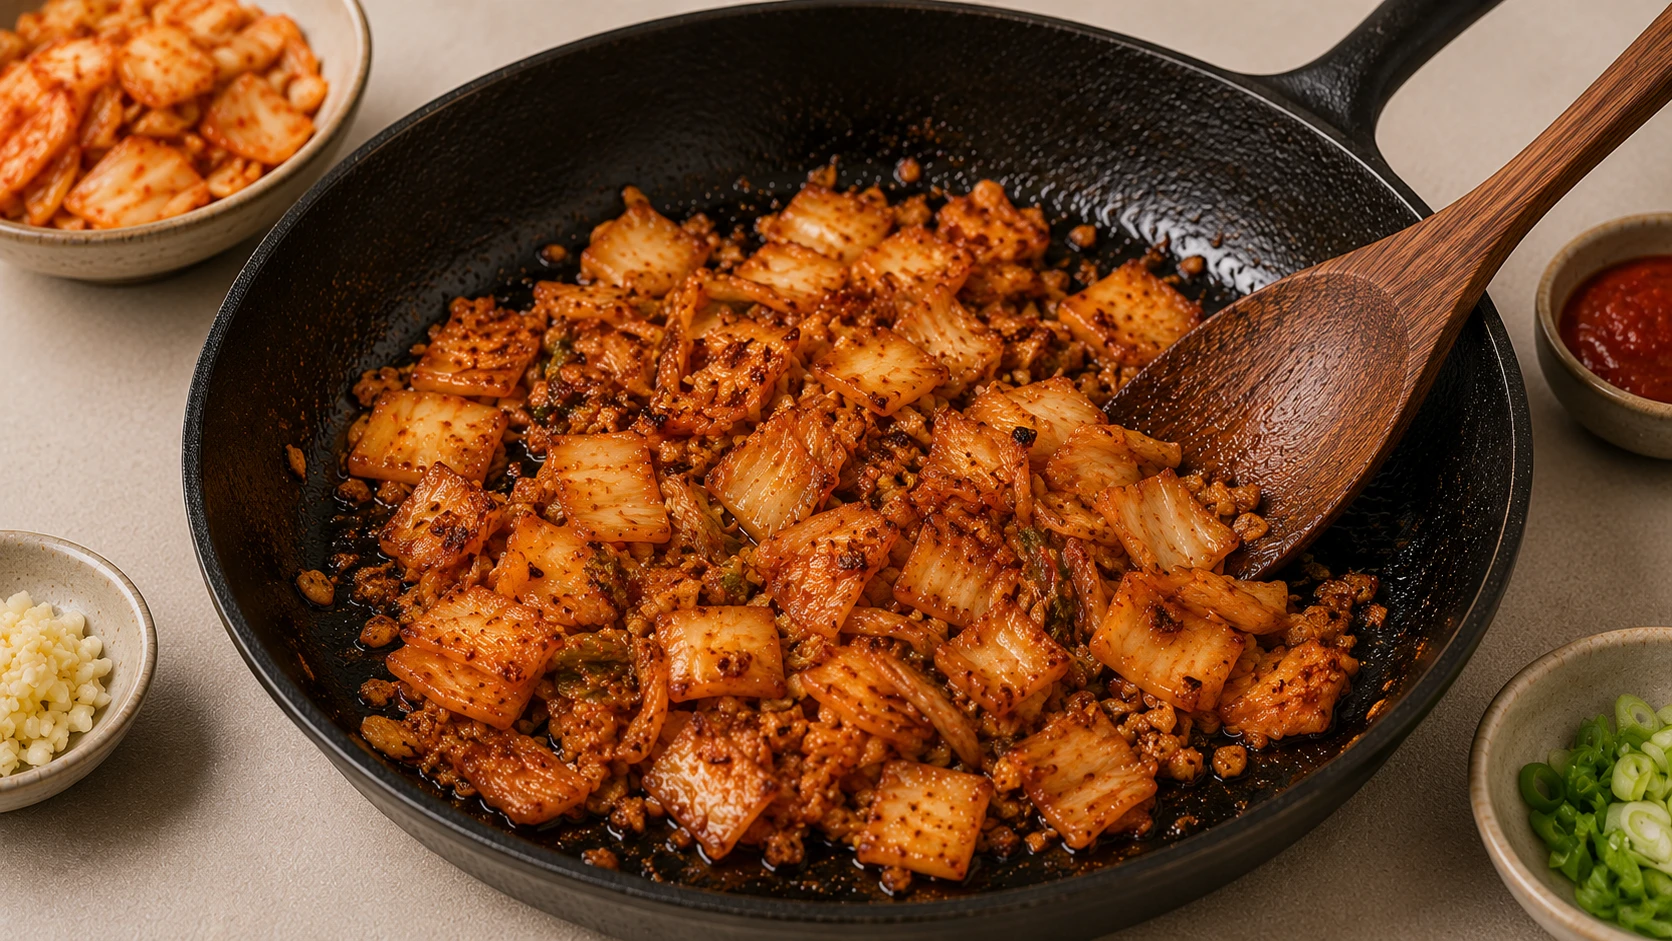
In the same pan, add chopped vegan kimchi and minced garlic. Char undisturbed for 30-45 seconds before stirring — repeat for 3-4 minutes until the kimchi darkens.
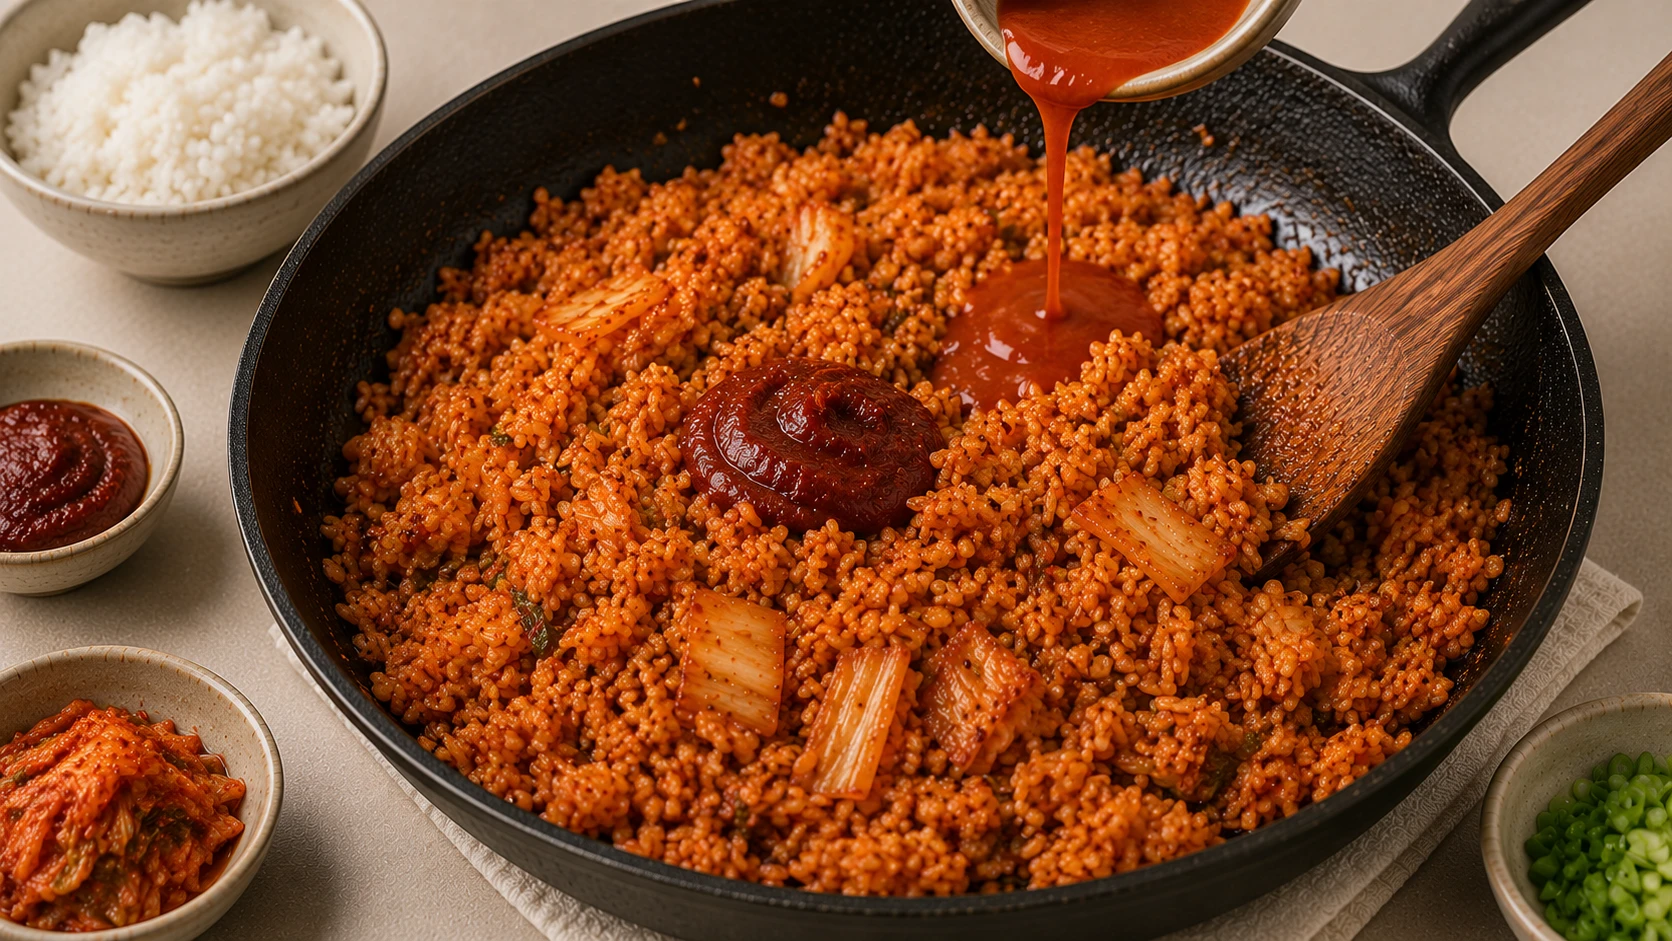
Add gochujang and kimchi brine, stir-fry 1 minute. Add cold day-old rice, breaking clumps. Press-and-char — press flat 45-60 seconds, stir, repeat — for 4-5 minutes.
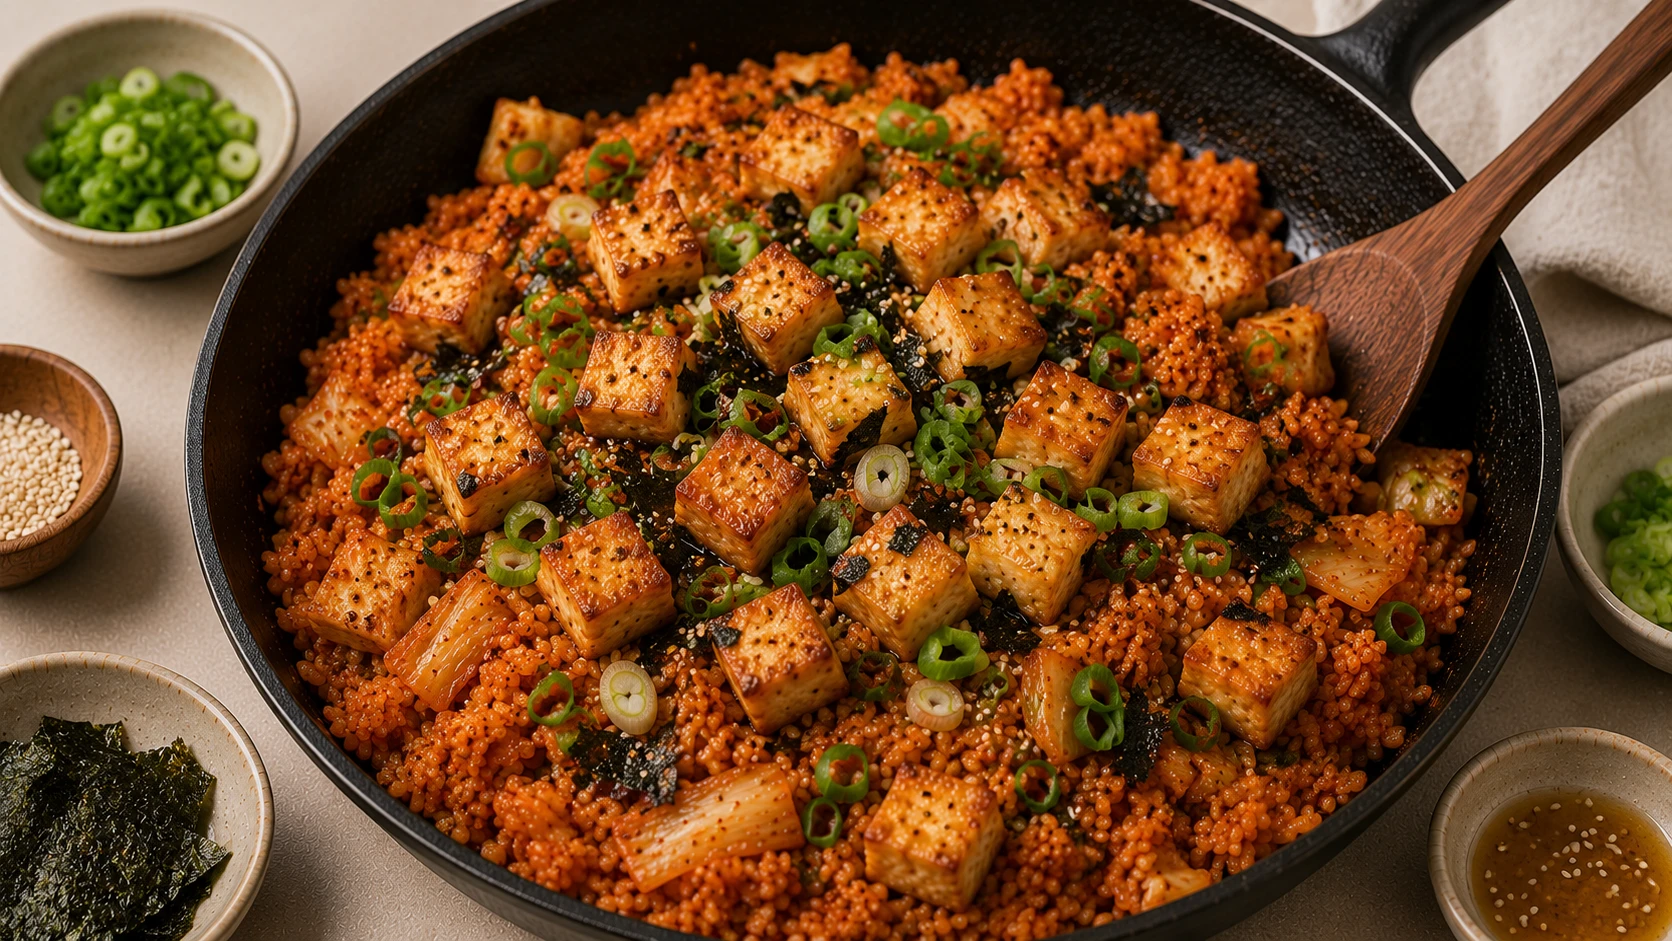
Add soy sauce and spring onion whites, taste and adjust. Remove from heat, drizzle sesame oil. Top generously with the crisp-fried tofu, sesame seeds, torn nori, and spring onion greens. Serve immediately.
What We Tested for the Vegan Version
The tofu topping has more failure points than any other part of this recipe.
Every batch confirmed the vegan version succeeds or fails almost entirely based on how the tofu is pressed, coated, and fried.
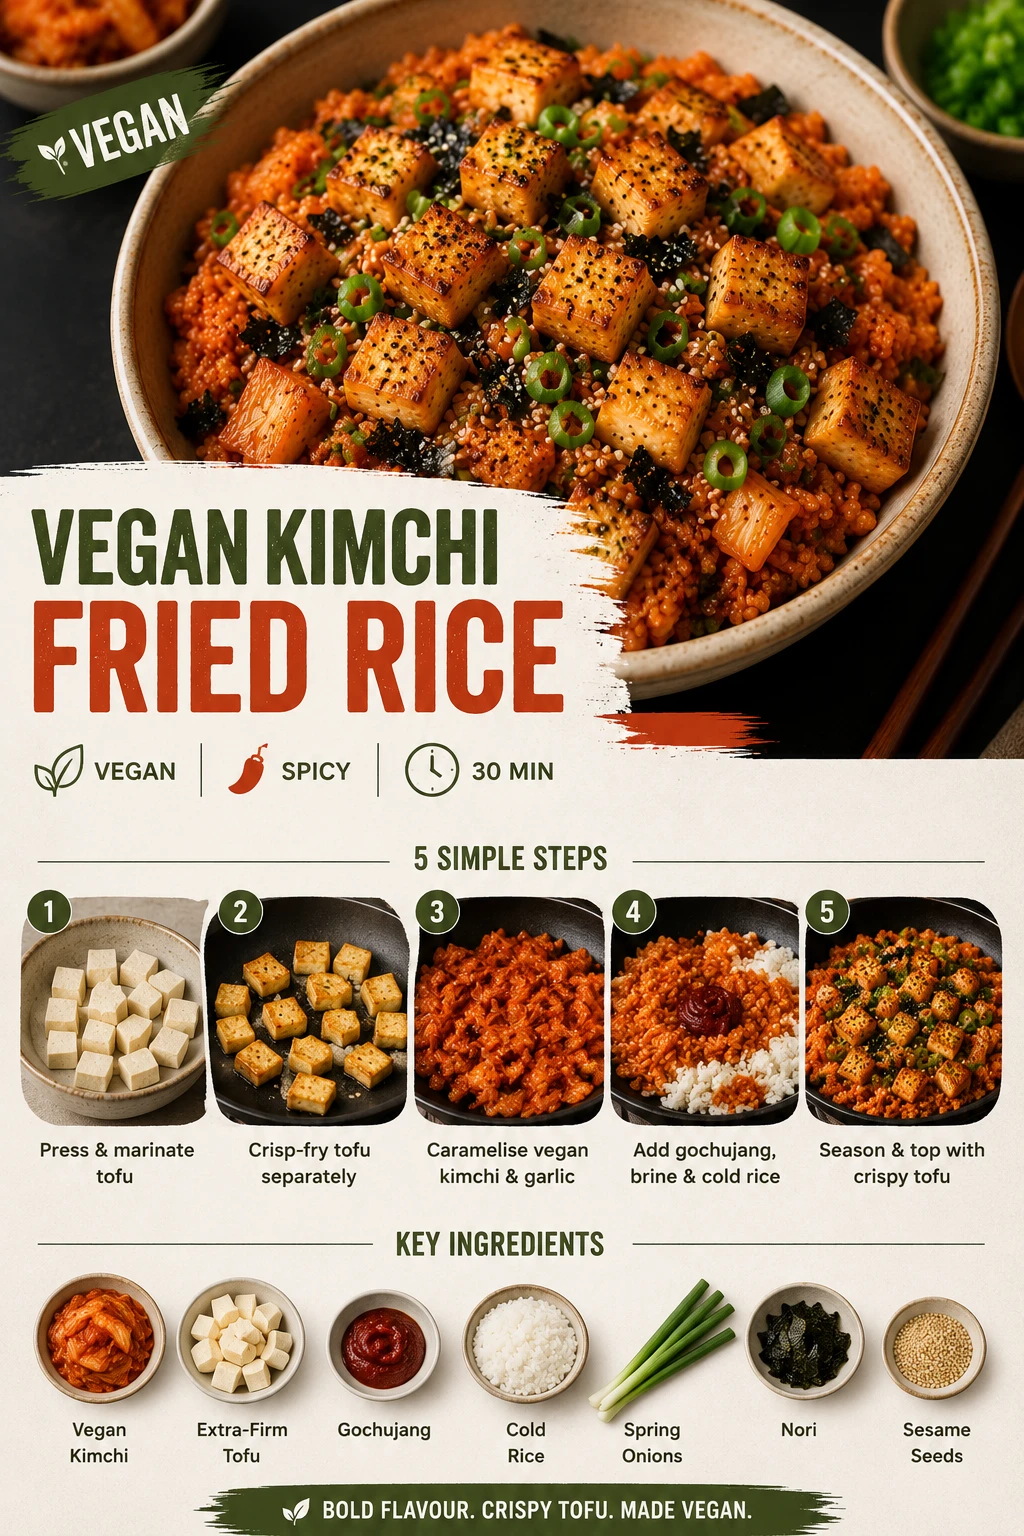
Vegan Kimchi Fried Rice (비건 김치볶음밥)
Press-and-sear tofu method · Stage 3 vegan kimchi · 25 min · ~380 calories, fully plant-based
- 200g extra-firm tofu, pressed, cubed
- 1 tbsp cornstarch
- 1 tbsp soy sauce (tofu marinade)
- 2 tbsp neutral oil (for tofu)
- 2 cups day-old rice, cold
- 1 cup vegan aged kimchi (Stage 3), chopped
- 3 tbsp vegan kimchi brine
- 1 tbsp gochujang (label-checked)
- 2 cloves garlic, minced
- 1 tbsp neutral oil (for rice)
- 1 tsp soy sauce (for rice)
- 2 tsp sesame oil, divided
- 2 spring onions, sesame seeds, nori
- Press tofu 20 min, cube. Toss with soy sauce, dust with cornstarch.
- Fry tofu in a thin layer, high heat, 2-3 min per side until crisp and golden. Remove, set aside.
- Same pan: add kimchi and garlic. Press flat, char 30-45 sec, stir. Repeat 3-4 min.
- Add gochujang, brine. Stir-fry 1 min. Add cold rice, break clumps. Press-and-char 4-5 min.
- Add soy sauce, spring onion whites. Remove from heat, drizzle sesame oil. Top with crispy tofu, sesame seeds, nori, spring onion greens.
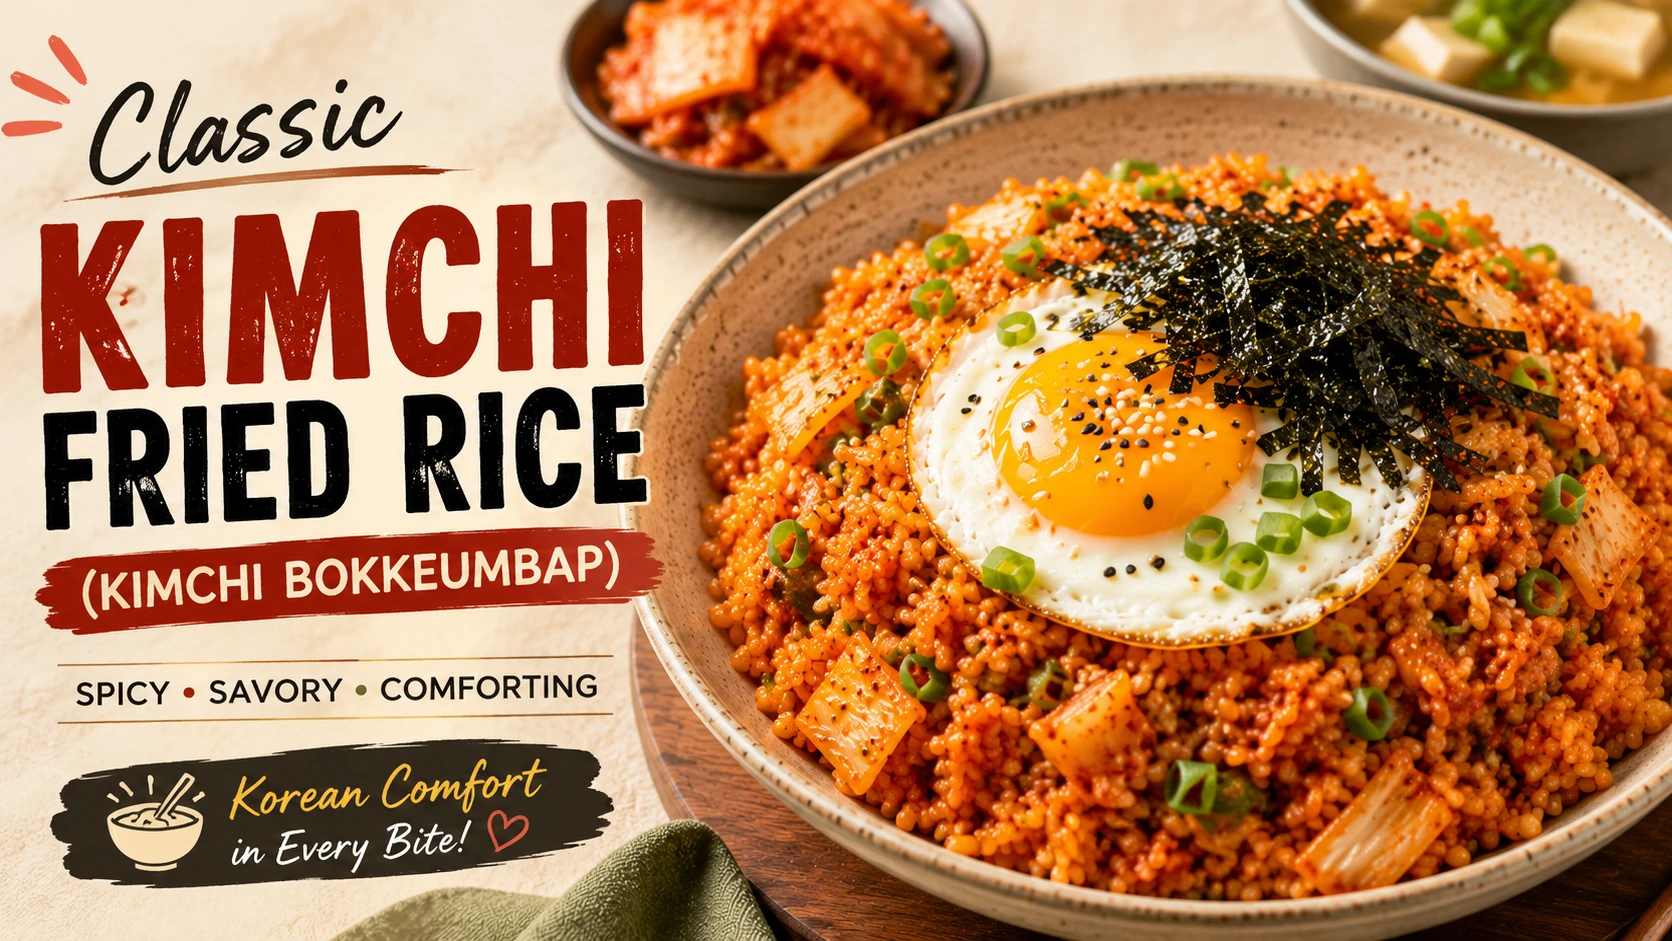
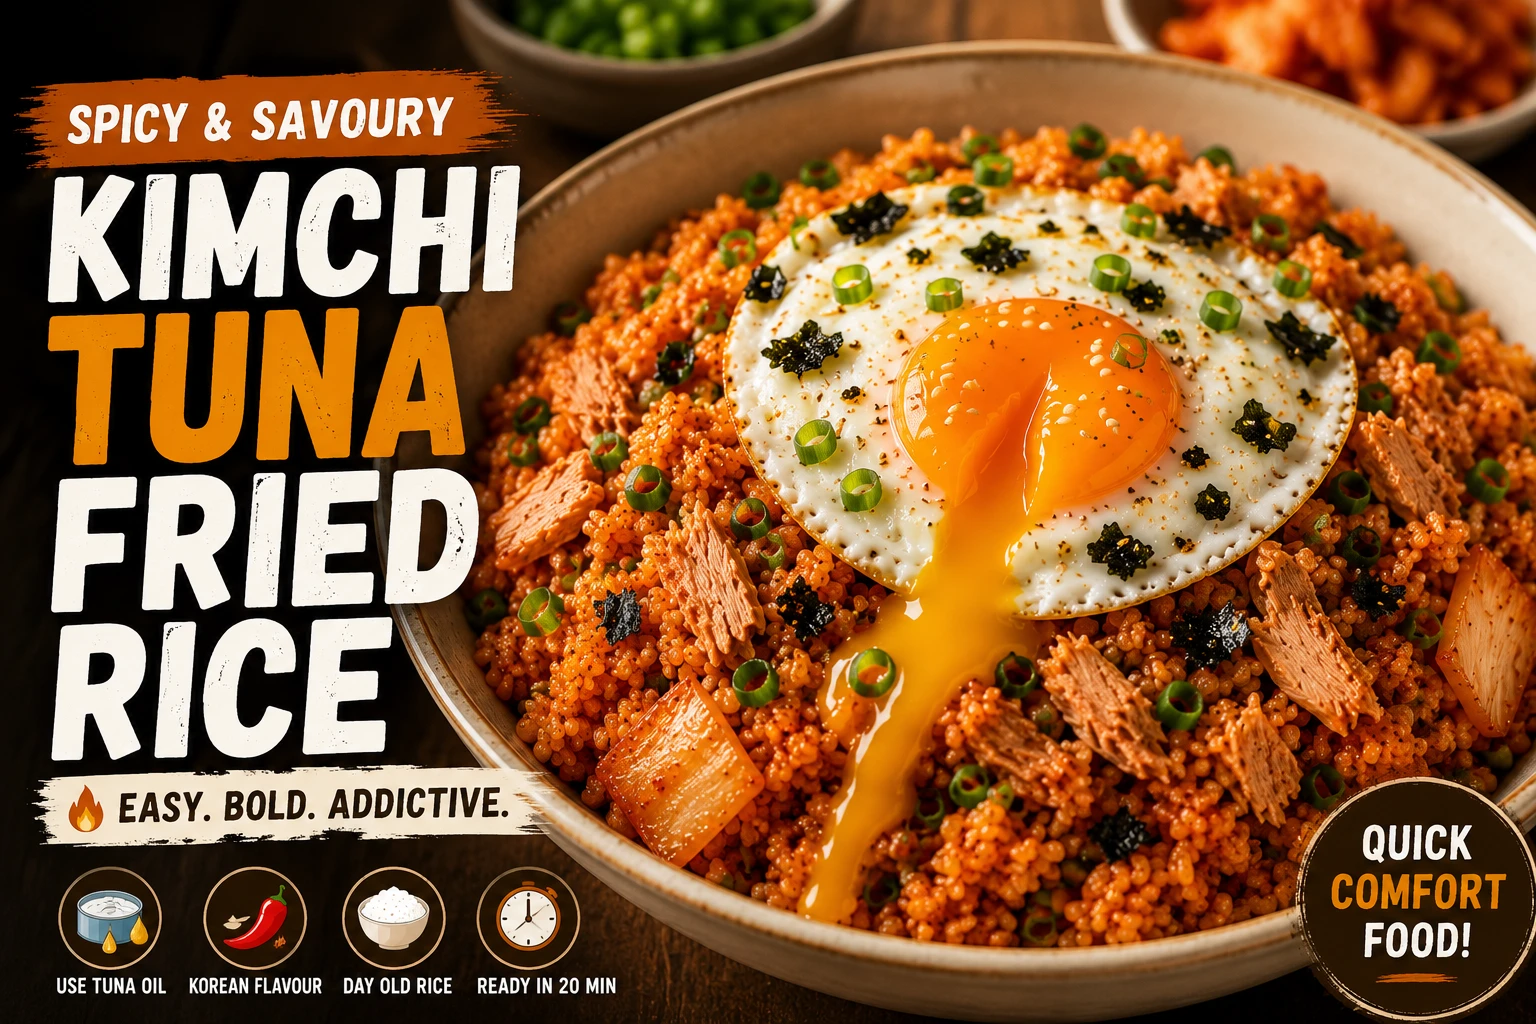
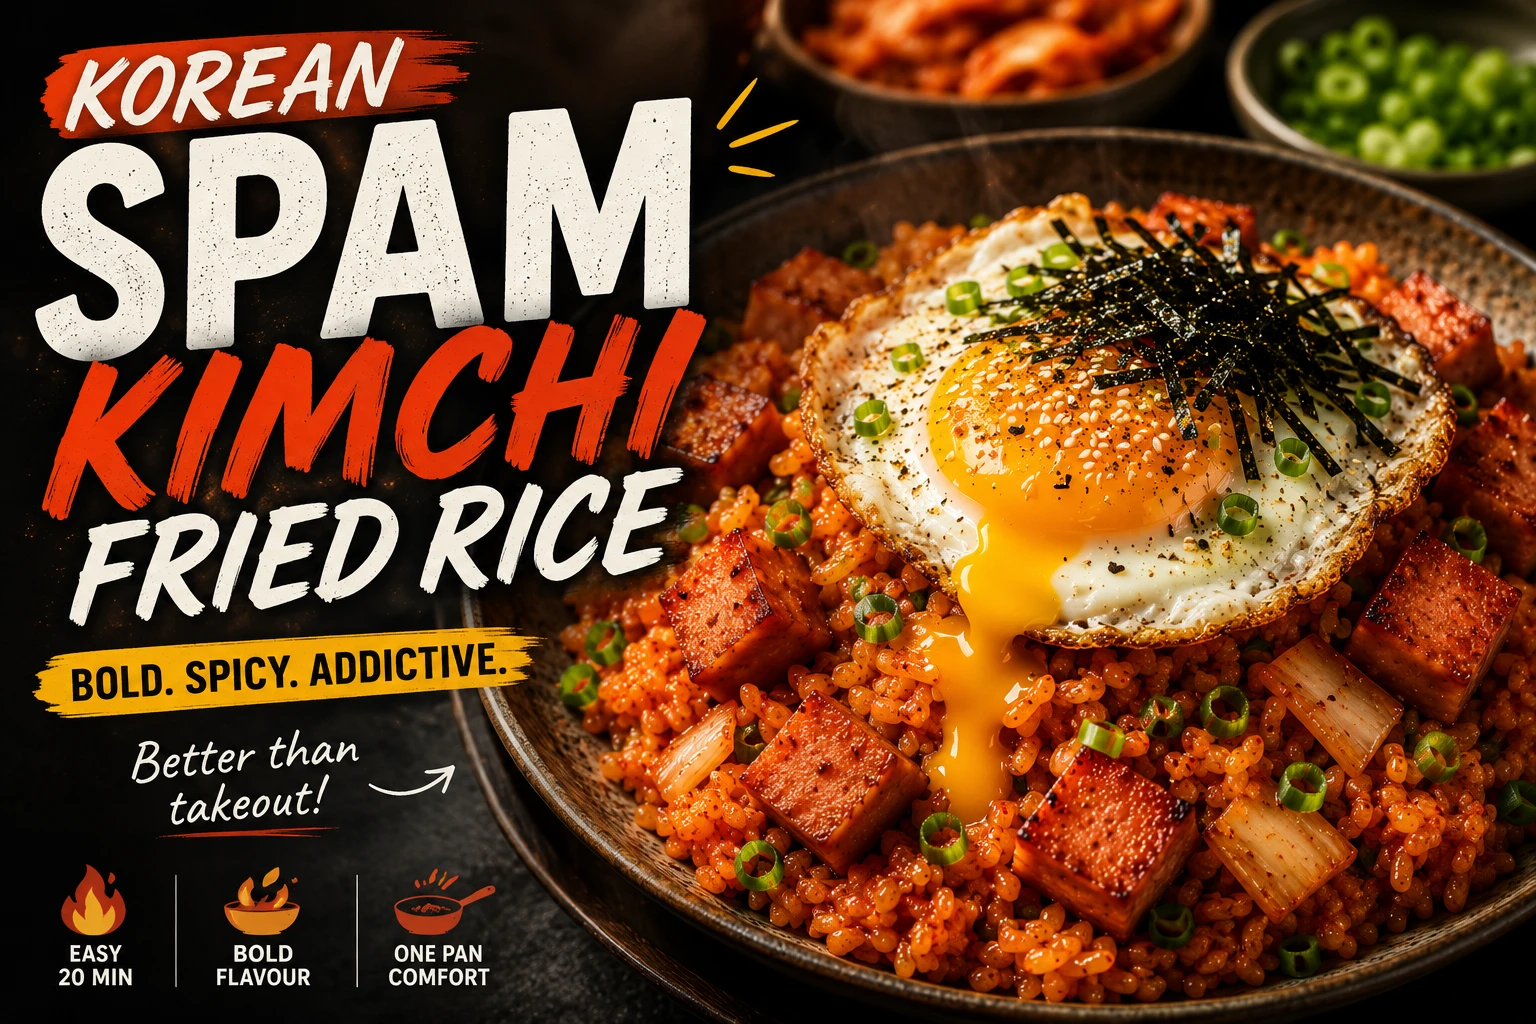
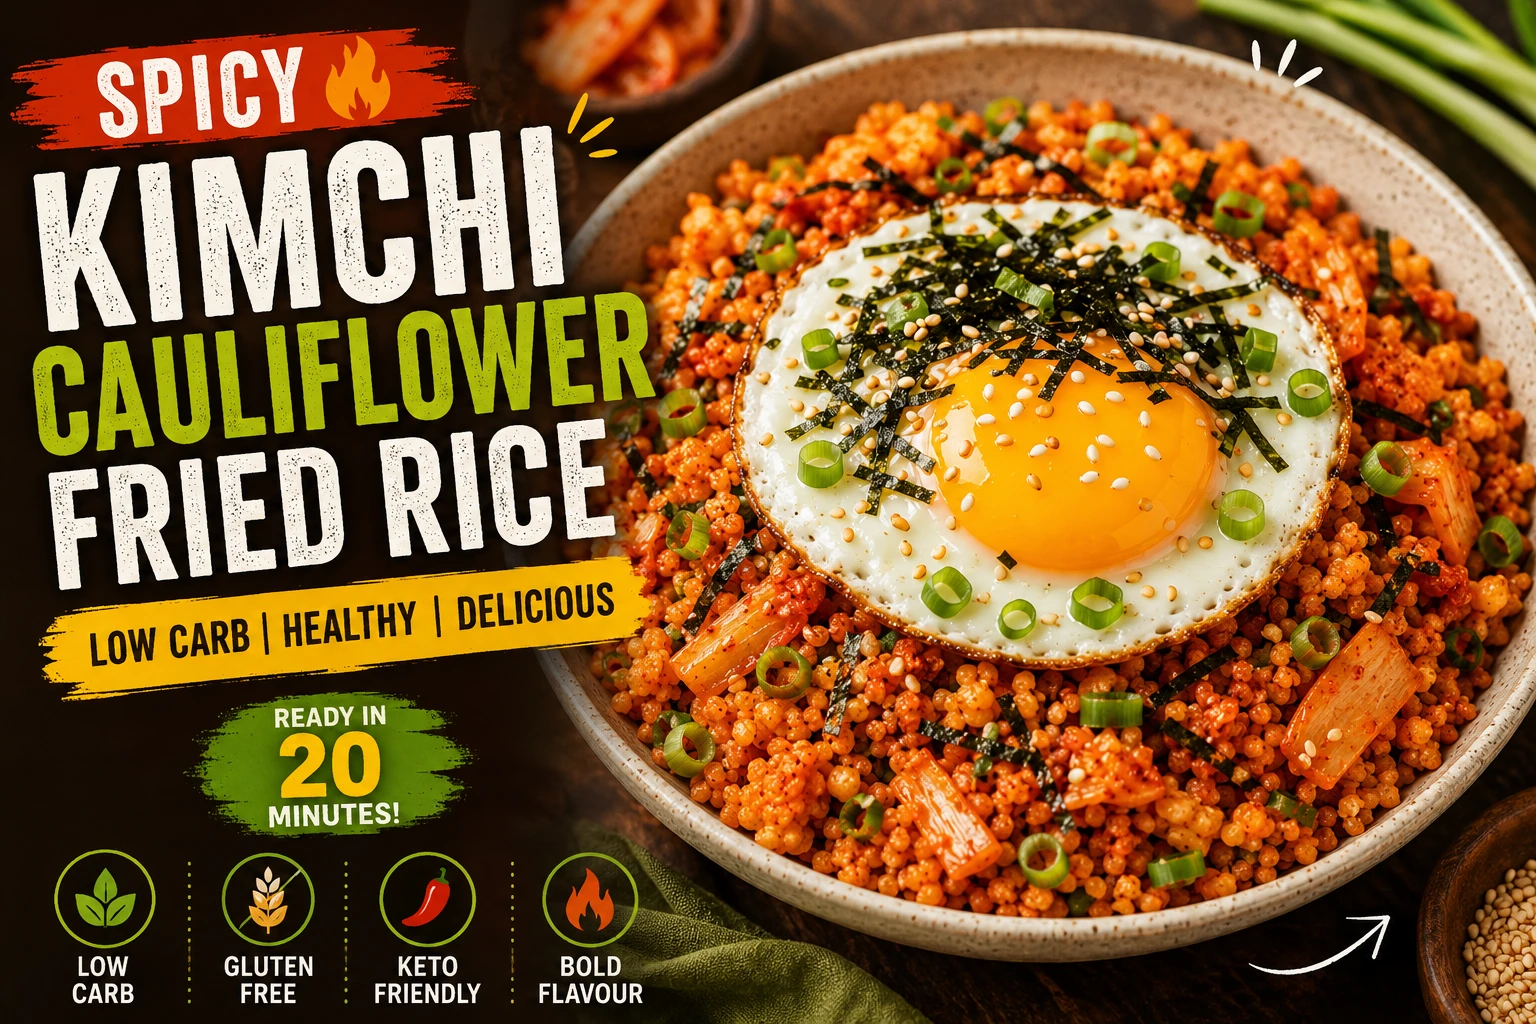
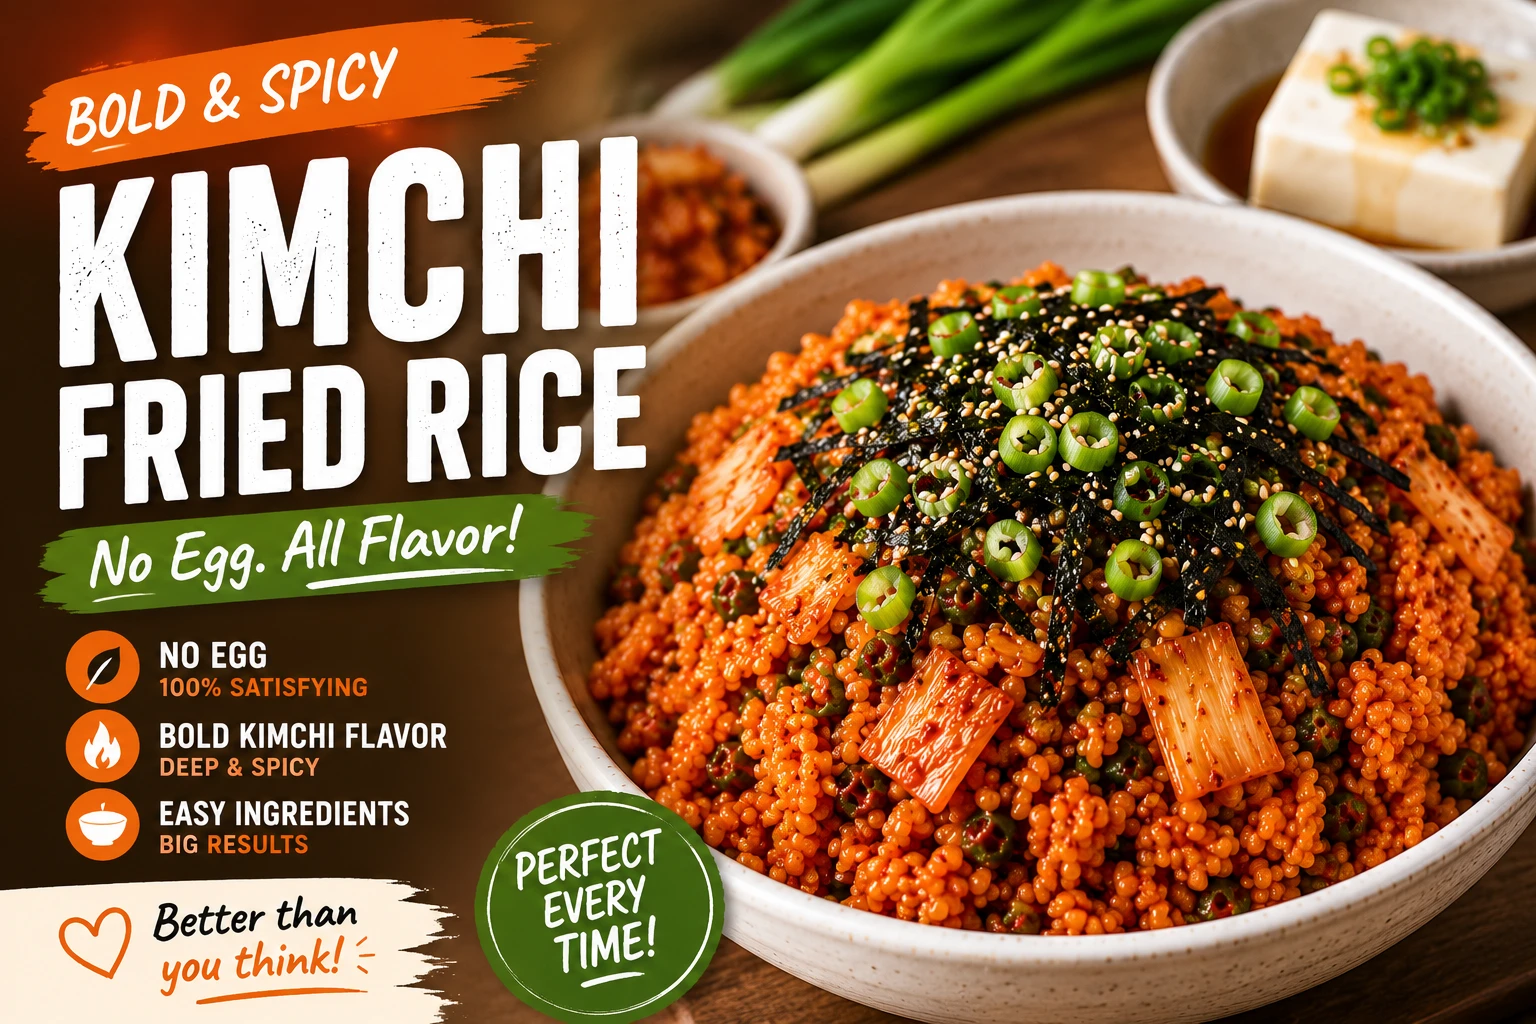
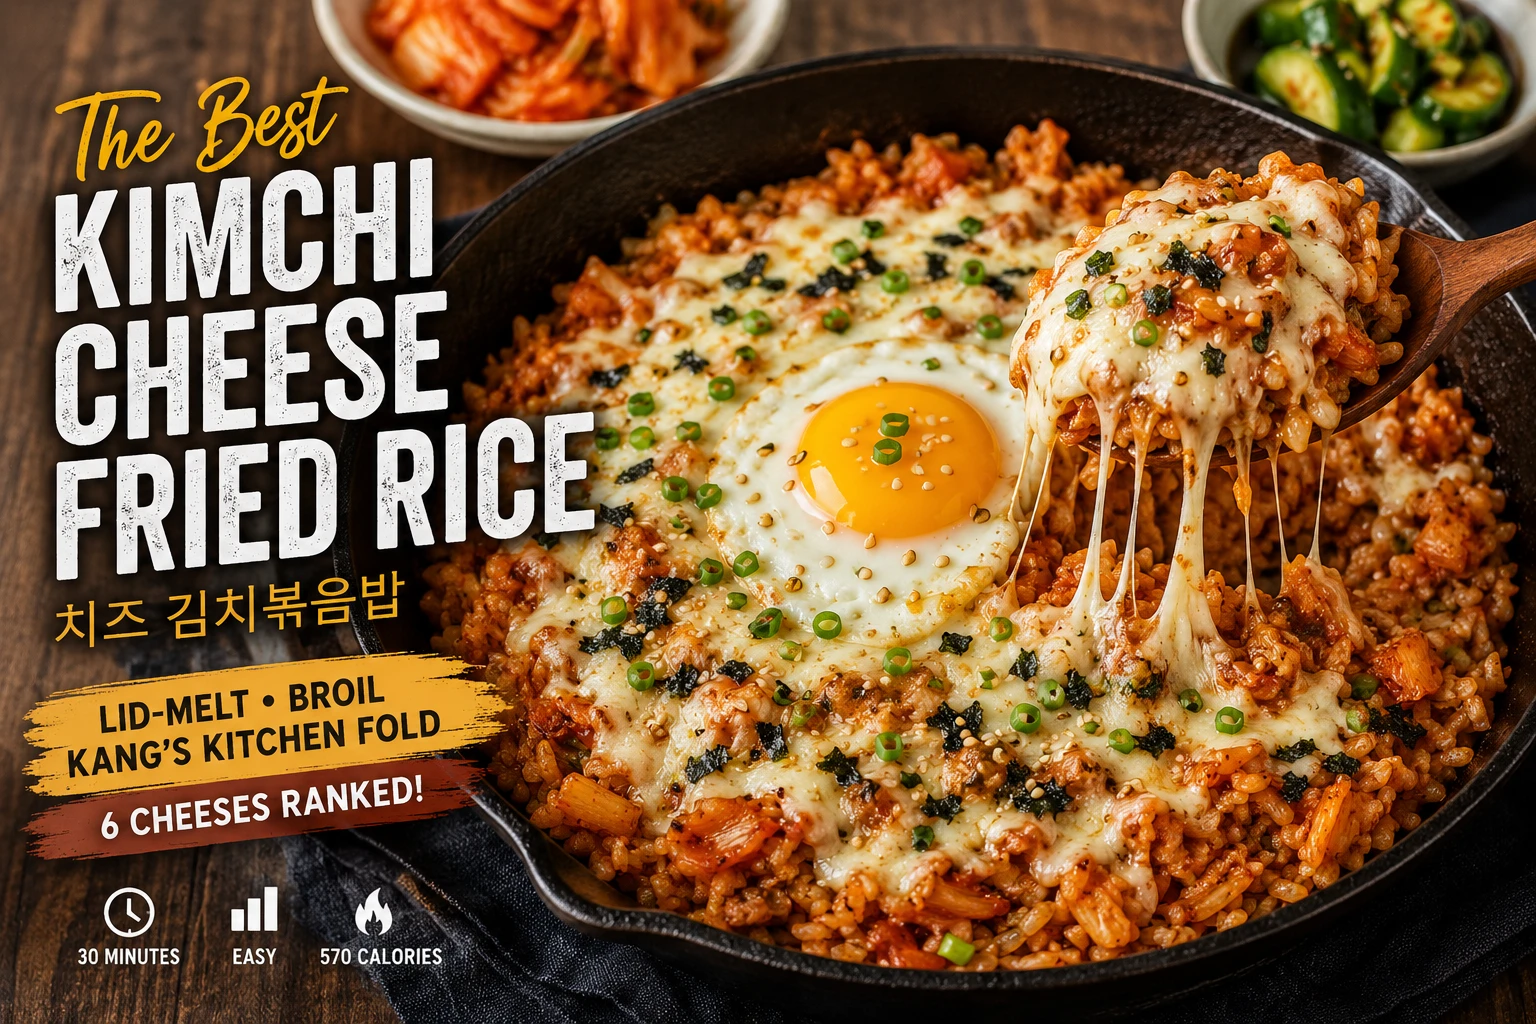
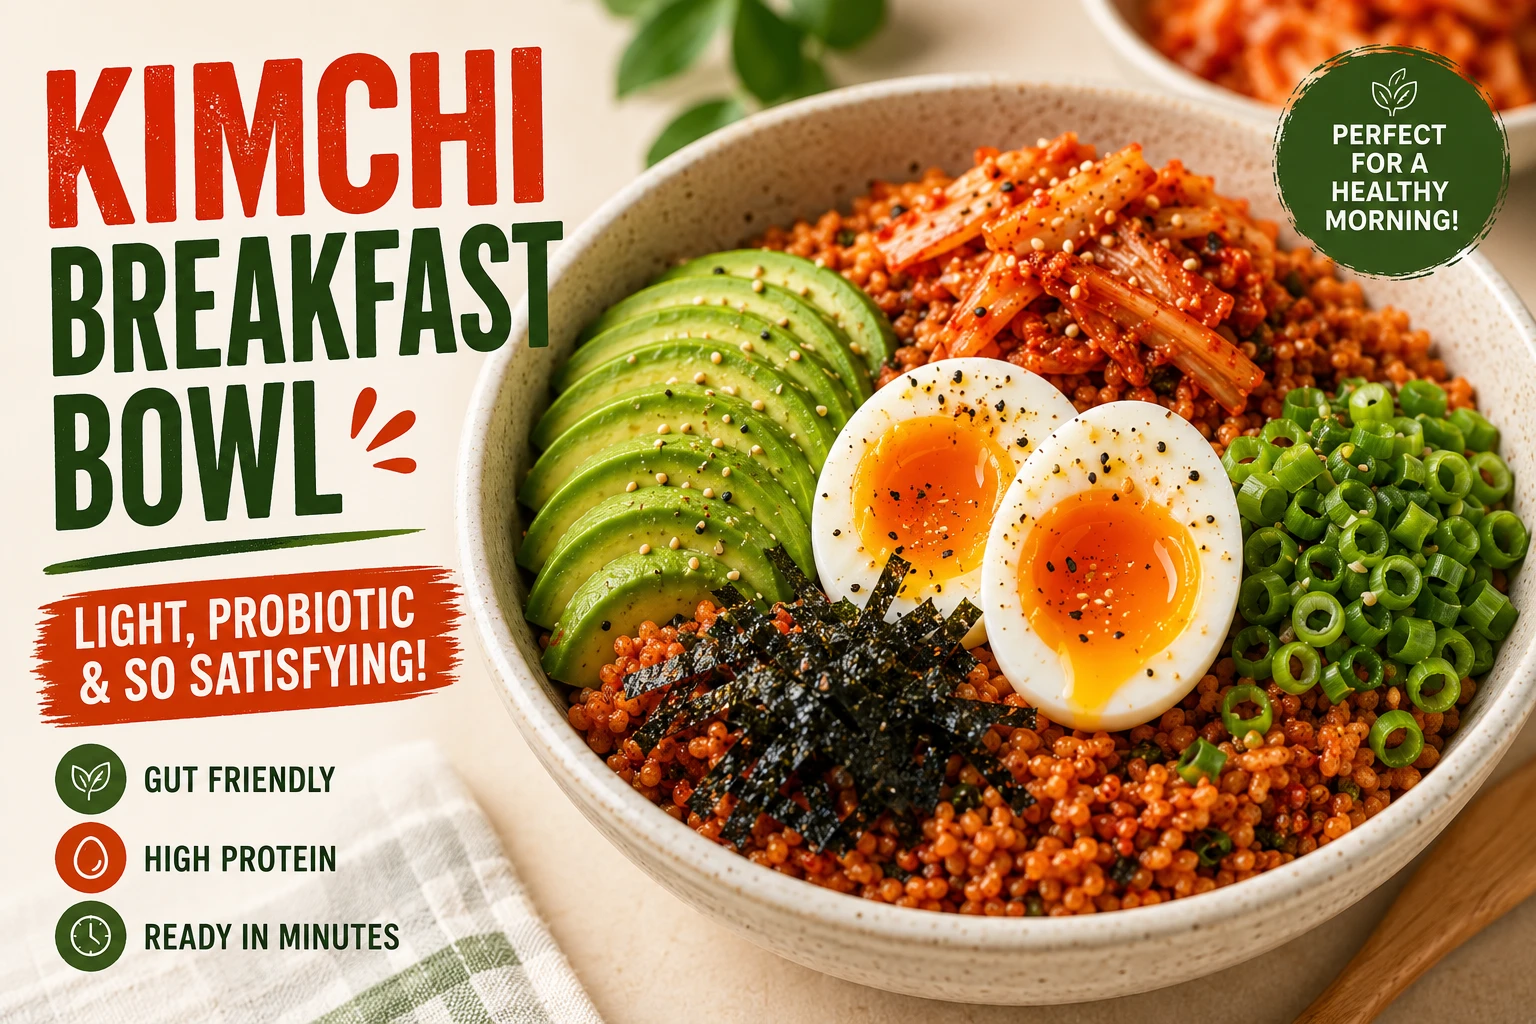
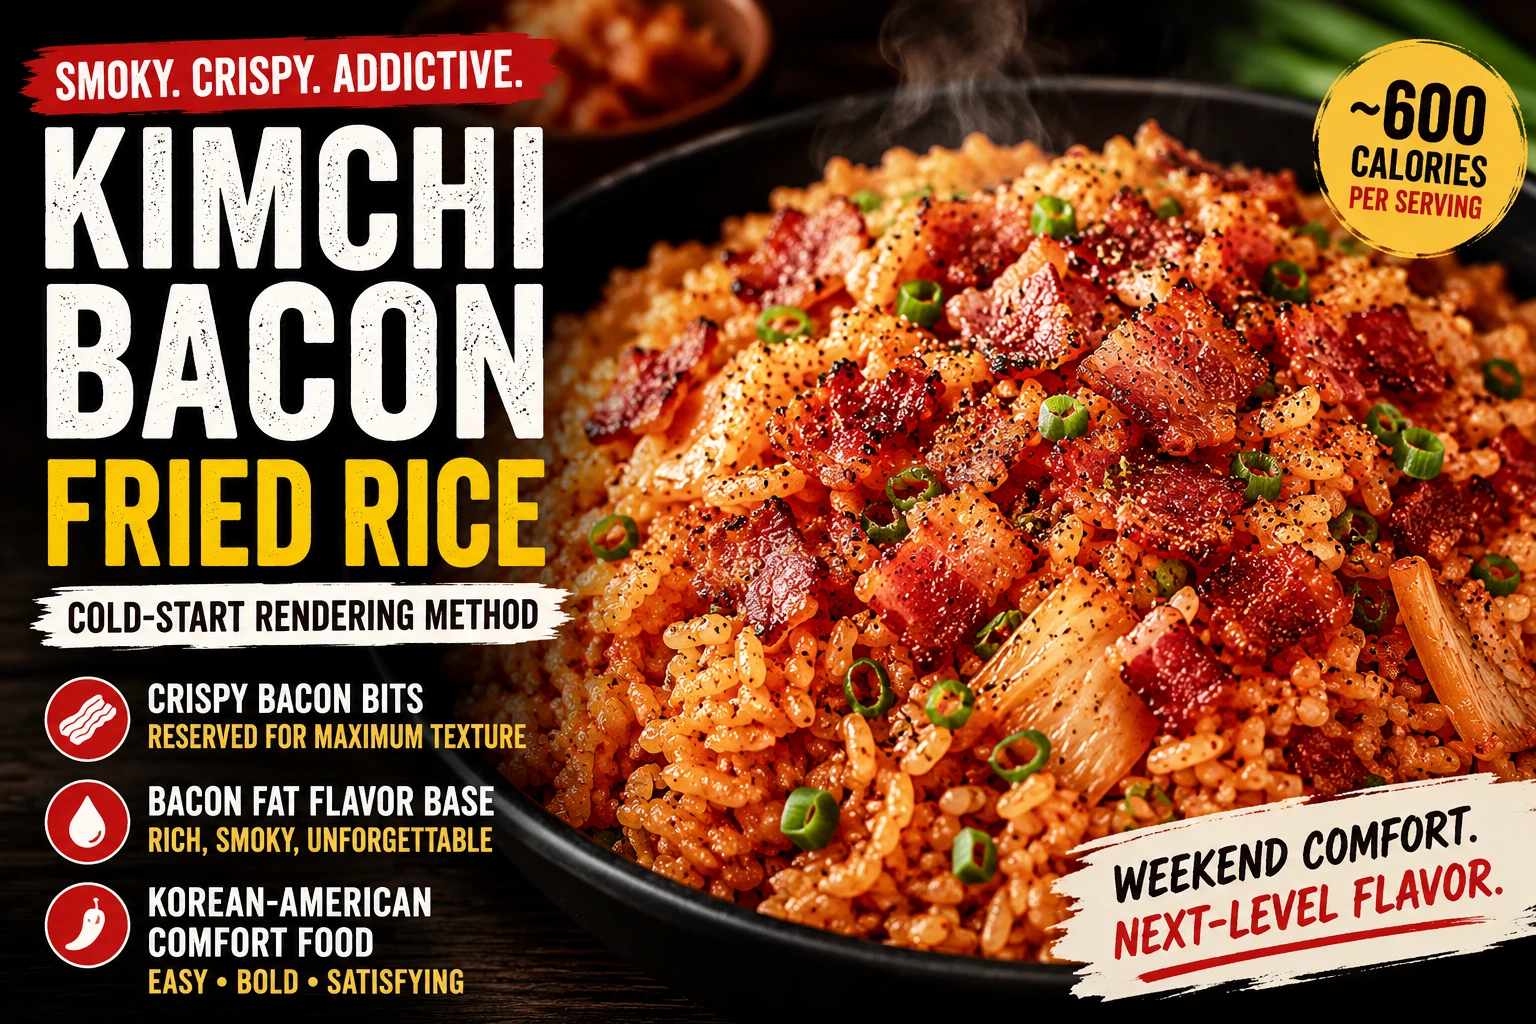
All 9 Kimchi Fried Rice Variations
The KFR Ultimate Guide → covers all 9 in one place with the full comparison table.
Pairing Guide — Vegan Version
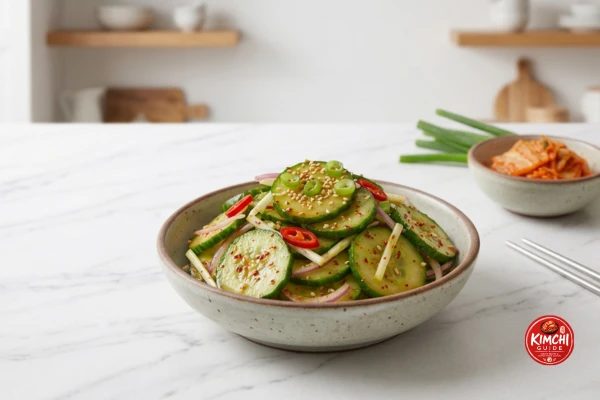
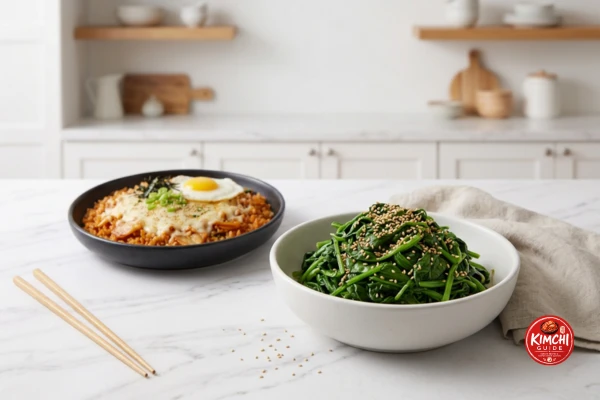
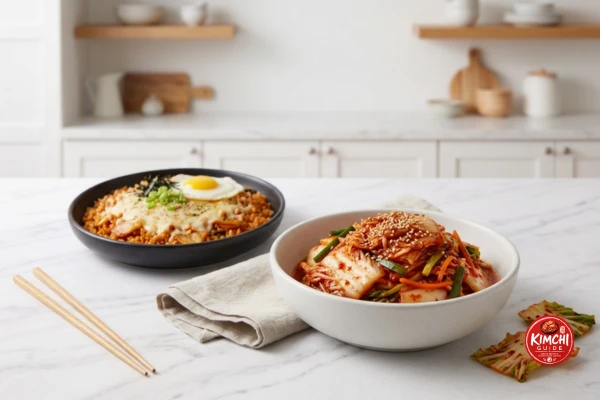
All four pairings below are naturally plant-based, so nothing needs adjusting to keep the whole meal vegan.

Storage & Reheating — Vegan Version
Store the crispy tofu separately from the rice whenever possible — it’s the only component that loses quality on standard reheating.
Nutrition Comparison — All 9 KFR Variations
| Variation | Calories | Protein | Vegan? | Best For |
|---|---|---|---|---|
| Cauliflower Version | 180 | 10g | No (egg) | Low-carb, keto, lightest option |
| Without Egg | 360 | 7g | No (may use dairy) | Calorie control, meal prep |
| Vegan (tofu) ← This page | 380 | 14g | ✅ Fully vegan | Plant-based, egg-free protein |
| Breakfast Bowl | 380 | 15g | No (egg, avocado) | Mornings, lighter portion |
| Tuna Version | 410 | 22g | No | Highest protein, lean |
| Classic (with egg) | 420 | 14g | No | All occasions |
| Cheese Version | 570 | 19g | No | Entertaining, most indulgent |
| Spam Version | 580 | 24g | No | Comfort food, budae flavour |
| Bacon Version | 600 | 21g | No | Weekend indulgence |
Vegan Kimchi Fried Rice FAQ — 19 Questions
Usually not. Traditional kimchi is seasoned with jeotgal — salted fermented fish or shrimp — and often fish sauce. Vegan kimchi replaces these with soy sauce, kelp stock, or mushroom powder instead.
Check the ingredient label specifically for fish sauce, anchovy, shrimp, or jeotgal. Look for kimchi explicitly labeled “vegan,” which is more reliable than “vegetarian” alone.
Tofu replaces both the protein and the textural contrast the egg provides. Simply omitting the egg does not replicate that.
Tofu holds significant water, which prevents proper browning. Pressing for at least 20 minutes removes enough moisture to crisp.
Not for the crispy topping — silken tofu has too much water and structural fragility. Extra-firm or firm tofu is required.
Most modern brands are vegan, but a small number add honey or other non-vegan sweeteners — worth checking once per brand.
Soy sauce, kelp (dashima) stock, and dried mushroom powder all contribute glutamates — the same compounds fish sauce provides.
Yes — the lactic acid fermentation process is plant-based regardless of seasoning, so it ages through the same Stage 1-4 progression.
Yes — replace fish sauce and shrimp paste with soy sauce, kelp stock, and a small amount of blended fruit for natural sweetness.
Aim for a firm, golden-brown crust on at least two to three sides, with the interior staying soft.
Yes — air-frying at 200°C for 15-18 minutes, shaking halfway, produces a comparable crisp exterior with less oil.
Almost always insufficient pressing or moving the tofu too early. Give each side a full 2-3 minutes undisturbed.
Reasonably — approximately 14g of protein per serving from the tofu alone, comparable to the egg-topped classic.
Approximately 380 calories, slightly lower than the classic recipe’s 420 calories.
Yes — store the crispy tofu separately, then reheat in a dry pan or air fryer just before serving.
It can be — use tamari or coconut aminos, and confirm your gochujang and vegan kimchi brands are labelled gluten-free.
Yes — diced carrot, zucchini, or mushrooms all work well added alongside the kimchi.
Tempeh, cubed and pan-seared the same way, is a good substitute with a firmer, nuttier bite.
No — 10-15 minutes is enough. Marinating longer than 30 minutes can make the tofu too wet again for a good crisp.


💬 Leave a Comment
Made this recipe? Tell us how the crispy tofu method turned out for you.