Kimchi Fried Rice All 9 Variations Compared — Nutrition, Method & Tools
Nine ways to make kimchi fried rice, side by side. Every variation shares the same aged-kimchi base — what changes is the protein, the cooking fat, and the technique. Compare calories, protein, difficulty, and equipment, then jump straight to the full recipe for the one that fits.
9 Kimchi Fried Rice Variations, One Base Technique
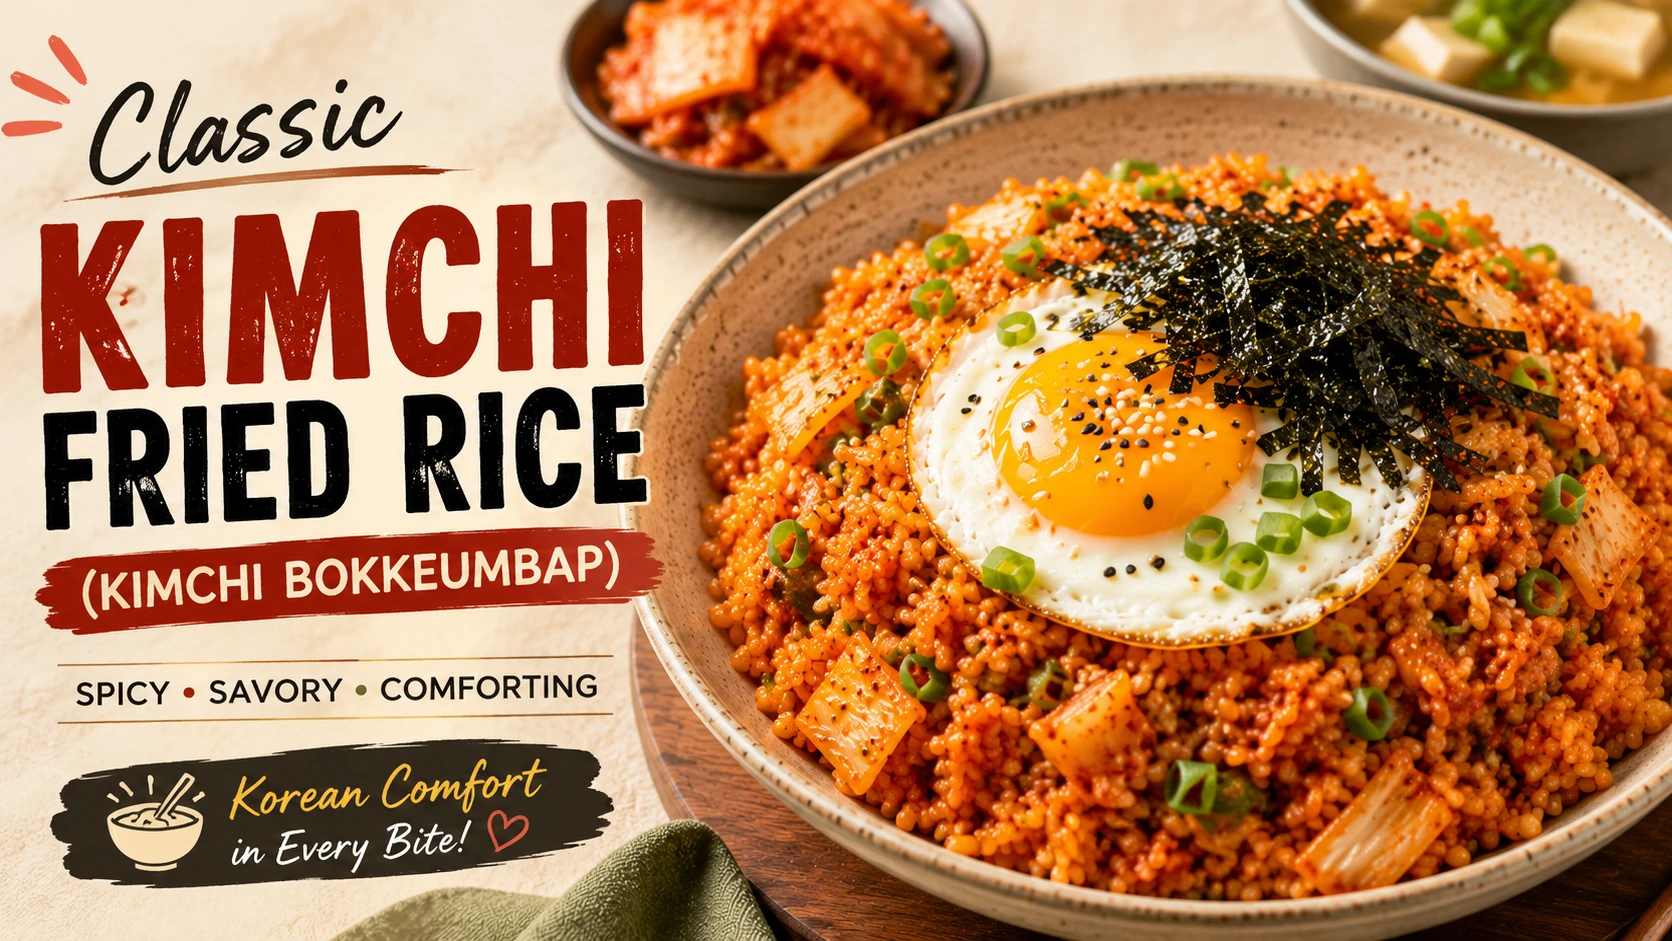
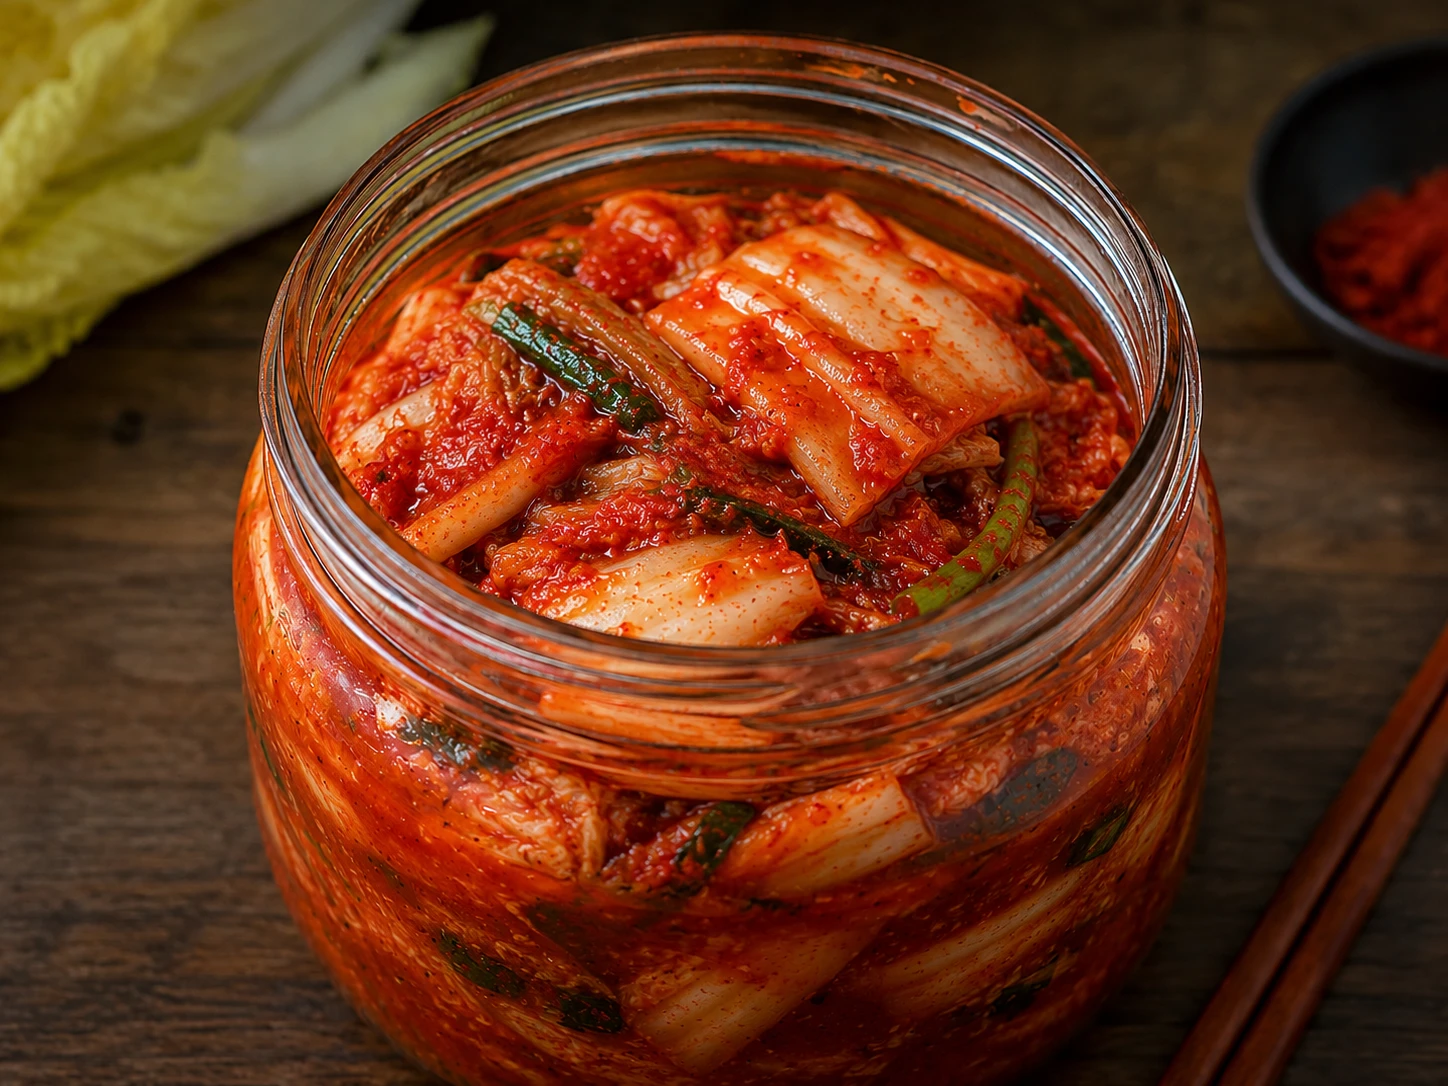
Kimchi fried rice — kimchi bokkeumbap (김치볶음밥) in Korean — is one of the most cooked dishes in Korean home kitchens, and this site now covers 9 tested variations built on a single shared technique. Every version starts the same way — Stage 3 aged kimchi (3-6 weeks fermented), gochujang, kimchi brine, and cold day-old short-grain rice stir-fried on high heat until the lactic acid caramelises through the Maillard reaction. What changes across the 9 variations is the topping or protein (egg, Spam, canned tuna, bacon, crispy tofu, melted mozzarella) and, in a few cases, the cooking fat itself. Calories range from 180 (cauliflower, low-carb) to 600 (bacon), and protein from 7g to 24g per serving depending on which protein carries the dish.
This page is a comparison hub, not a single recipe — think of it as the reference layer that sits above all 9 individual recipe pages. Use the decision tool below to get matched to a variation based on your dietary goals, or scroll through the nutrition, method, and equipment comparisons to make your own call. Every fact here traces back to the fully tested recipe on its own dedicated page, complete with step-by-step method, exact ingredient quantities, and printable recipe card.
Every Kimchi Fried Rice Variation
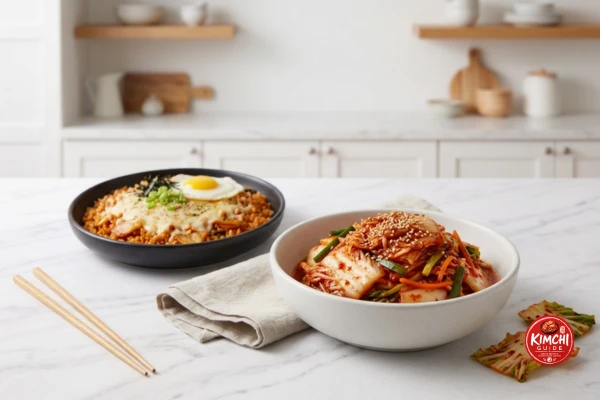
Same base technique, different protein and topping. The nine variations below span the full range of Korean and Korean-fusion kimchi bokkeumbap styles — from the restaurant-standard classic with a runny fried egg, through army-base-era Spam and budae-style comfort food, to fully plant-based and low-carb adaptations built for modern dietary needs. Tap any card for the full recipe, exact ingredient quantities, step-by-step method, and printable recipe card.

Nutrition Comparison — All 9 Variations
Sorted lowest to highest calorie. The macronutrient spread across these nine variations comes almost entirely from the protein or topping — carbohydrate content from the rice and kimchi base stays relatively consistent throughout, generally in the 50-60g range per serving, while fat and protein swing widely depending on whether the dish is built around egg, rendered animal fat, crispy tofu, or melted cheese. Save this chart if you’re meal planning across the week or tracking macros against a specific calorie or protein target.
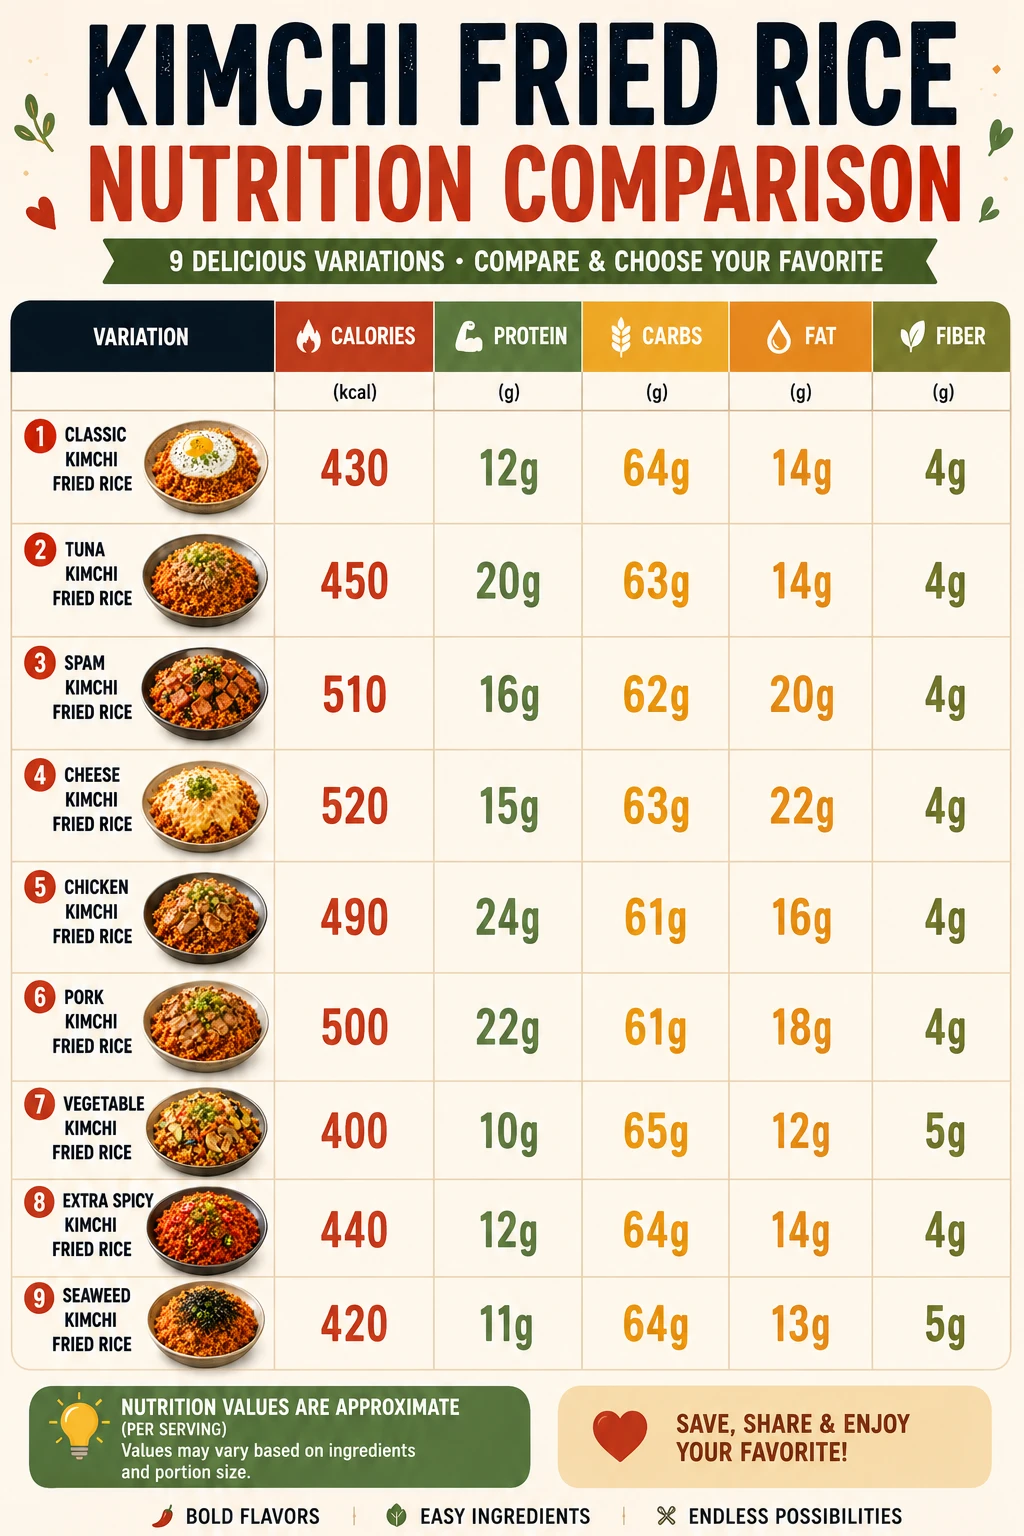
Save or pin this chart for quick reference while meal planning across the week. Cauliflower sits lowest at approximately 180 calories, roughly 60 percent below the classic recipe, because cauliflower rice replaces most of the carbohydrate load that regular short-grain rice would otherwise contribute. Bacon sits highest at approximately 600 calories, driven by both the rendered cooking fat and the protein itself rather than the rice-and-kimchi base.
Every version shares roughly the same carbohydrate range from the fermented rice-and-kimchi base — generally 50 to 60 grams per serving — so the calorie and macronutrient spread you see across this chart comes almost entirely from the protein or topping choice layered on top, not from the aged kimchi, gochujang, or rice itself. This is a useful distinction if you’re comparing kimchi fried rice against other Korean rice dishes on a nutrition-tracking app: the base technique here is consistently moderate in calories, and the protein decision is what pushes any individual variation toward the lighter or richer end of the range.
Sodium also varies by variation — Spam, bacon, and cheese run higher due to cured or salted proteins, while classic and cauliflower stay comparatively moderate since kimchi brine is the main seasoning source rather than a second salty ingredient. If you’re tracking sodium specifically, the full per-variation breakdown is available on each individual recipe page linked from the table below.
| Variation | Calories | Protein | Vegan? | Gluten-Free? | Best For |
|---|---|---|---|---|---|
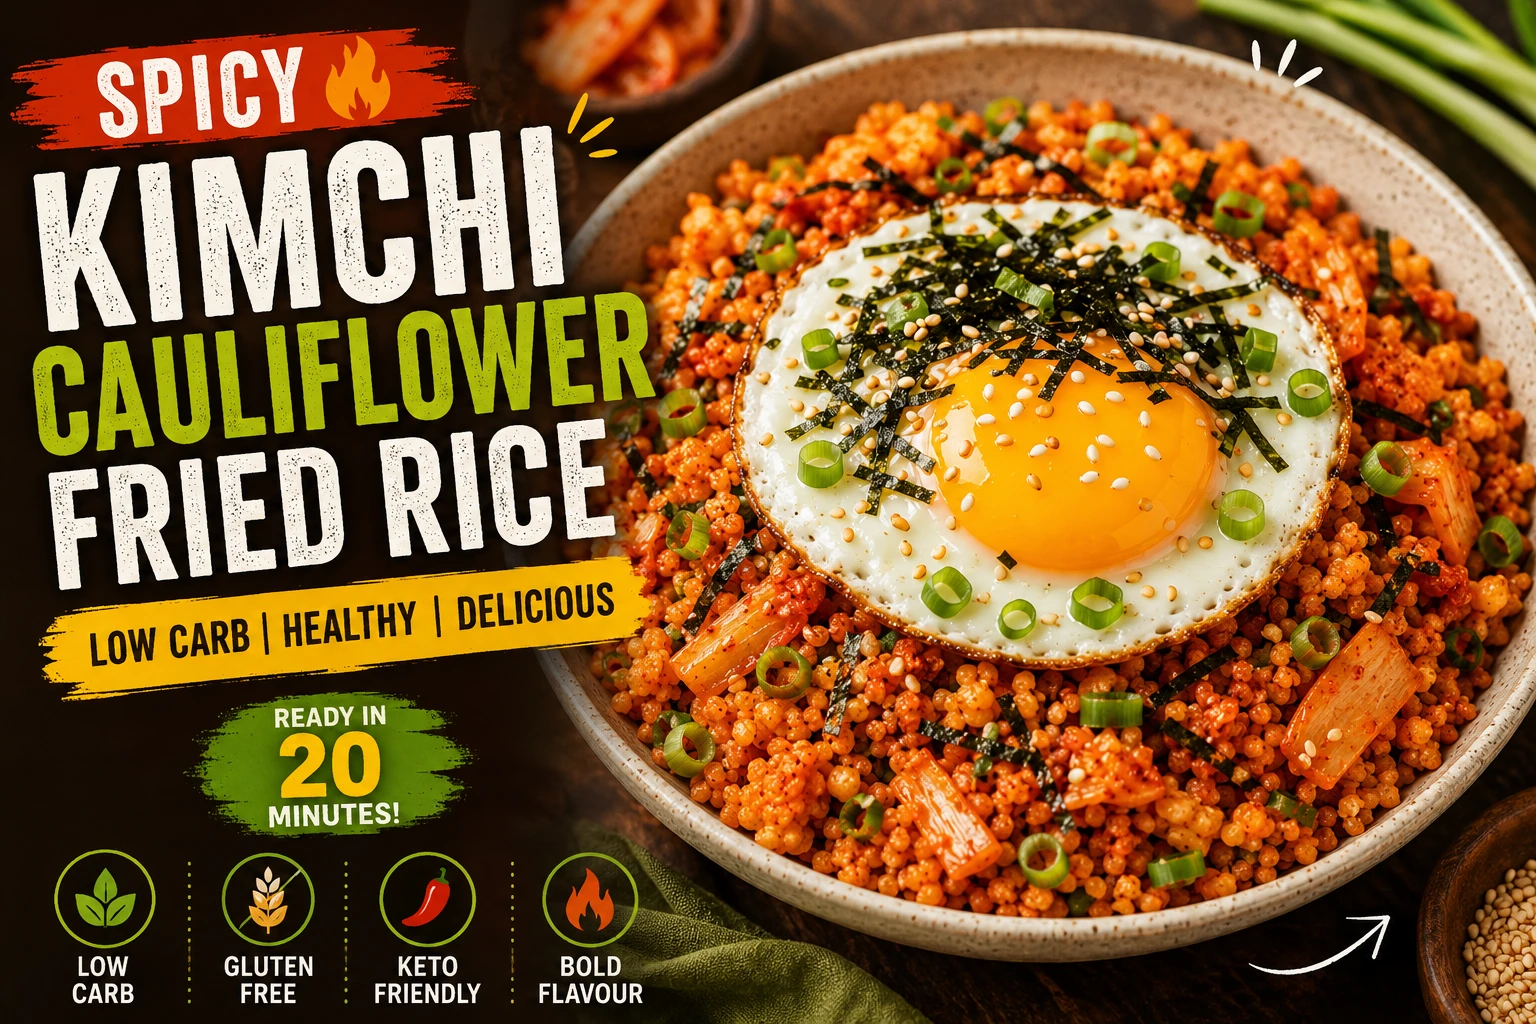
| Cauliflower | 180 | 10g | ✗ (egg) | ✓ | Lowest calorie, low-carb, keto-adaptable |
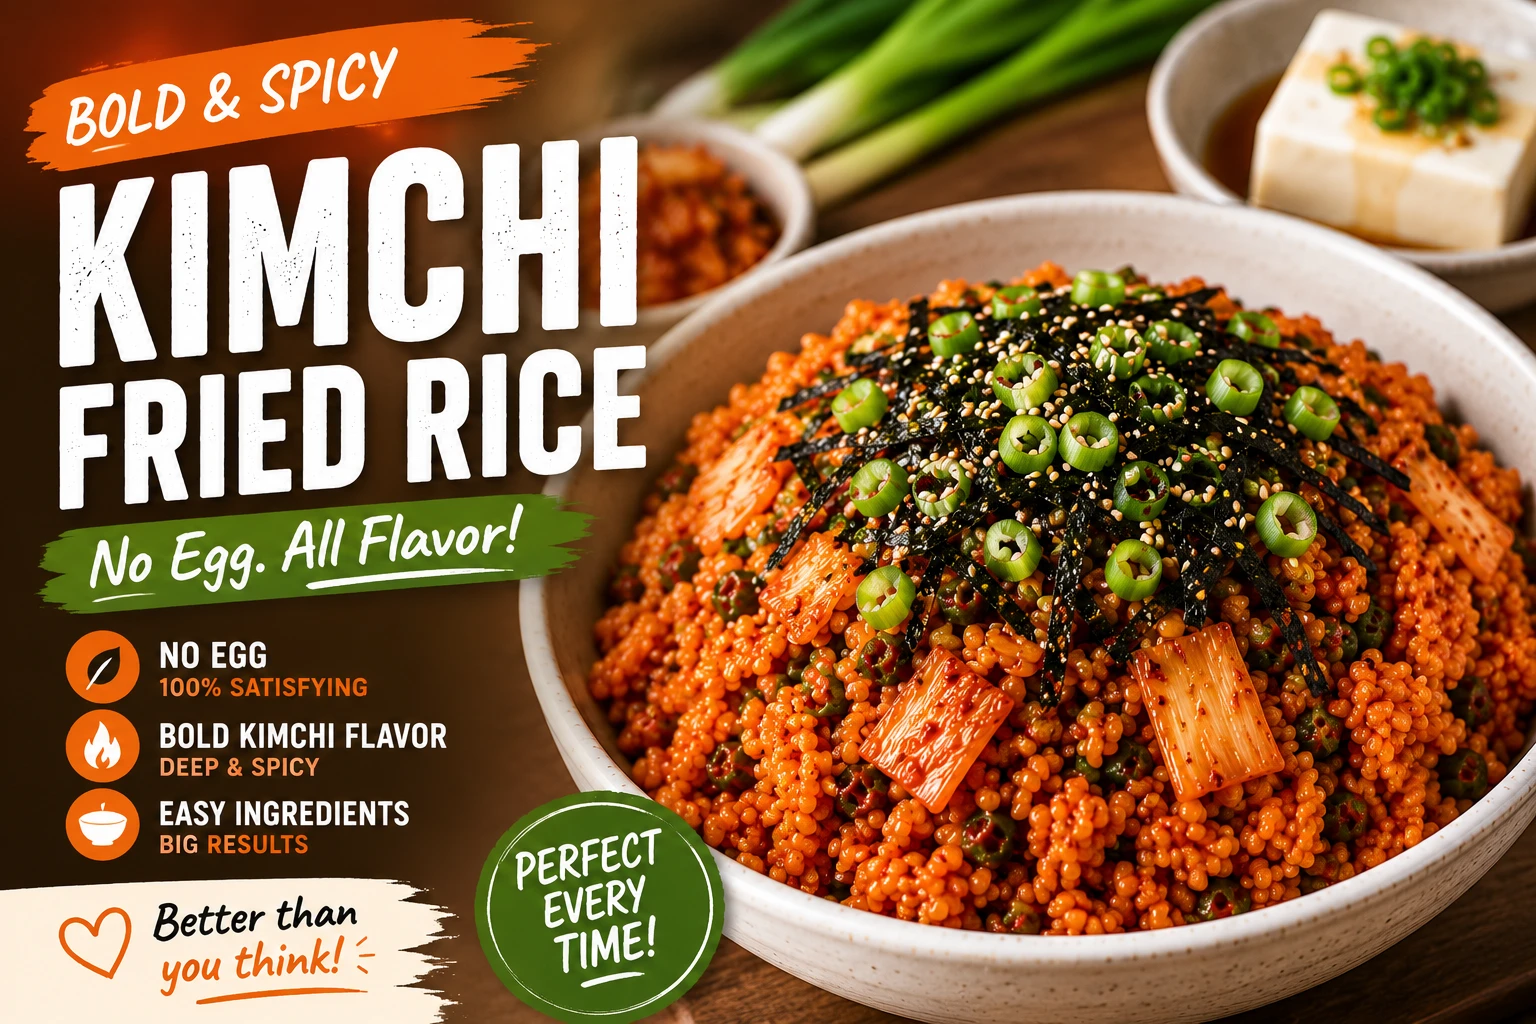
| Without Egg | 360 | 7g | ✗ (may use dairy) | ✓ (tamari) | Calorie control, simplest meal prep |
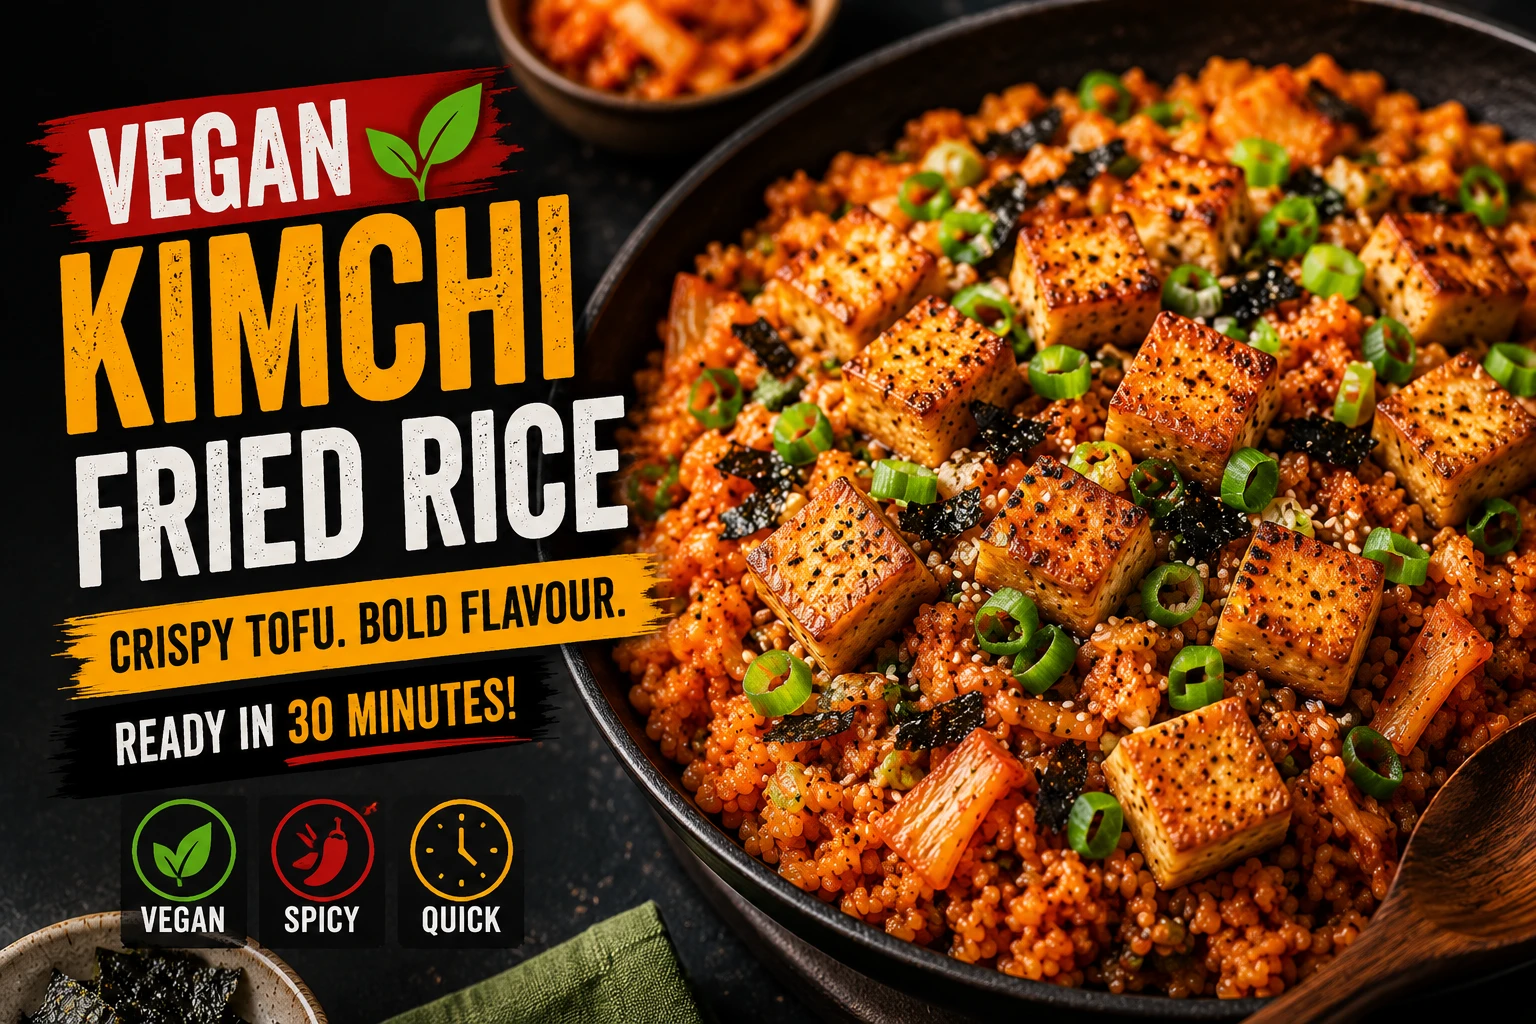
| Vegan | 380 | 14g | ✓ | ✓ (tamari) | Plant-based, egg-free protein |
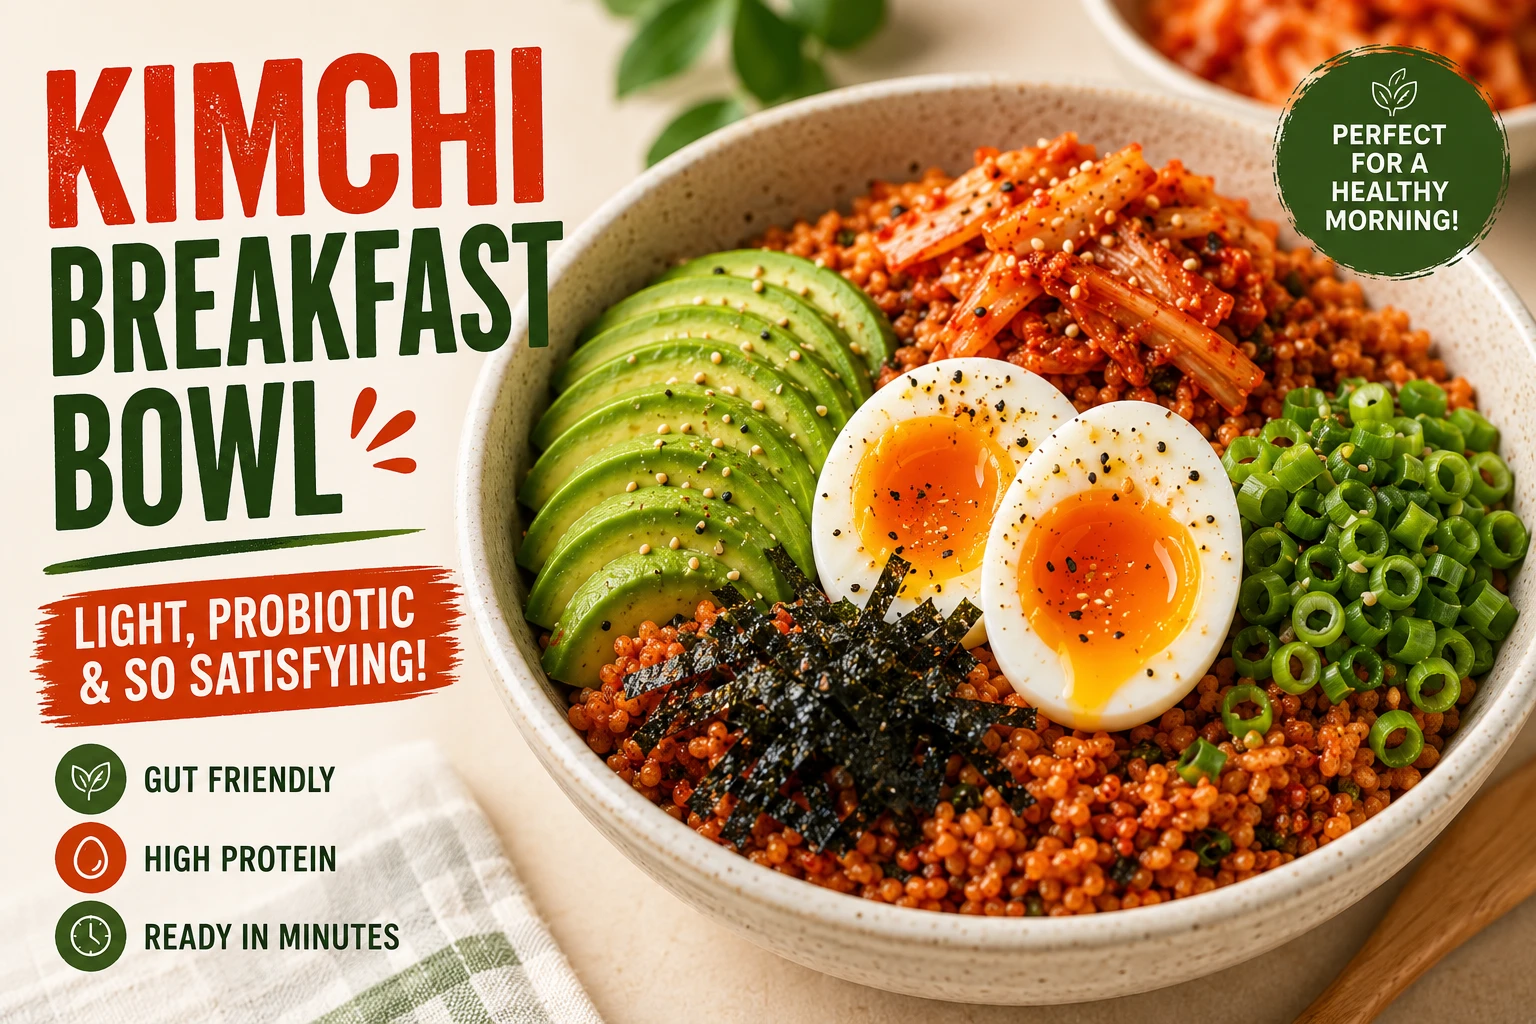
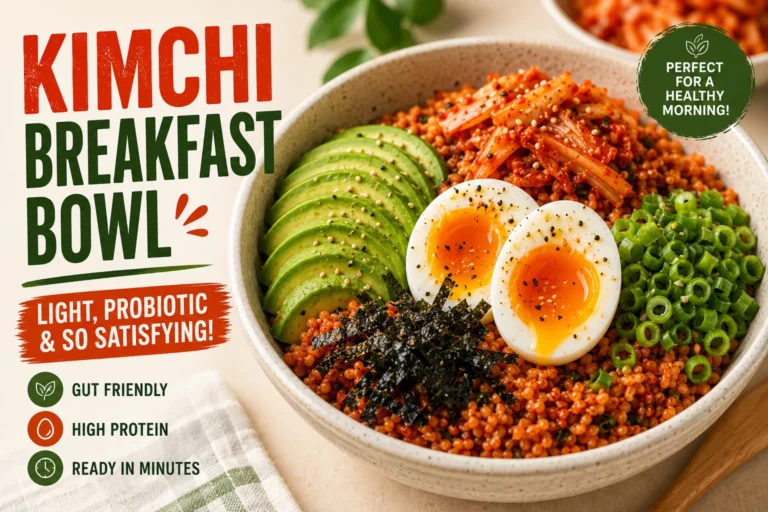
| Breakfast Bowl | 380 | 15g | ✗ (egg, avocado) | ✓ (tamari) | Mornings, lighter portion |
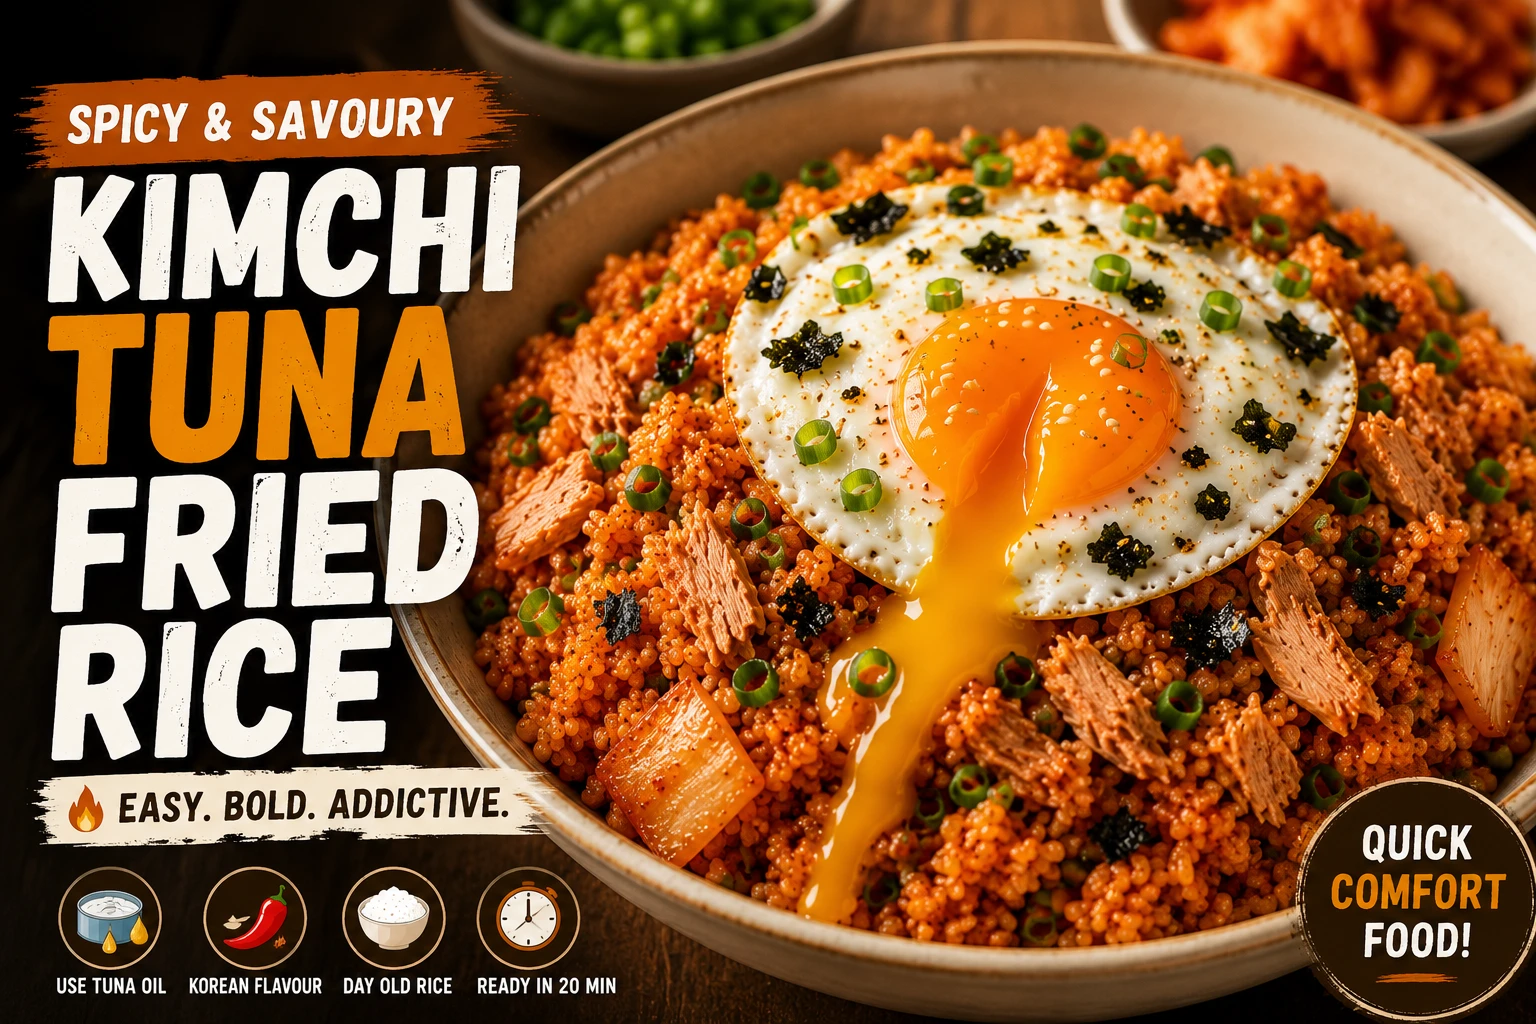
| Tuna | 410 | 22g | ✗ | ✓ | Highest protein-to-calorie ratio |
| Classic | 420 | 14g | ✗ | ✓ (tamari) | All occasions, first attempt |
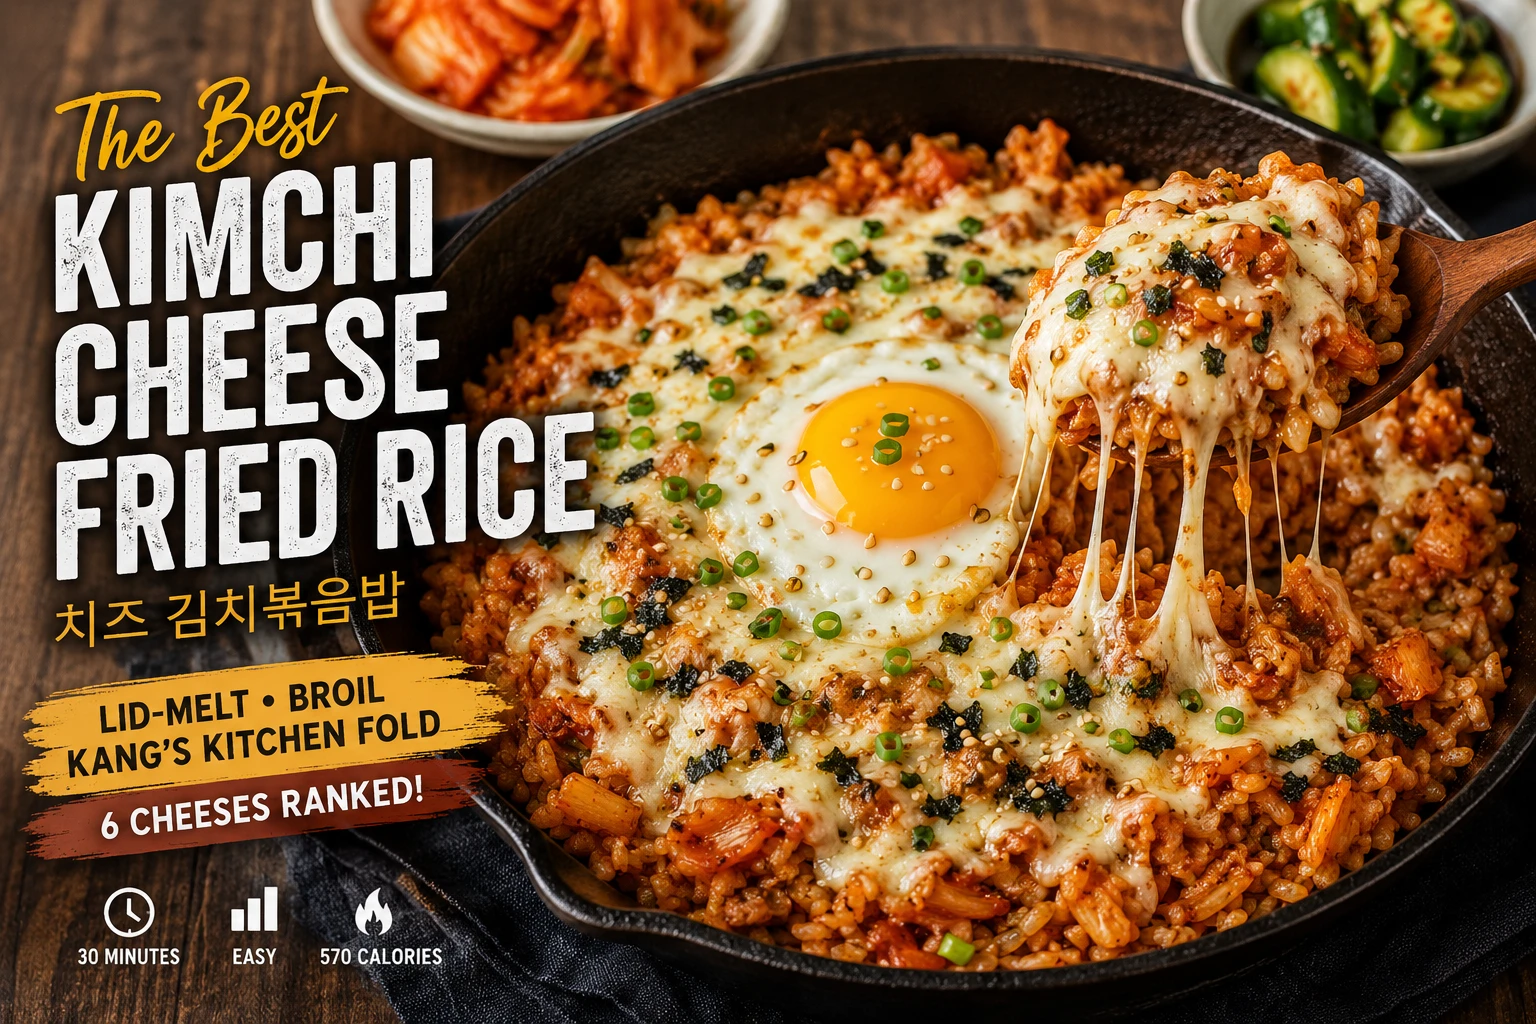
| Cheese | 570 | 19g | ✗ | ✓ | Entertaining, kid-friendly |
| Spam | 580 | 24g | ✗ | ✗ | Highest protein, comfort food |
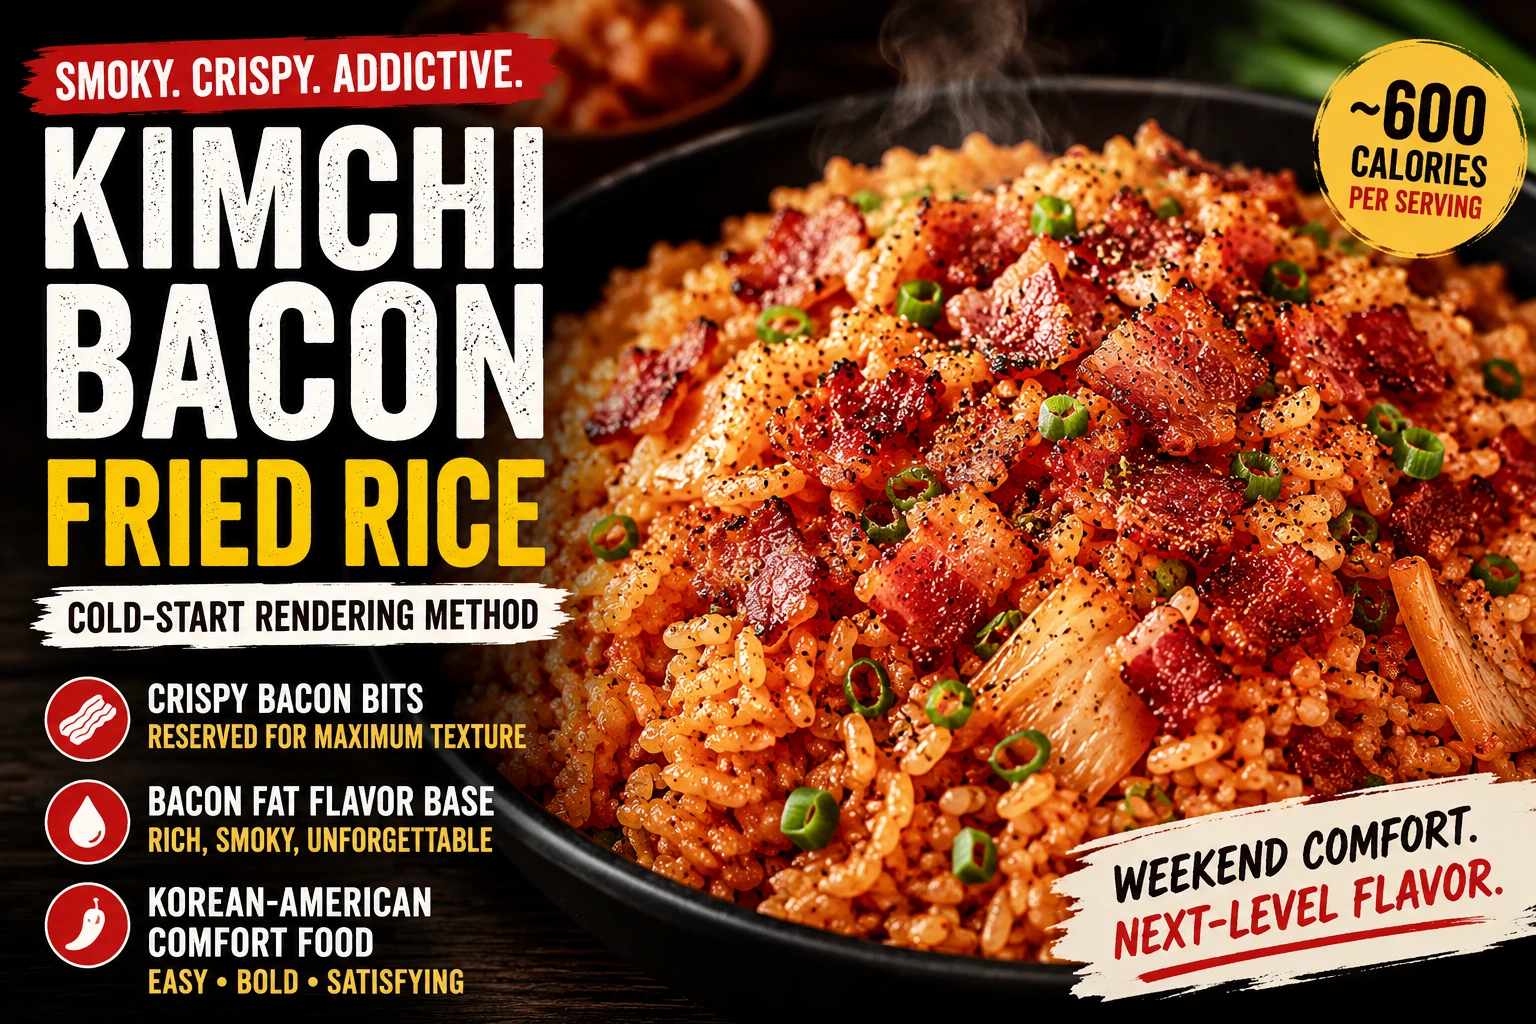
| Bacon | 600 | 21g | ✗ | ✓ | Weekend indulgence |
Method & Cooking Fat Comparison
The base press-and-char technique — pressing rice flat against a smoking-hot cast iron surface for 45-60 seconds, then stirring, repeated four to five times — is identical across all 9 variations. This is what produces nurungji (누룽지), the crisp caramelised bottom layer considered the best part of the dish in Korean food culture, and it’s also what recreates the intense wok hei flavour of commercial kitchen burners on a home stove. What changes between variations is what the pan starts with before the rice goes in — neutral oil, rendered Spam or bacon fat, or butter — and when the protein or topping actually joins the dish.
| Variation | Cooking Fat | Topping Added | Extra Step vs Classic |
|---|---|---|---|
| Classic | Neutral oil | Fried egg, sunny-side up | None — the baseline |
| Tuna | Tuna oil (from the can) | Tuna folded in at Step 3 | None — tuna cooks with the rice |
| Without Egg | Neutral oil + extra sesame oil | Cold silken tofu, served alongside | None — tofu isn’t cooked |
| Spam | Rendered Spam fat | Pre-fried Spam cubes, added back at Step 4 | Fry Spam first, render fat |
| Bacon | Rendered bacon fat | Crispy bacon, added at the finish | Cook bacon first, render fat |
| Vegan | Neutral oil | Press-and-sear crispy tofu, added on top | Press tofu 20 min, fry separately |
| Cheese | Butter | Mozzarella, melted under a lid | Lid-melt step at the end, 60-90 sec |
| Cauliflower | Neutral oil | Fried egg (optional) | Shorter cook time — cauliflower releases water fast |
| Breakfast Bowl | Neutral oil | Soft-boiled egg + avocado | Boil egg separately, 6 min + ice bath |
Tools & Equipment — What You Actually Need
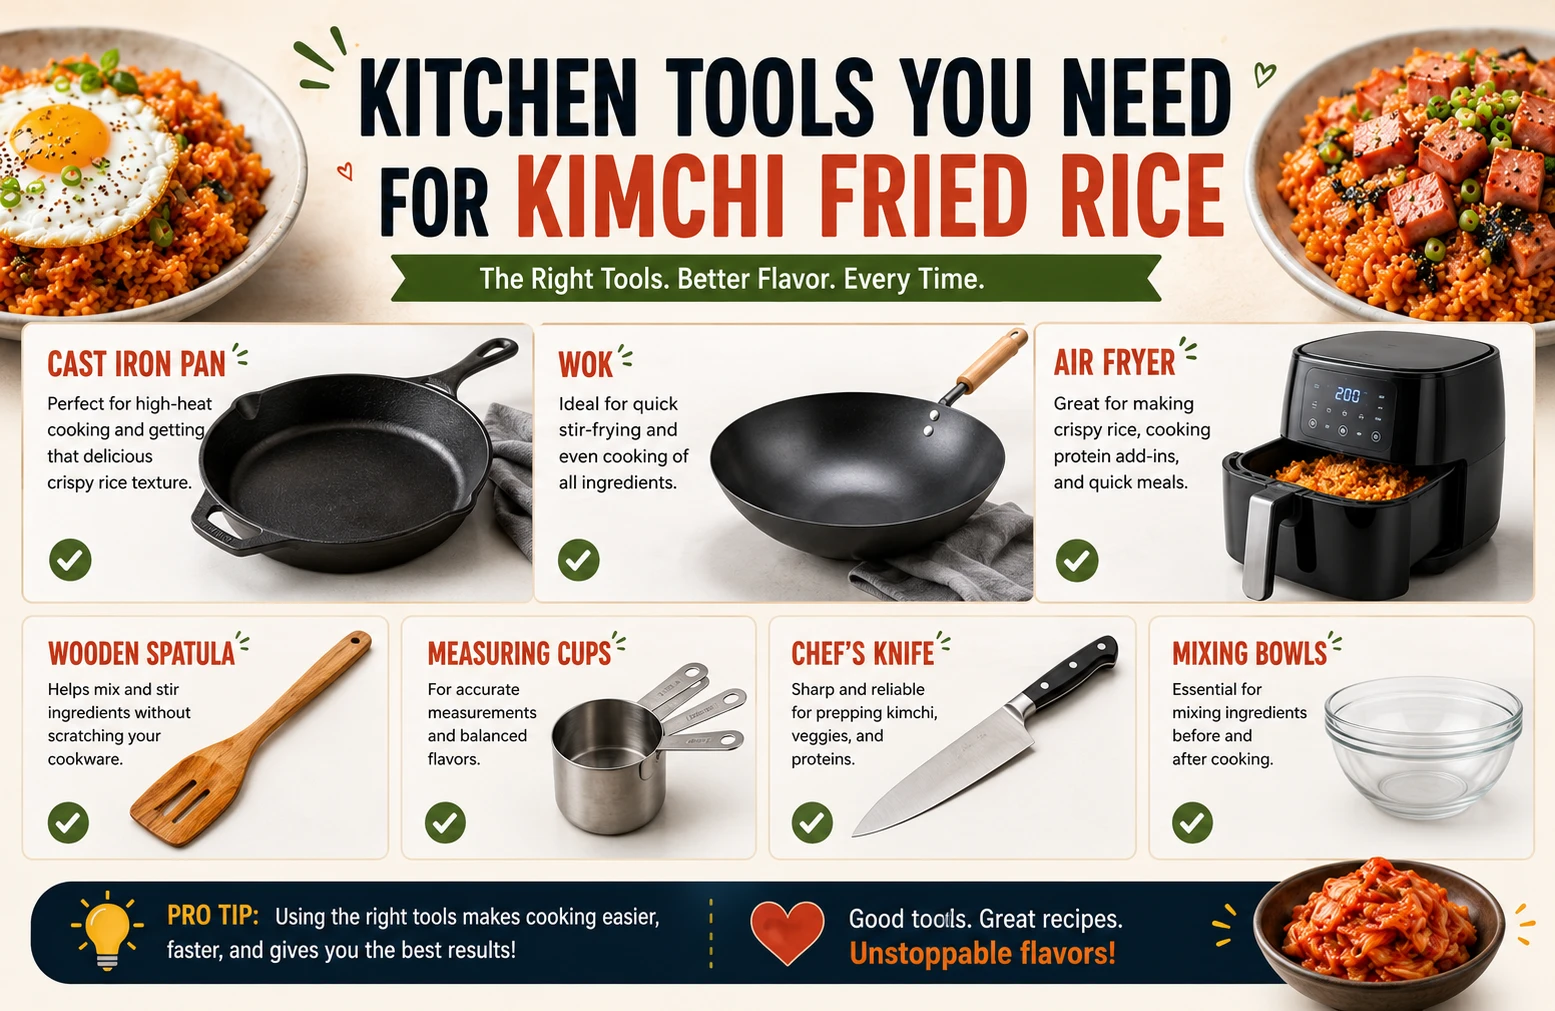
One cast iron pan (or heavy stainless steel skillet) covers 7 of the 9 variations. Thermal mass is the deciding factor here — a pan that holds its temperature when cold rice hits the surface is what enables the Maillard reaction and crisp nurungji crust; thin non-stick cookware cools too fast and steams the rice instead. No wok, rice cooker, air fryer, or other specialty equipment is strictly required anywhere in the family, though a wok on a high-BTU gas burner or an air fryer for the vegan tofu topping can be useful alternatives if you already own them.
| Tool | Required For | Notes |
|---|---|---|
| Cast iron pan / heavy skillet | All 9 variations | The one non-negotiable tool — retains heat when cold rice hits it |
| Lid (any that fits your pan) | Cheese only | For the mozzarella lid-melt step |
| Tofu press or heavy weight | Vegan only | A heavy pan on a plate works fine |
| Air fryer | Vegan (optional) | Alternative to pan-frying the tofu, not required |
| Small second pan | Classic, Cauliflower, Breakfast Bowl | For frying or boiling the egg separately |
Shared Pantry Ingredients
These core Korean pantry staples appear in every single variation on this page. Aged kimchi, gochujang, kimchi brine, sesame oil, garlic, and soy sauce form the flavour backbone regardless of which protein or topping you choose — keep them stocked, along with a bag of short-grain rice cooked and refrigerated the night before, and you can make any of the 9 variations with just one extra grocery trip for the protein-specific ingredient.
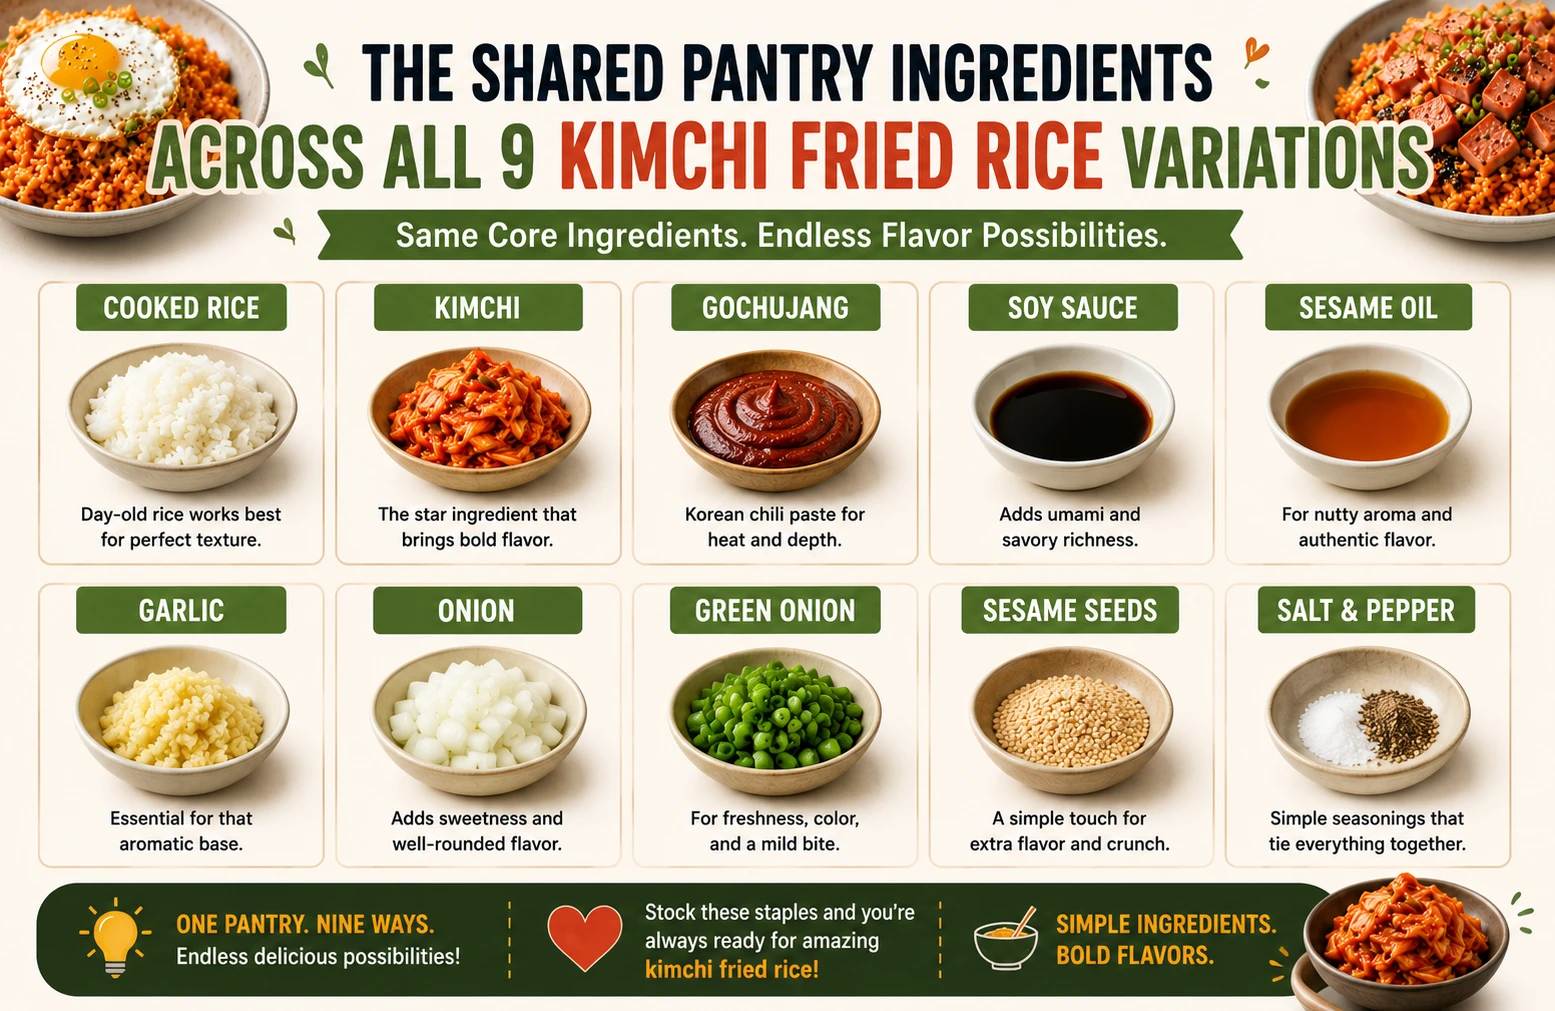
Only the protein or topping is variation-specific: eggs (classic, cauliflower, breakfast bowl), Spam, canned tuna, bacon, extra-firm tofu (vegan), silken tofu (without egg), or mozzarella (cheese).
Substitution Cross-Reference
Because every variation on this page shares the same aged-kimchi-and-rice base, you rarely need an external substitute — the closest match is usually just a different variation from this same family. Don’t have what a specific recipe calls for, or want to avoid a particular ingredient for dietary or allergy reasons? Here’s the closest match already documented and tested in this guide.
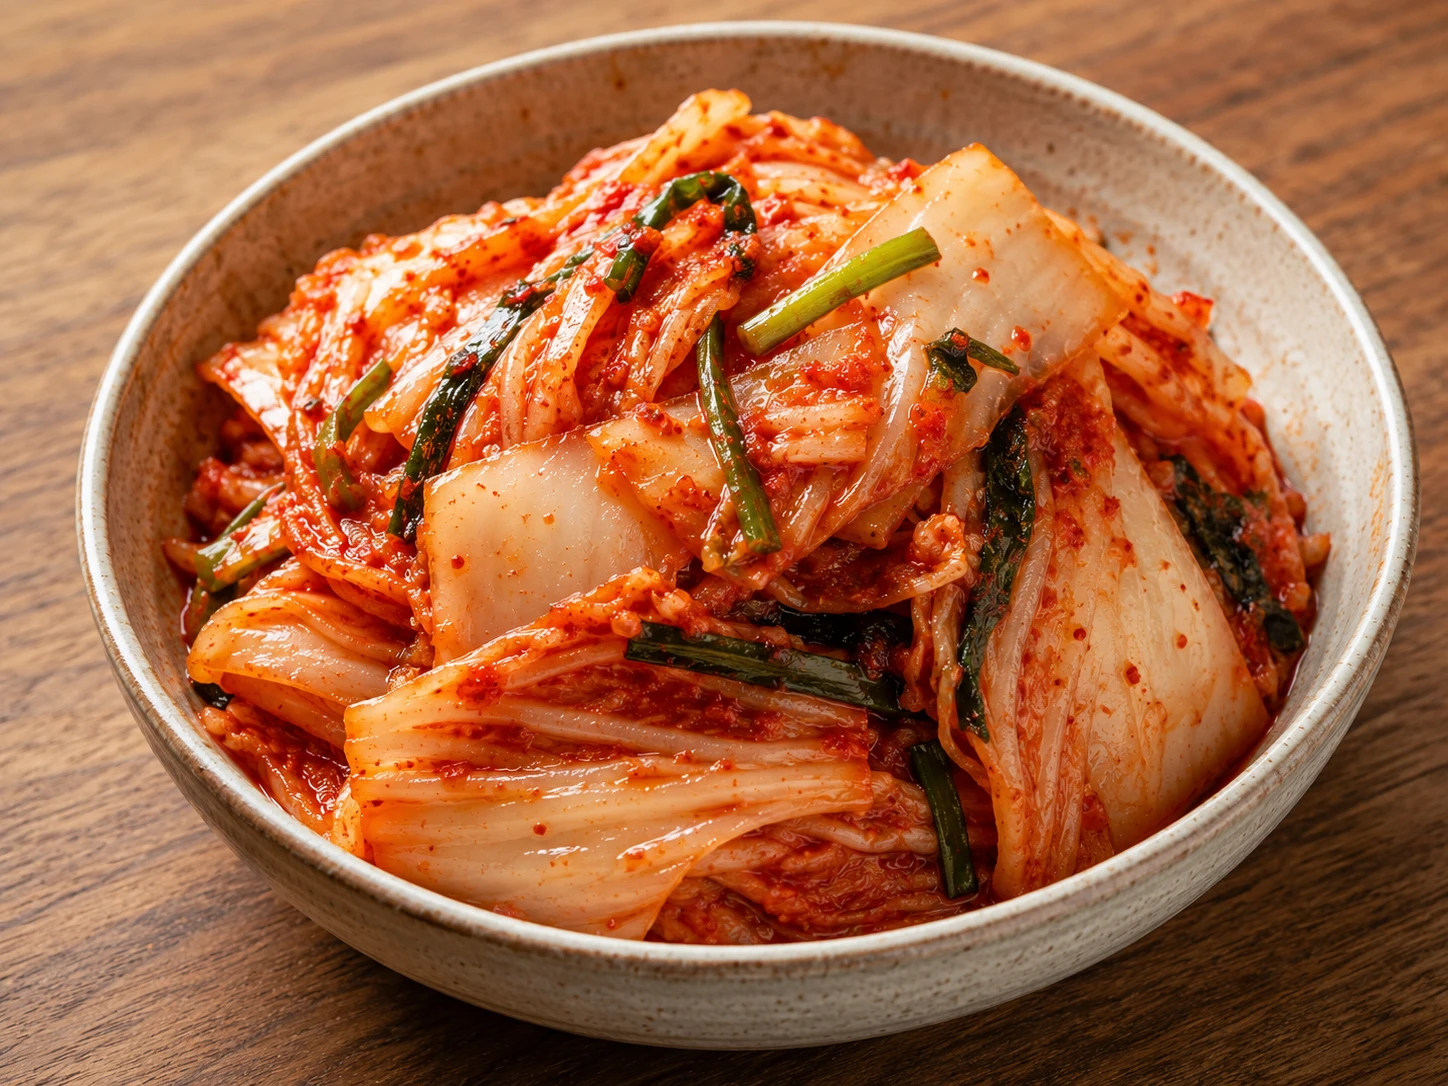
Which Kimchi Stage to Use
This is the one variable more important than which variation you pick. Kimchi fermentation runs through a predictable pH curve driven by Lactobacillus bacteria, and how far along that curve your kimchi sits determines whether it caramelises into deep sour-umami flavour at high heat or simply tastes flat and sweet. Stage 3 (3-6 weeks, pH approximately 4.2) is correct for every one of the 9 variations covered on this page — the protein or topping changes from card to card, but the fermentation science underneath does not.
Difficulty Comparison — All 9
Every variation on this page sits at beginner-to-easy skill level — none require advanced knife work, precision timing, or specialised Korean culinary training. The only meaningful difference between them is whether the protein needs a separate pre-cooking or fat-rendering step before it joins the rice, versus being folded in directly or added as a raw-then-cooked topping like the classic fried egg.
- Classic
- Tuna
- Without Egg
- Cauliflower
- Breakfast Bowl (boil egg)
- Cheese (lid-melt)
- Spam (render fat)
- Bacon (cook + render fat)
- Vegan (press + crisp tofu)
Spice Level Comparison — All 9
Gochujang quantity is the same across the base recipe, but the topping or protein changes how spicy each variation actually tastes at the table. Richer, fattier proteins (cheese, bacon, Spam) coat the tongue and blunt perceived heat from capsaicin, while leaner or more neutral toppings (tuna, cauliflower, without egg) let the full gochugaru heat of Stage 3 kimchi come through more directly. Use this as a rough guide, not an exact science — your own kimchi’s heat level will shift these slightly either way.
Want it milder no matter which variation you pick? Reduce gochujang from 1 tbsp to ½ tbsp, or use Stage 2 young kimchi instead of Stage 3 — both adjustments work across every recipe on this page without changing the core technique. Want it hotter, especially for cauliflower or tuna where heat already comes through clearly? A teaspoon of gochugaru added alongside the gochujang intensifies the burn without diluting the sauce.
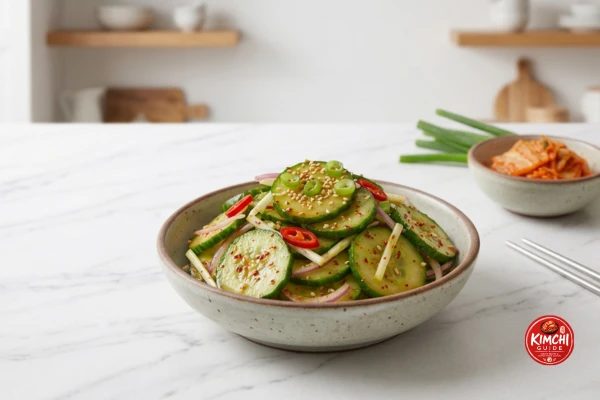
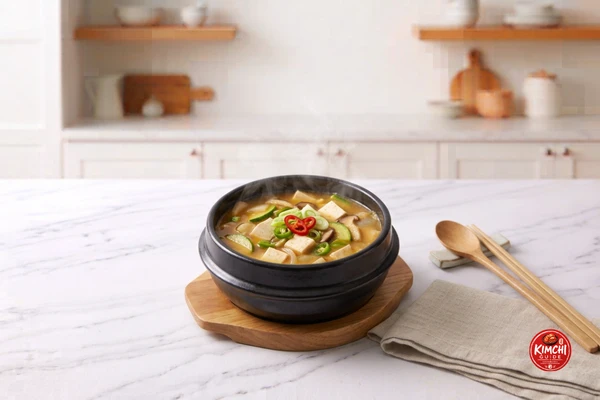
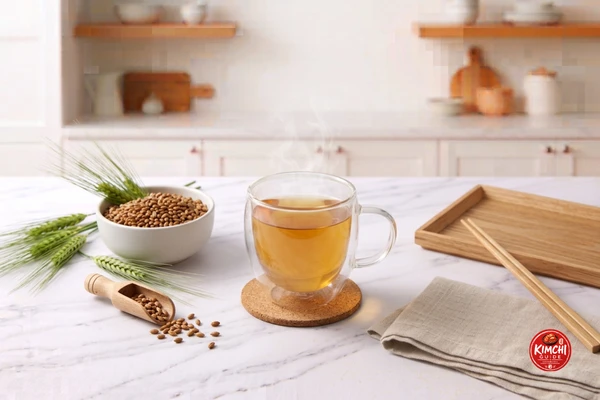
Pairing Guide
Korean home meals are traditionally built around banchan — small side dishes served alongside the main plate — and kimchi fried rice pairs naturally with the same logic used across Korean cuisine more broadly. These four pairings work with every variation on this page — cold and crisp against hot and dense, liquid against dry, mild against fermented-and-spicy — regardless of which protein or topping you’ve chosen.
Kimchi Fried Rice Variations — FAQ
The cauliflower version is lowest in calories at approximately 180 per serving, about 60 percent fewer than the classic recipe. For the best balance of low calories and high protein, the vegan tofu version at 380 calories with 14g protein or the without-egg version at 360 calories are strong options.
The Spam version leads at approximately 24g of protein, followed by tuna at 22g and bacon at 21g. Among lighter options, the vegan tofu version provides a comparable 14g at significantly fewer calories than the meat-based versions.
Every variation shares the same base — aged Stage 3 kimchi, gochujang, kimchi brine, and cold day-old rice on high heat. What changes is the protein or topping and sometimes the cooking fat.
Classic, tuna, and without-egg are simplest since they need no separate protein-rendering step. Spam, bacon, and vegan tofu add one extra step but remain beginner-friendly.
Yes for most — a heavy skillet or cast iron pan is the only real requirement. Cheese needs a lid, and vegan benefits from (but doesn’t require) an air fryer.
Classic, cauliflower, and without-egg hold up best since they lack toppings that lose texture on reheating. Versions with a crispy topping are better meal-prepped in separate parts.
Cauliflower and without-egg are typically least expensive, relying on pantry staples plus kimchi. Spam, tuna, bacon, and cheese add the highest per-serving cost.
Cheese is typically most kid-friendly, since melted mozzarella softens the perceived spice. Breakfast bowl, with reduced gochujang, is another good option.
All 9 can be made gluten-free with two swaps: tamari instead of soy sauce, and a label check on your gochujang, since some brands use wheat as a thickener.
Regular fried rice uses light, neutral seasoning. Kimchi fried rice builds an aggressive fermented flavour base from aged kimchi, gochujang, and brine, whose lactic acid caramelises into sour-umami at high heat.
Yes — all variations share the same base technique, so combining toppings works well. Spam and cheese is popular. Adjust salt when combining two salty proteins.
Classic and cauliflower tend to run lowest since they don’t add a second salty protein. Cut added soy sauce in any variation to reduce sodium further.
Kimchi bokkeumbap (김치볶음밥) is the Korean name for kimchi fried rice — bokkeum means “stir-fried” and bap means “rice.” It’s one of the most common home-cooked dishes in Korea, often made specifically to use up kimchi that’s fermented past the point of enjoying it fresh.
Nurungji (누룽지) is the crisp, caramelised crust that forms when rice makes direct contact with a very hot pan without being disturbed. It’s considered the best part of kimchi fried rice by many Korean cooks, and the press-and-char technique used across all 9 variations on this page is specifically designed to produce it.
No — kimchi bokkeumbap is closer to a technique than a fixed recipe, which is why so many variations exist. Protein choice often reflects what’s on hand or regional influence: Spam and rendered pork fat trace to post-war army-base cooking, while lighter versions with tuna or no added protein are common everyday household defaults.

Ji-Young Park built this comparison guide after readers kept asking which of the 9 KFR variations to try first. Every calorie, protein, and technique note here is drawn directly from the individually tested recipe pages.
View full author profile →
Dr. Sarah Mitchell reviewed all nutrition figures across the 9 variations for consistency and accuracy, cross-checking each against the individual recipe pages’ full nutrition panels.
View full credentials →Was this comparison helpful?
Did it help you pick the right variation?

Questions & Comments
Which variation did you try, or which are you deciding between? Leave a question below — Ji-Young reads and responds to every comment.
Your email will not be published. All comments are reviewed before appearing.