Classic Kimchi Fried Rice (Kimchi Bokkeumbap — 김치볶음밥)
The authentic Korean home version — nothing added, nothing hidden. Stage 3 aged kimchi, gochujang toasted alone in the pan, nurungji crust from cold day-old rice, and a baste-fried egg with a fully molten yolk.


What Is Classic Kimchi Fried Rice?
Classic kimchi fried rice (김치볶음밥, kimchi bokkeumbap) is the authentic Korean home version — day-old short-grain rice stir-fried in a smoking cast iron pan with Stage 3 aged kimchi (2–4 weeks), gochujang toasted alone for 30 seconds, kimchi juice as the primary seasoning, and a baste-fried egg with a completely runny yolk. The three non-negotiables: Stage 3 kimchi only, pan must be smoking before oil goes in, sesame oil is added off-heat at the very end.
How to Make Classic Kimchi Fried Rice
Classic kimchi fried rice takes 25 minutes: caramelise Stage 3 aged kimchi in a smoking-hot pan, toast gochujang alone for 30 seconds, fry in cold day-old rice to build a nurungji crust, season with kimchi juice and soy sauce, then top with a baste-fried runny egg.
- Prep: chop and squeeze the kimchi, reserving 3 tbsp of juice.
- Caramelise: fry the squeezed kimchi in a smoking-hot oiled pan, 3–4 minutes.
- Toast: push kimchi aside, toast gochujang alone for 30 seconds.
- Fry the rice: add cold rice, kimchi juice, soy sauce, and sugar; press-and-char 2 minutes for nurungji.
- Finish: stir in sesame oil off-heat, top with a baste-fried egg, spring onions, and sesame seeds.
What Every Major Competitor Misses
We analysed the top-ranking pages for “classic kimchi fried rice” and “kimchi bokkeumbap.” Here is what the best-performing competitors leave out — and what this guide covers in full.
| Feature / Information | Typical Blog Recipe | Typical Recipe-DB Site | This Guide |
|---|---|---|---|
| Fermentation stage guide (which kimchi age to use) | ✗ Not covered | △ Mentioned only | ✓ Full 4-stage guide + images |
| Gochujang toasting technique (30 sec alone in pan) | ✗ Not covered | ✗ Not covered | ✓ Explained + why it works |
| Nurungji crust method explained (press-and-char) | △ Mentioned | ✗ Not covered | ✓ Step-by-step with science |
| Baste-frying egg technique for runny yolk | ✗ Sunny-side only | ✗ Sunny-side only | ✓ Baste method explained |
| Why sesame oil must go off-heat (chemistry) | ✗ Not explained | △ Mentioned | ✓ Smoke point + effect explained |
| Test kitchen data (multiple batches compared) | ✗ None | △ Partial | ✓ 8 batches, 5 variables |
| Full nutrition + reviewer-checked data | ✗ None | ✓ Basic | ✓ Full schema + RD reviewed |
| Interactive spice-level tool | ✗ None | ✗ None | ✓ Interactive slider |
What Makes Classic Bokkeumbap Different
The classic version uses only kimchi — no spam, no tuna, no cheese, no bacon. This is the purest expression of the dish. Every shortcut shows immediately.
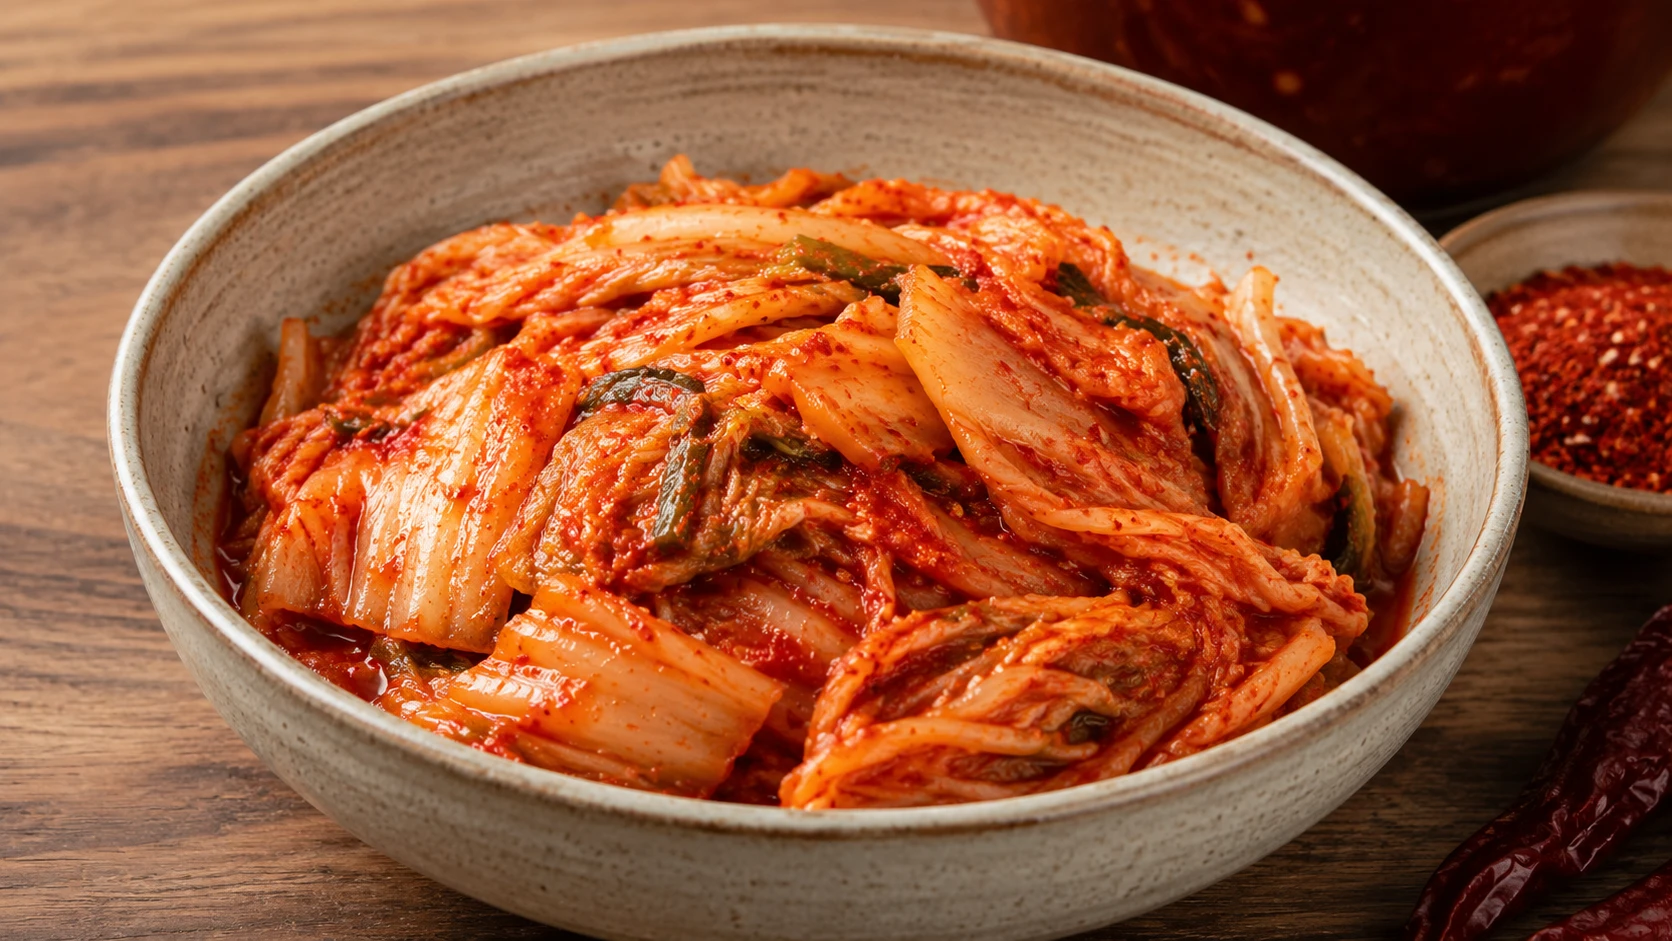
With no spam or protein to fill out the flavour, Stage 3 aged kimchi (2–4 weeks) must carry the dish alone. Fresh kimchi produces a raw, flat, sweet result.
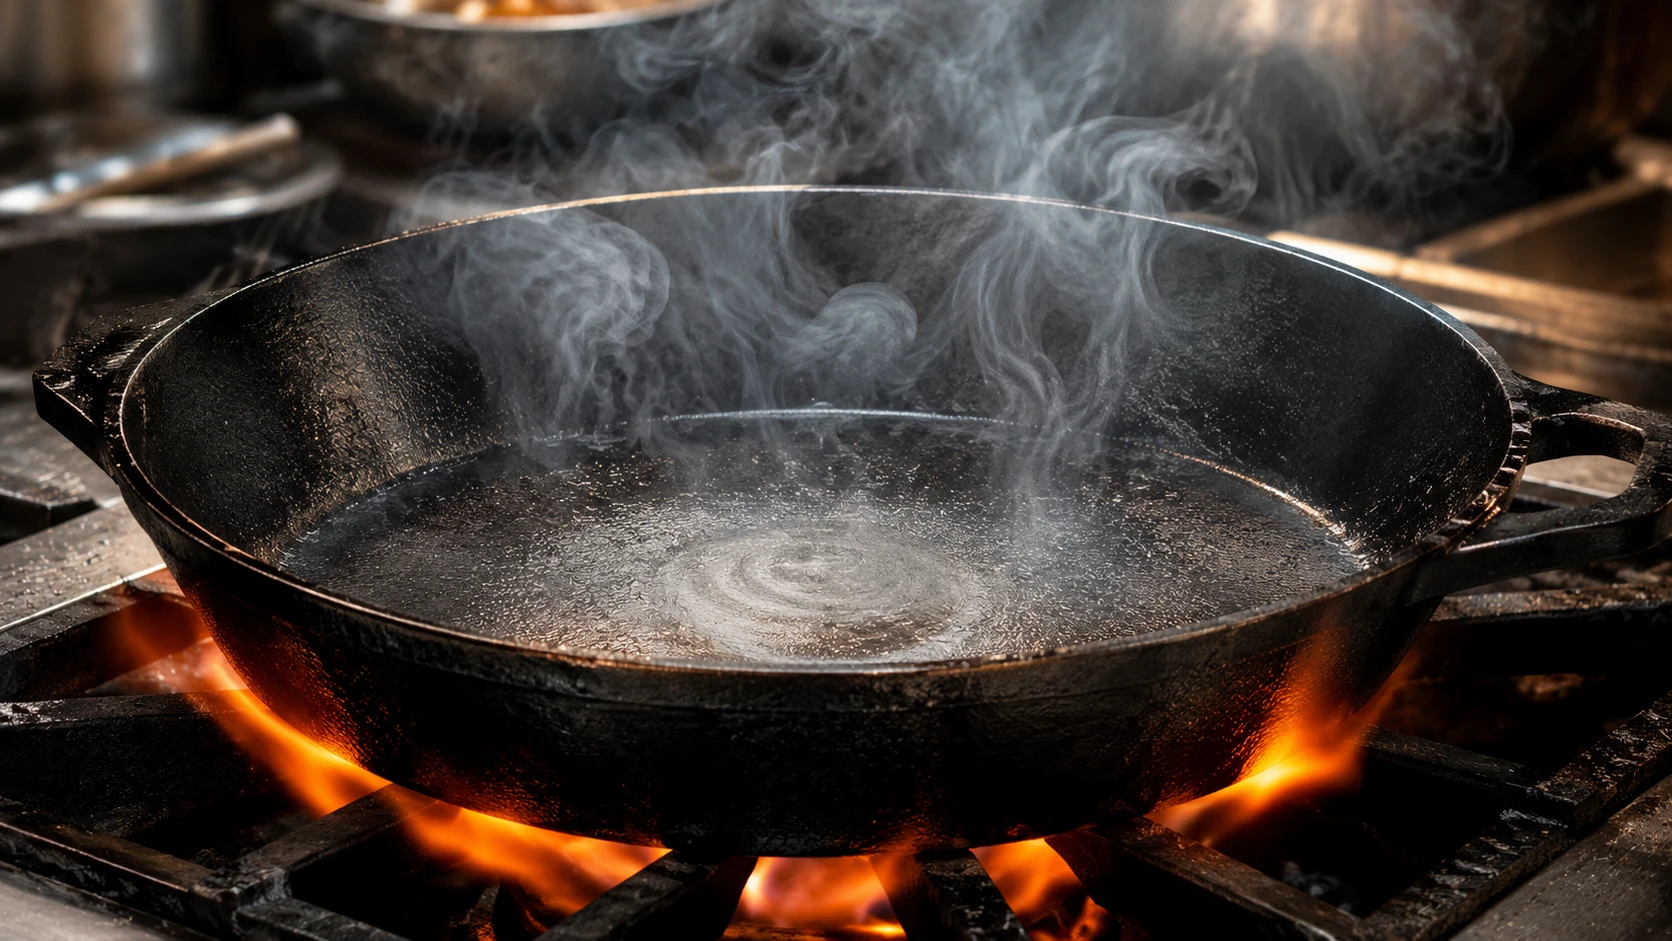
Classic bokkeumbap depends on wok hei — the slightly charred, smoky aroma that comes from extreme heat acting on lactic acid in aged kimchi.
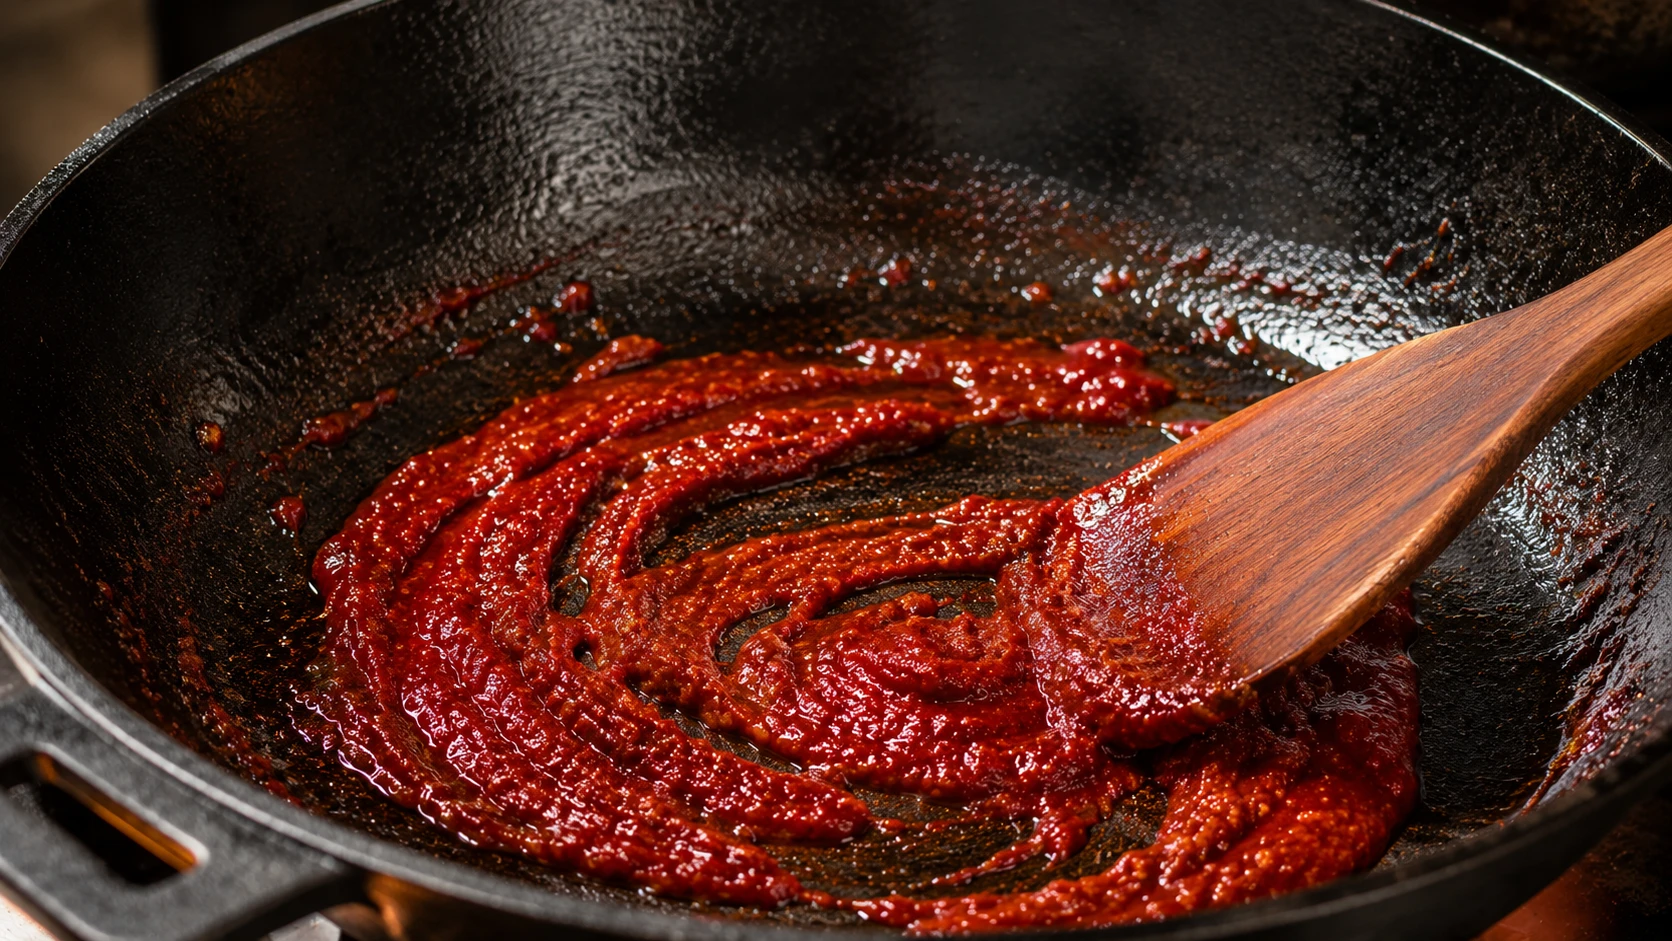
We push kimchi to one side and toast gochujang alone on the bare hot pan surface for exactly 30 seconds — this single step separates home-cook results from restaurant results.
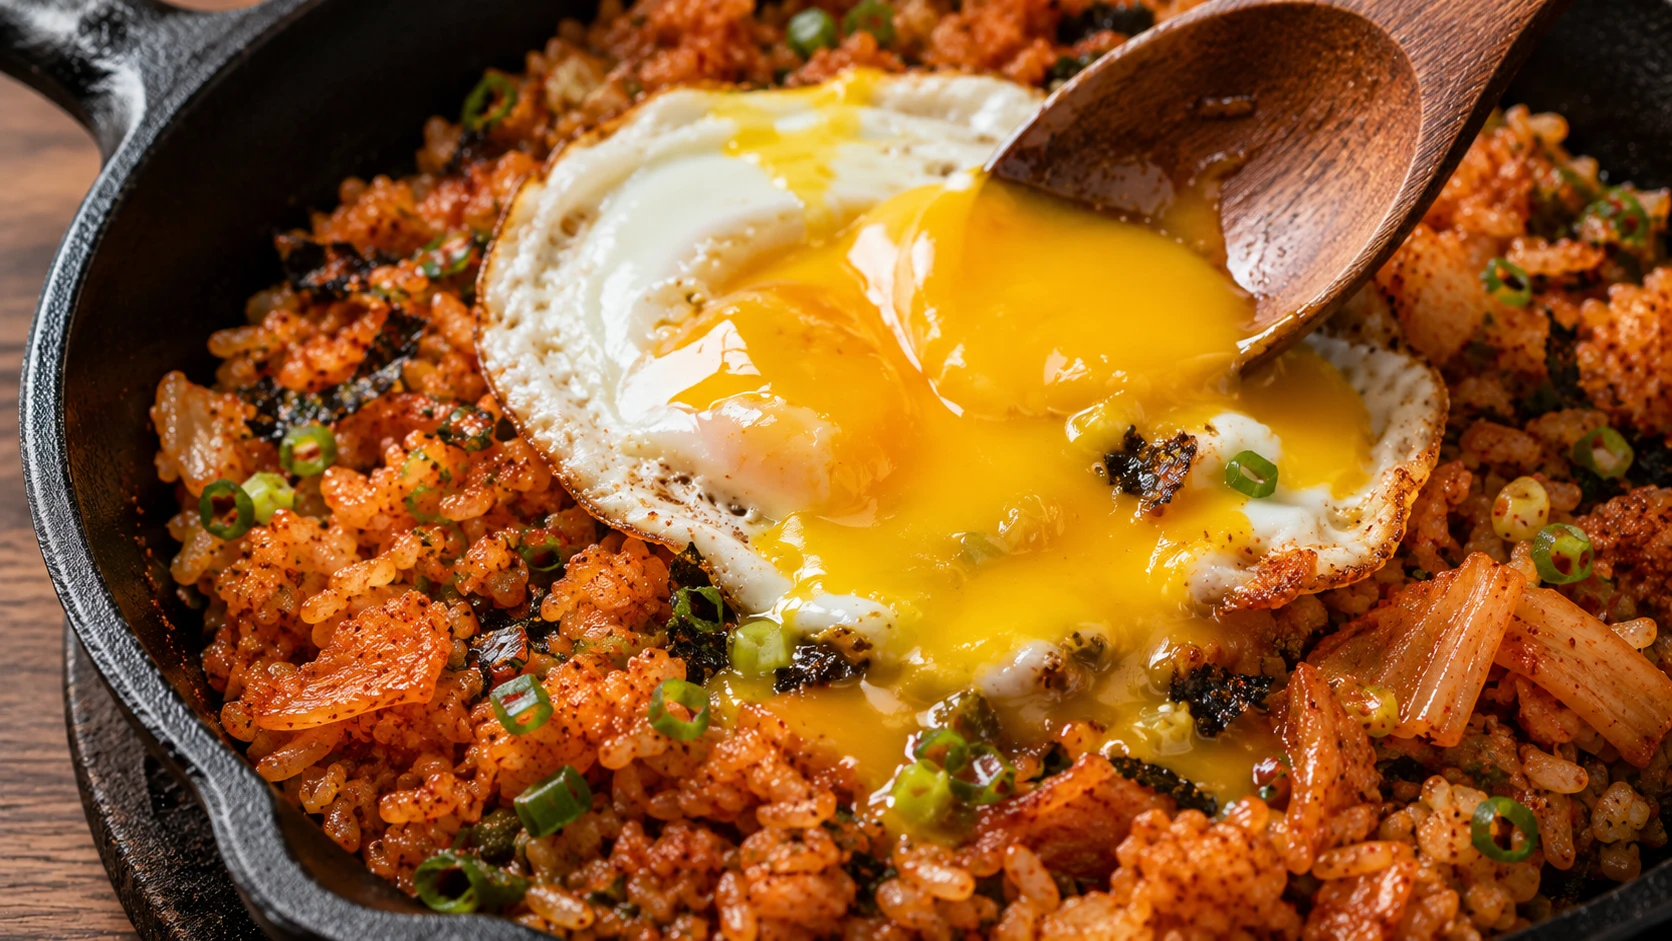
When broken at the table, a completely molten yolk creates a silky sauce that coats every grain and balances the kimchi’s sourness.
Key Terms — Language & Food Science Entities
Understanding these terms clarifies what this dish is, how it relates to Korean food culture, and why each technique matters.
How Difficult Is Classic Kimchi Fried Rice?
The classic version is slightly harder than variation versions because there is no protein or cheese to mask technique errors. But the skills are minimal — the only real challenge is heat management.
← This Recipe
Which Kimchi Stage to Use — Visual Guide
The classic version has no added proteins to compensate for wrong kimchi. Stage 3 is the only correct choice.
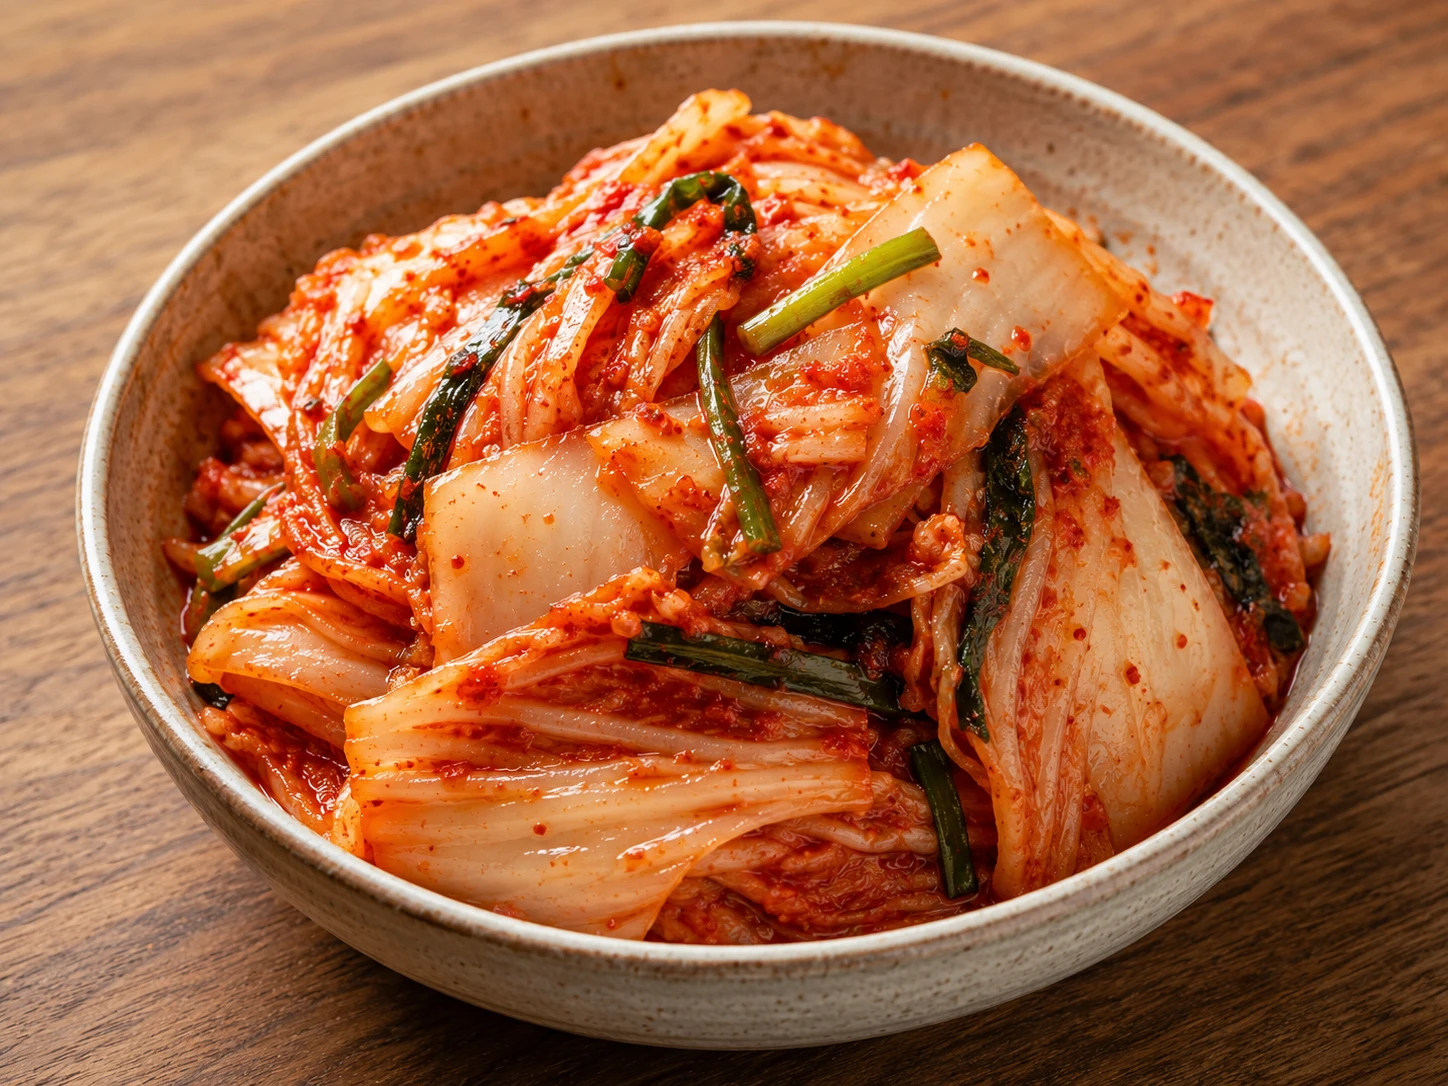
Sweet, mild, crunchy. Fries like spicy cabbage — no caramelisation, no depth.
✗ Do Not Use — flat result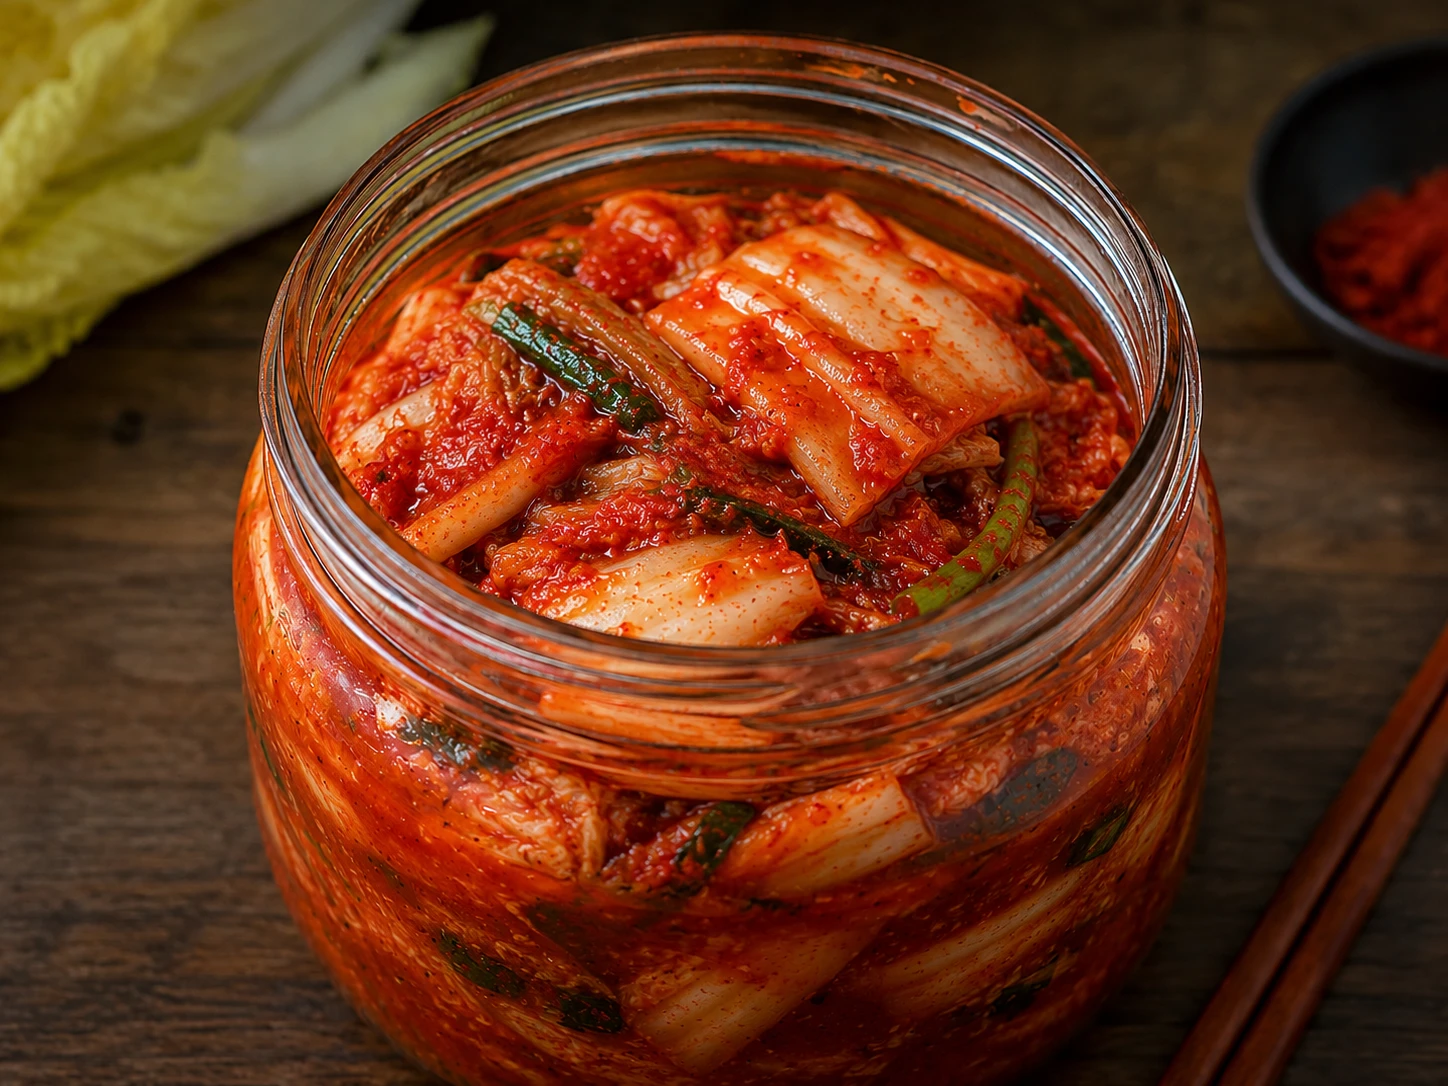
Light tang developing. Acceptable as a last resort with 1 tsp rice vinegar added.
△ Last Resort — add rice vinegarFull lactic acid. Creates the caramelised sour-umami compounds that define authentic bokkeumbap.
★ Correct — the only real choice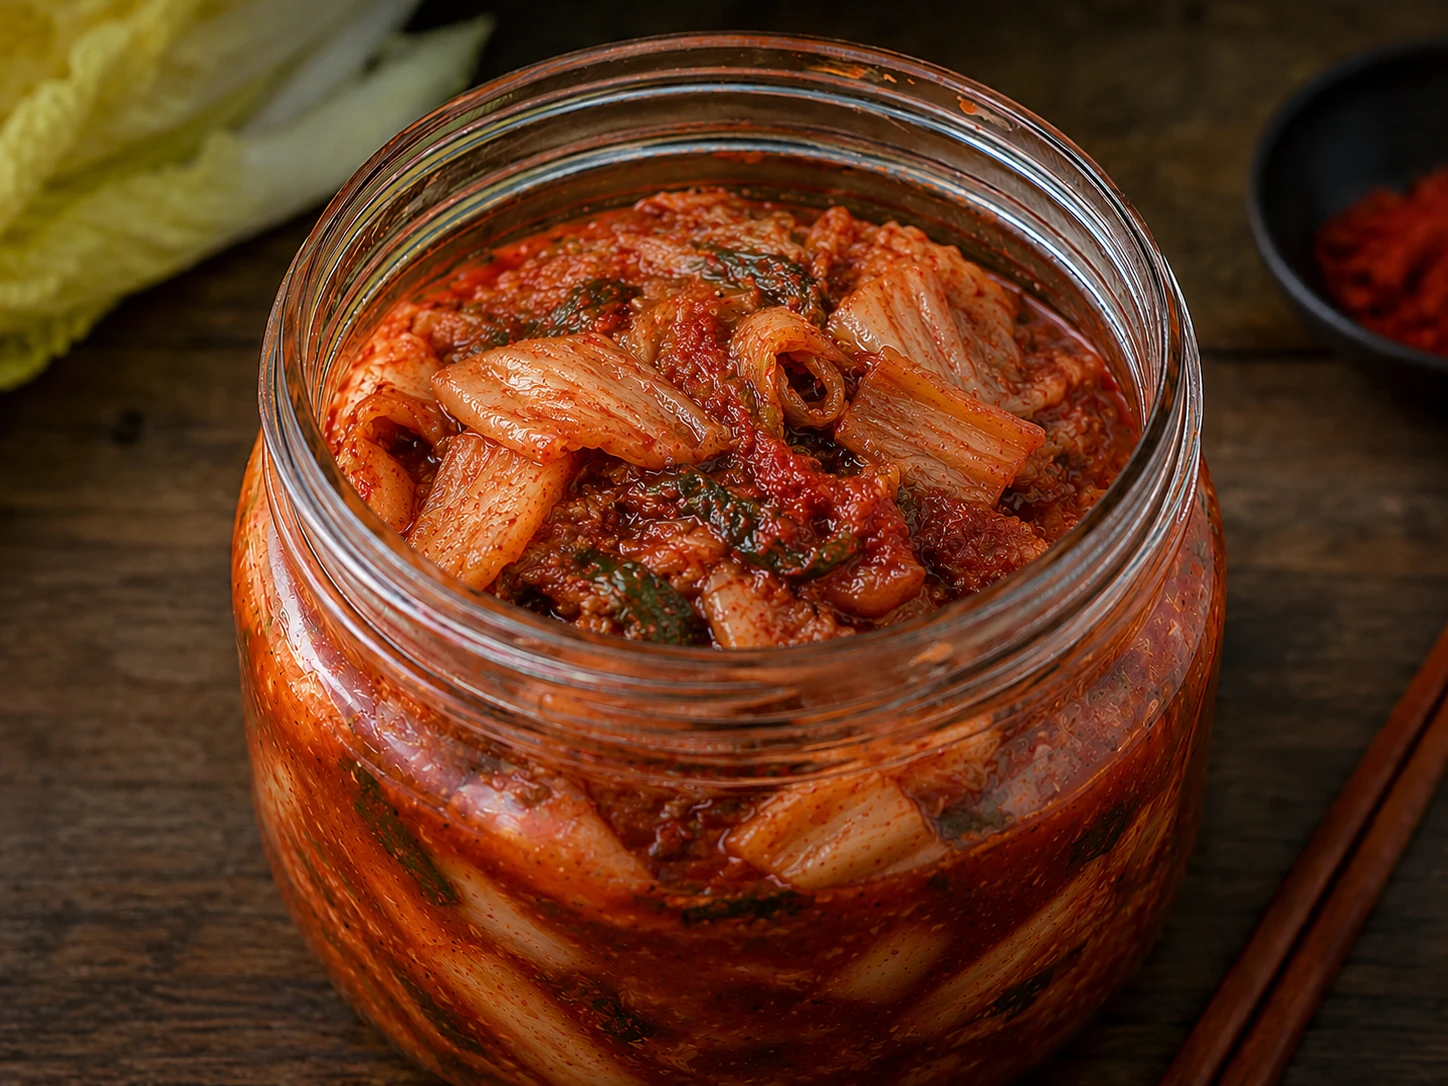
Very sour and funky. Usable with reduced kimchi juice and added sugar.
△ Usable — reduce juice + add sugarIngredients
Substitution Guide — What Works, What Doesn’t
| Ingredient | Best Substitute | Ratio | Gluten-Free | Taste Impact |
|---|---|---|---|---|
| Short-grain rice (cold) | Jasmine rice, refrigerated overnight | 1:1 | ✓ | Slightly drier — still good. Never long-grain or basmati. |
| Gochujang | 2 tsp gochugaru + 1 tsp soy + ½ tsp white miso | 1:1 tbsp | △ Check gochugaru | 70% match. Never use sriracha. |
| Kimchi juice | 1½ tbsp soy + 1½ tbsp rice vinegar | Per 3 tbsp juice | △ Use tamari soy | 60% match. Last resort only. |
| Sesame oil | No real substitute exists | Reduce to ½ tsp | ✓ | Cannot be substituted. |
| Soy sauce | Tamari (identical taste) | 1:1 | ✓ Perfect GF swap | Same flavour. |
| Egg (topping) | Cold silken tofu (60g per egg) | Per egg | ✓ | Lacks richness. See our Without Egg variation → |
How to Make Classic Kimchi Fried Rice
Five steps. The only variable that trips people up is heat — maximum throughout Steps 2–4.
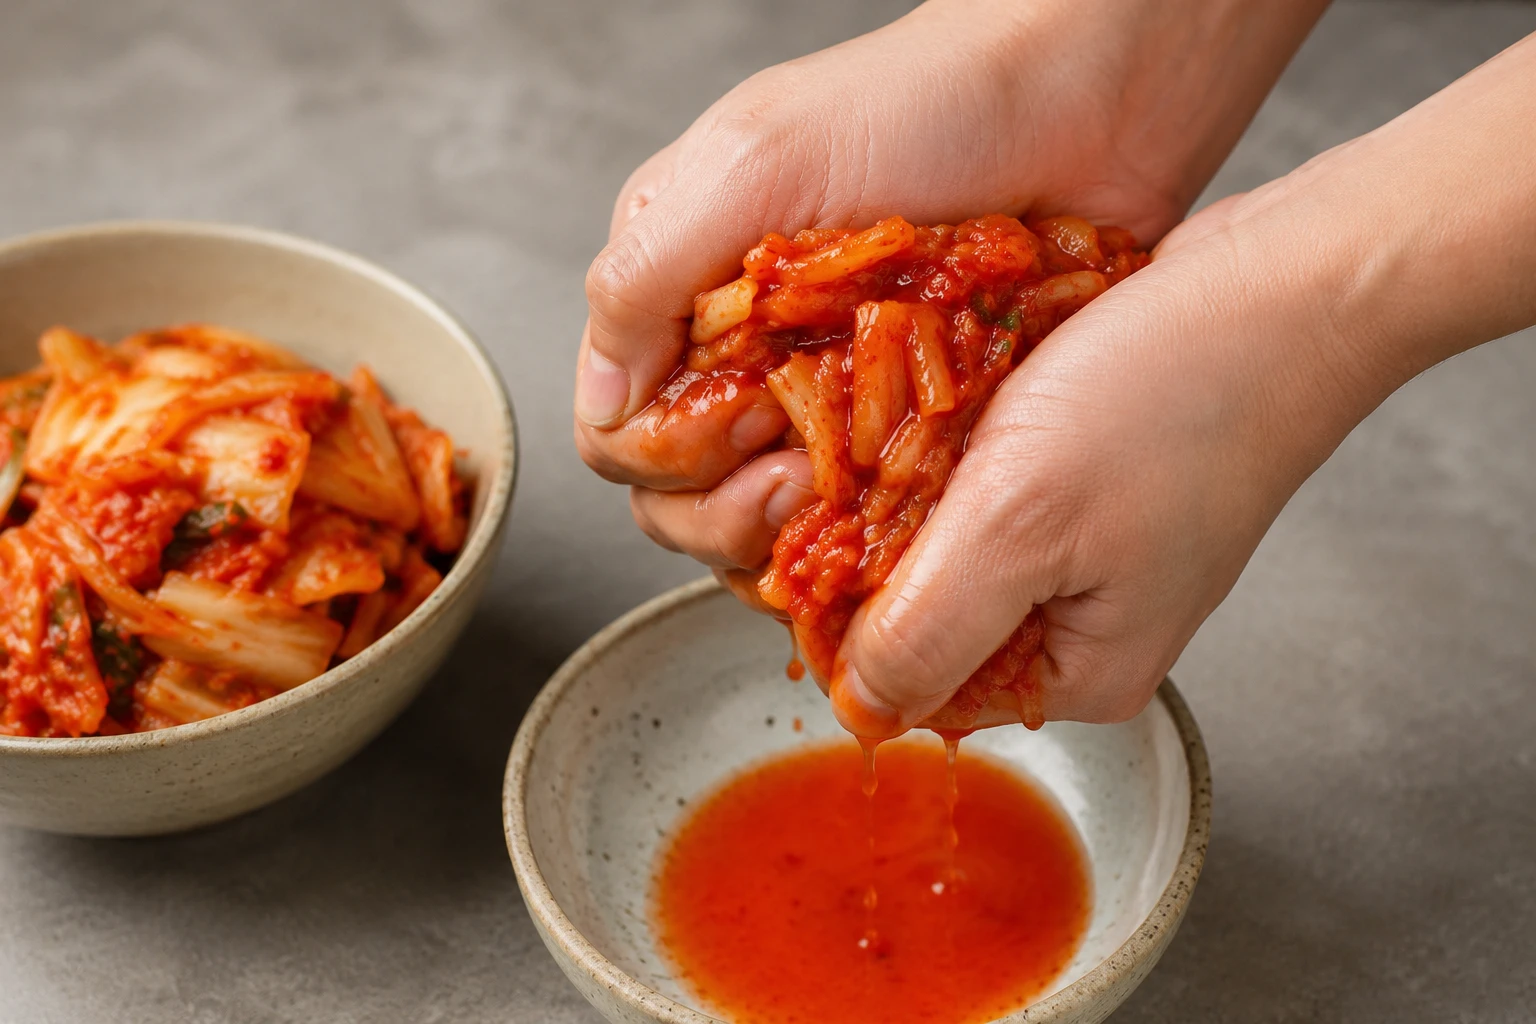
Roughly chop your kimchi into 2–3cm pieces. Squeeze firmly over a bowl and collect exactly 3 tablespoons of kimchi juice. Set the squeezed kimchi and reserved juice aside separately.
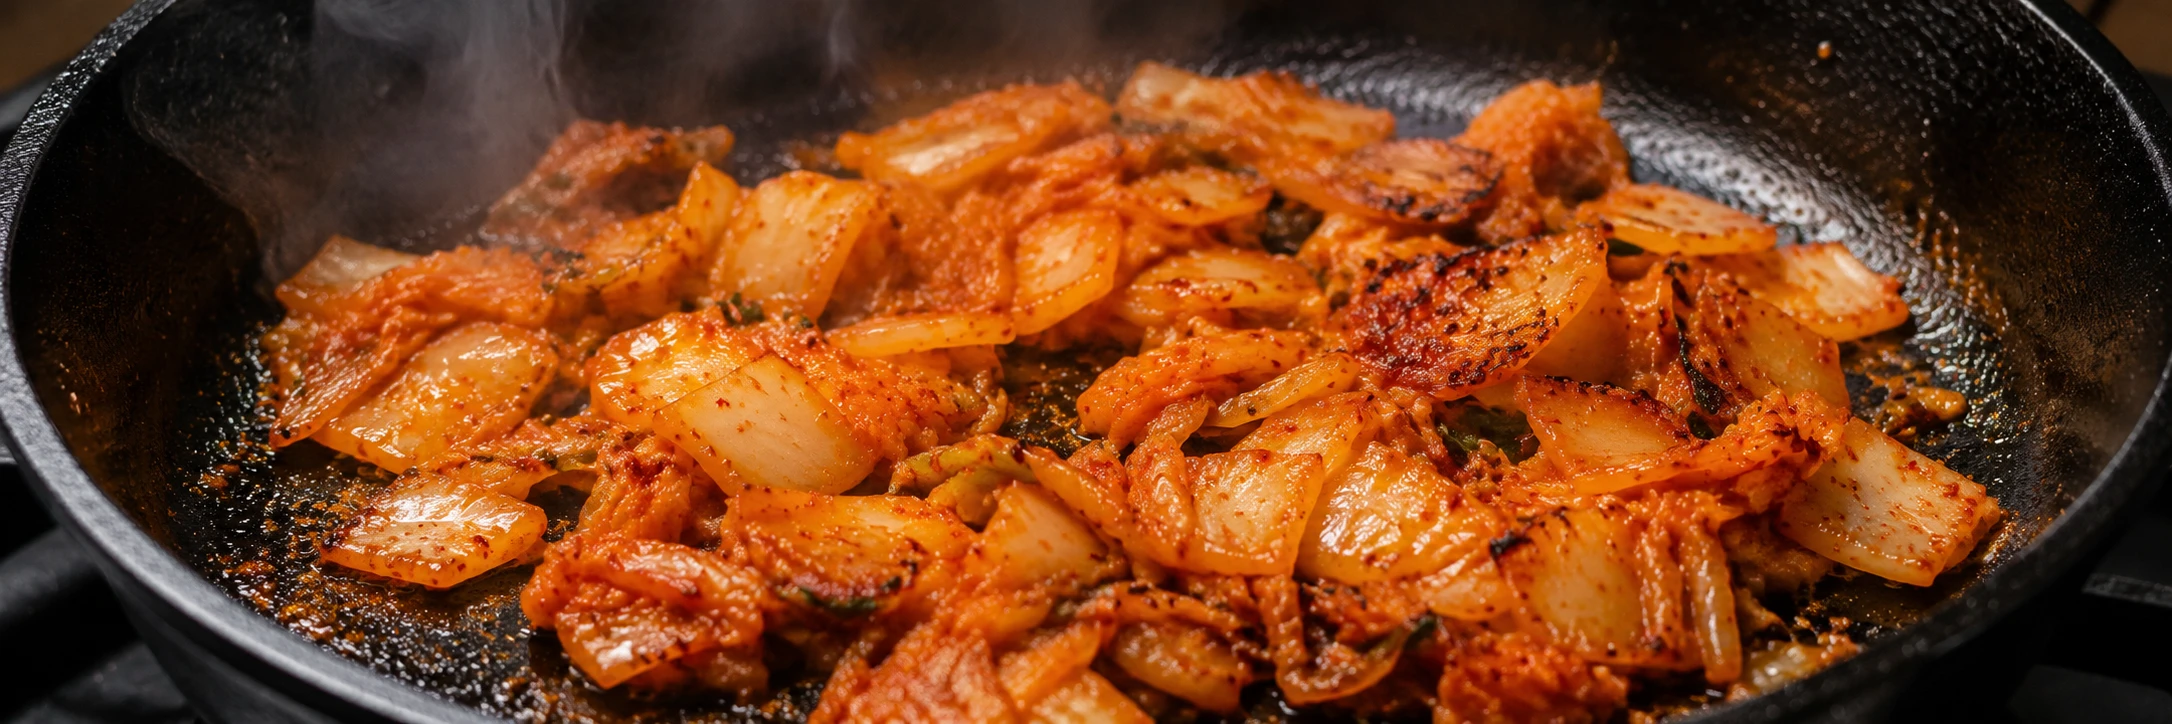
Place your cast iron pan over the highest flame. Wait 2 full minutes until visibly smoking. Add neutral oil, then immediately add squeezed kimchi. Stir-fry 3–4 minutes until edges caramelise golden-brown.
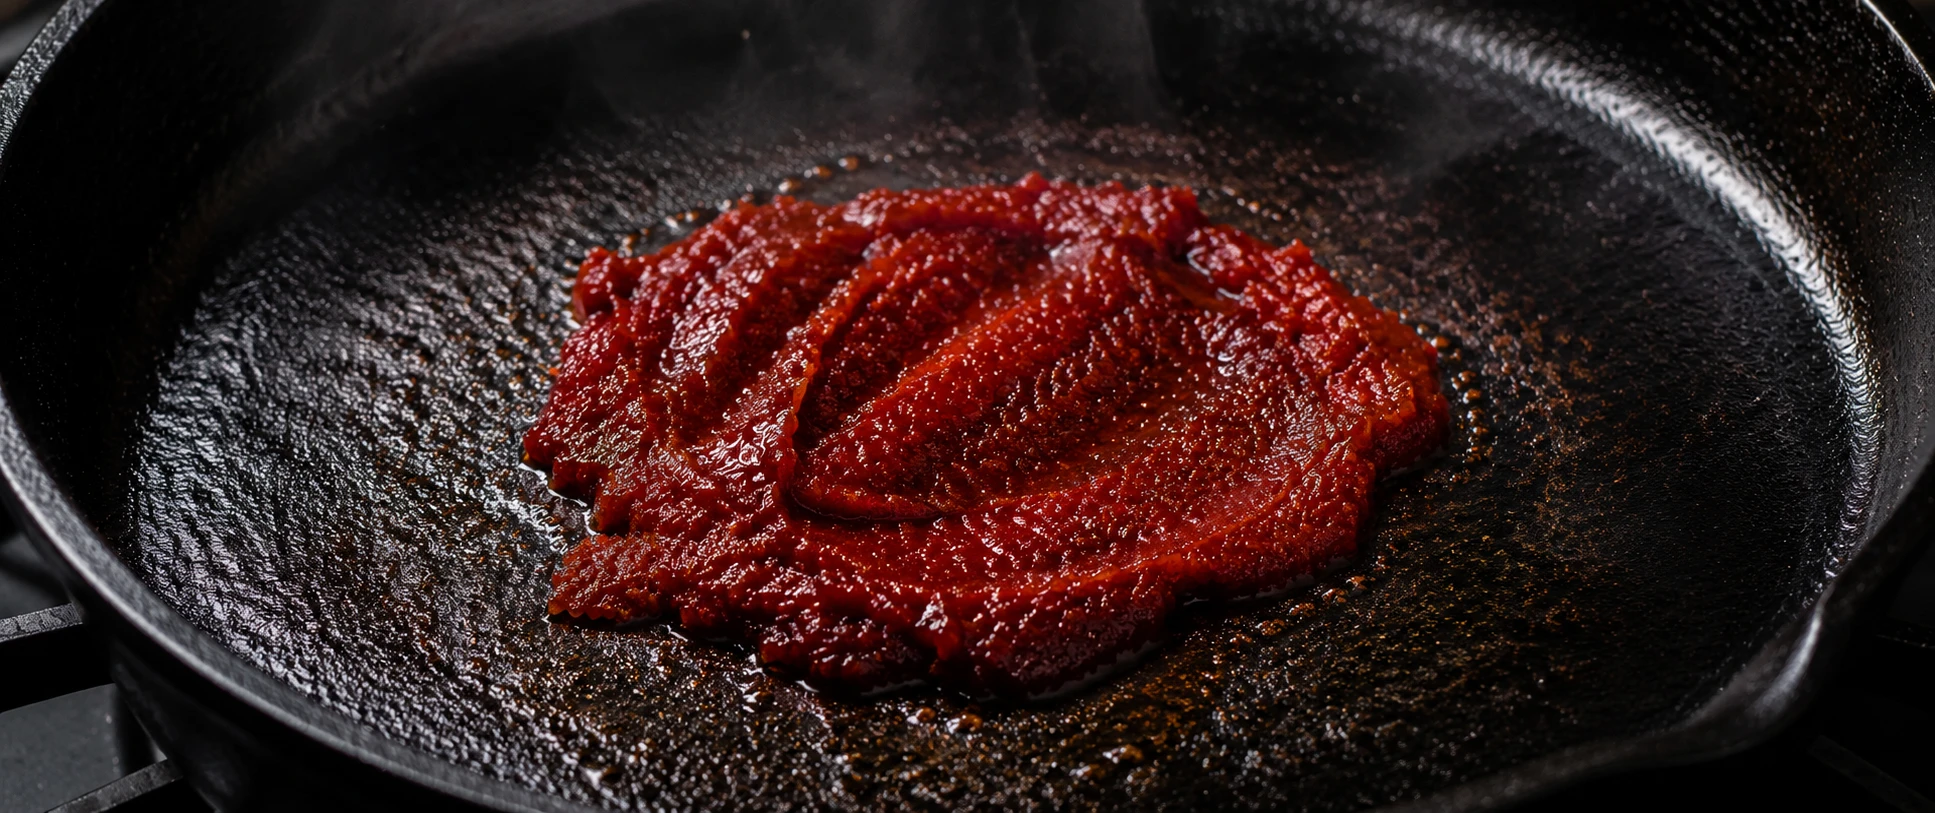
Push kimchi to one side. Add gochujang directly to the empty hot pan surface. Let it sit undisturbed for 30 seconds. Add cold day-old rice, breaking every clump immediately.
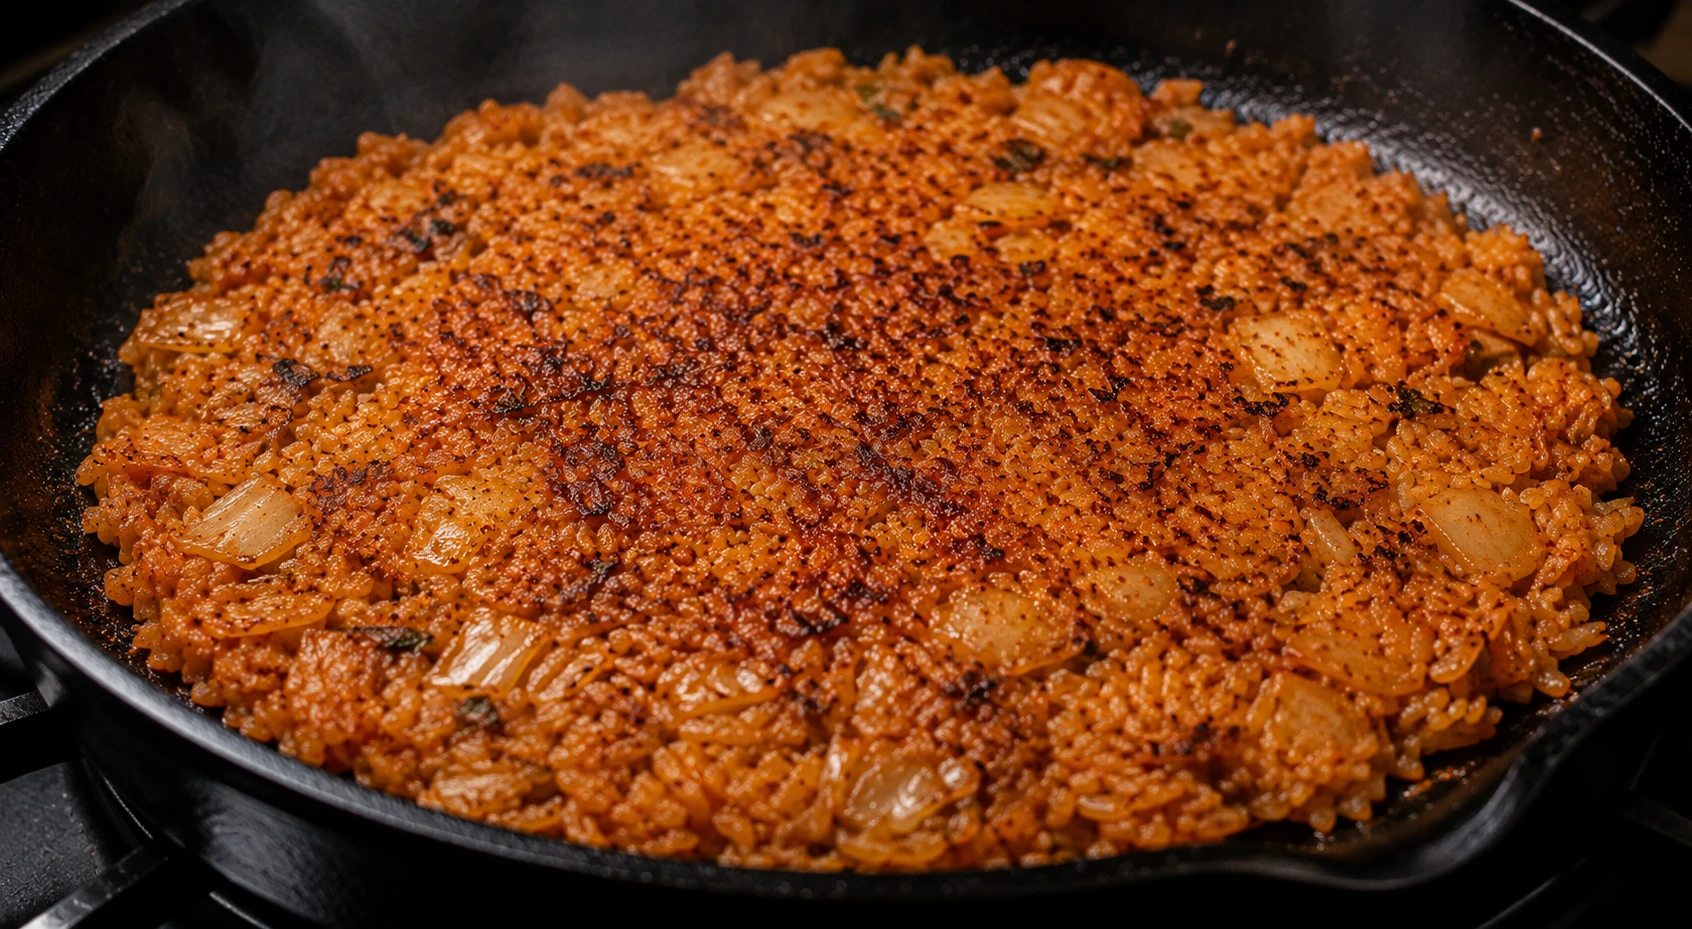
Pour reserved kimchi juice, soy sauce, and sugar over the rice. Toss 2 minutes on maximum heat. Every 30 seconds, press rice flat and hold 20–30 seconds without stirring, then fold. Remove from heat and stir in sesame oil off-heat.
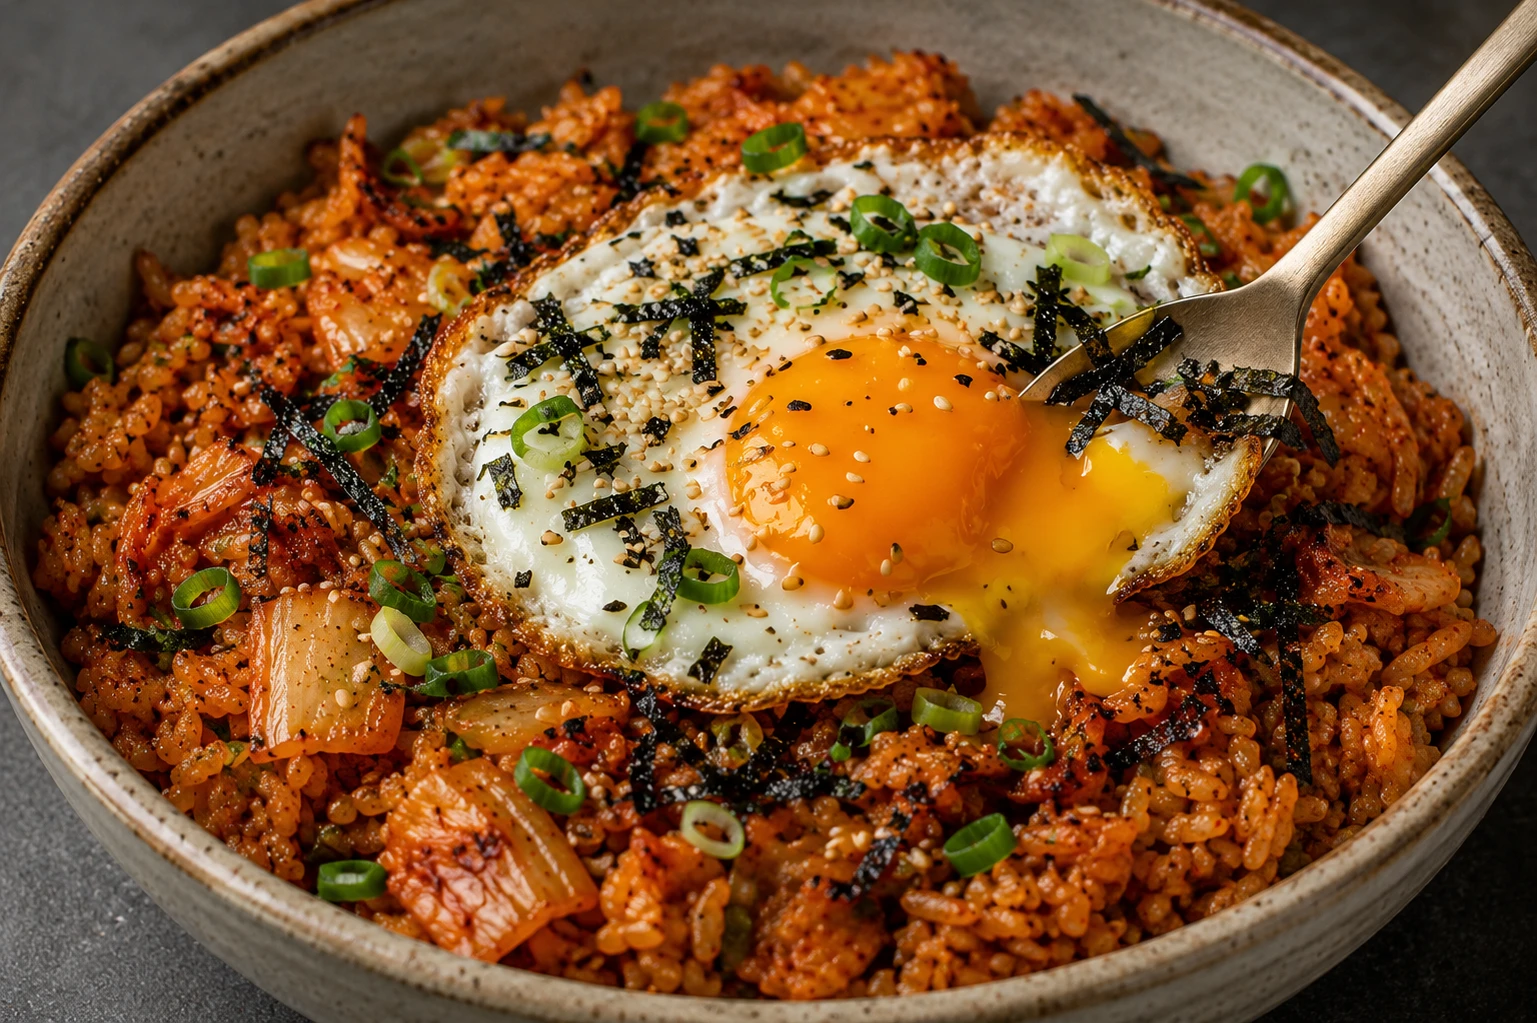
In a small pan with ½ tsp sesame oil, crack in one egg. Tilt the pan and spoon hot oil over the yolk for 20 seconds. Top the rice, scatter garnish, and serve with nori on the side. Eat immediately.
Test Kitchen Results
Every variable was tested at least twice. Here is what the data shows.
Stage 1: pale, sweet, flat. Stage 3: complex sour-umami, caramelised edges.
Stage 3 kimchi — not negotiableAdded with rice: bitter raw note. Toasted alone: smoky-sweet, evenly distributed.
Toast gochujang alone firstDuring cooking: harsh, acrid note. Off-heat: warm, nutty, aromatic.
Off-heat only — alwaysSunny-side: inconsistent yolk. Baste-fried: white fully set, yolk molten every time.
Baste-frying — consistent resultsConstant stirring: no crust, flat flavour. Press-and-char: nurungji crust formed.
Press-and-char — produces nurungjiGood technique with average Stage 3 kimchi beat poor technique with exceptional kimchi.
Technique beats ingredients every timeThe five techniques that cannot be skipped: smoking pan before oil, Stage 3 kimchi squeezed before adding, gochujang toasted alone, press-and-char for nurungji, sesame oil off-heat.
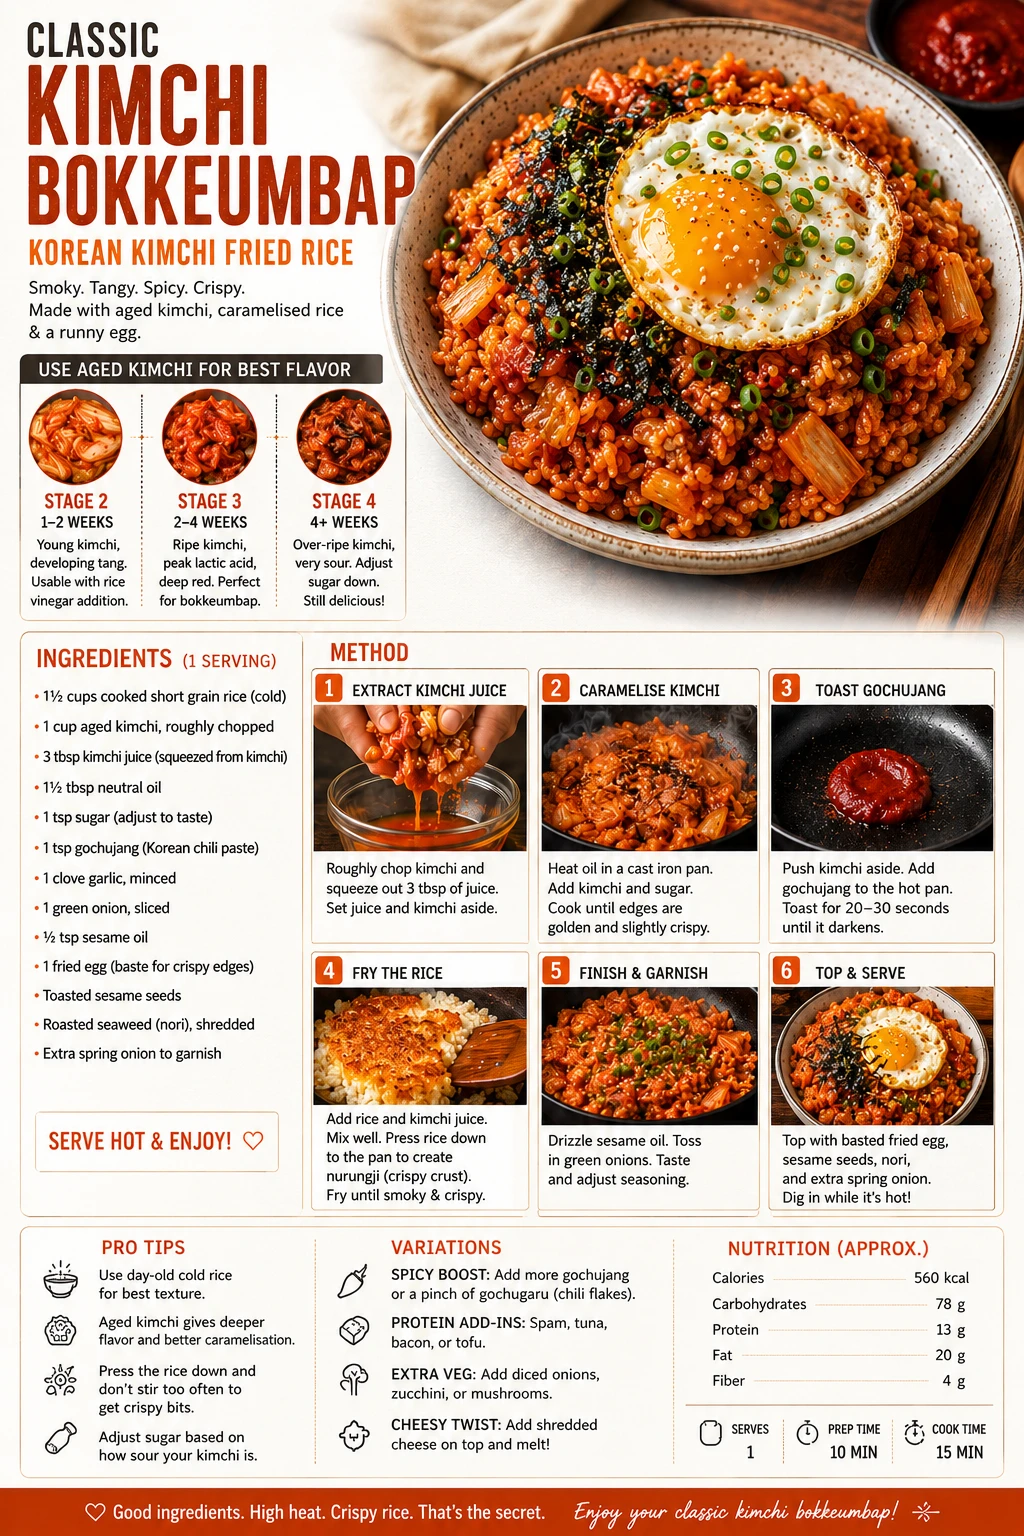
Classic Kimchi Fried Rice (김치볶음밥)
Stage 3 aged kimchi · Gochujang toasted · Nurungji crust · Baste-fried egg · 25 minutes
- 2 cups day-old short-grain rice
- 1 cup aged kimchi (Stage 3, 2–4 wks), chopped + squeezed
- 3 tbsp reserved kimchi juice
- 1 tbsp gochujang
- 1 tbsp neutral oil
- 1 tbsp sesame oil (off-heat only)
- 2 tsp soy sauce
- 1 tsp sugar
- 2 large eggs
- 2 spring onions, sliced; sesame seeds; nori
- 1Chop kimchi. Squeeze and reserve exactly 3 tbsp juice. Set apart.
- 2Smoke cast iron 2 min. Add oil. Add kimchi. Stir-fry 3–4 min until edges caramelise golden-brown.
- 3Push kimchi aside. Toast gochujang on bare hot surface 30 sec. Add cold rice, break all clumps.
- 4Add juice, soy, sugar. Toss 2 min high heat. Press flat every 30 sec for nurungji. Remove from heat → stir in sesame oil.
- 5Baste-fry egg: tilt pan, spoon hot oil over yolk 20 sec. Top rice. Scatter garnish. Serve immediately.
Per serving (2 servings total). Reviewed by Dr. Sarah Mitchell RD, PhD · July 7, 2026
All 9 Kimchi Fried Rice Variations
The classic base recipe is the foundation every other version builds from. Full KFR Ultimate Guide → covers all 9 in one place.
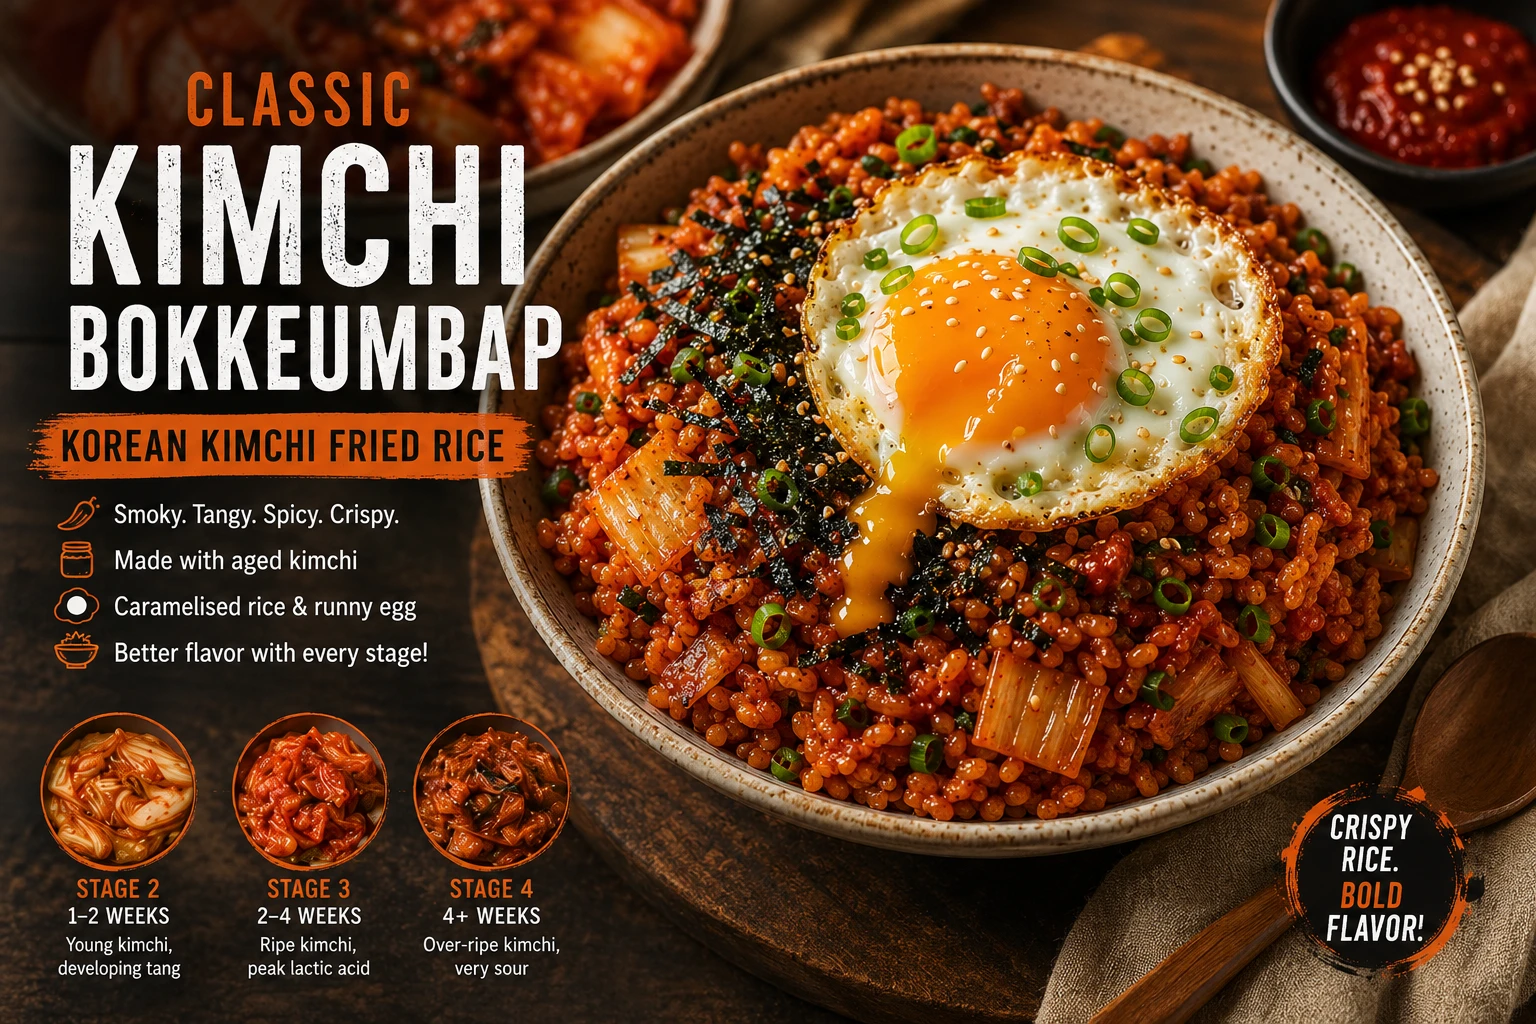
Kimchi, gochujang, sesame oil, runny egg. No additions.
Currently viewing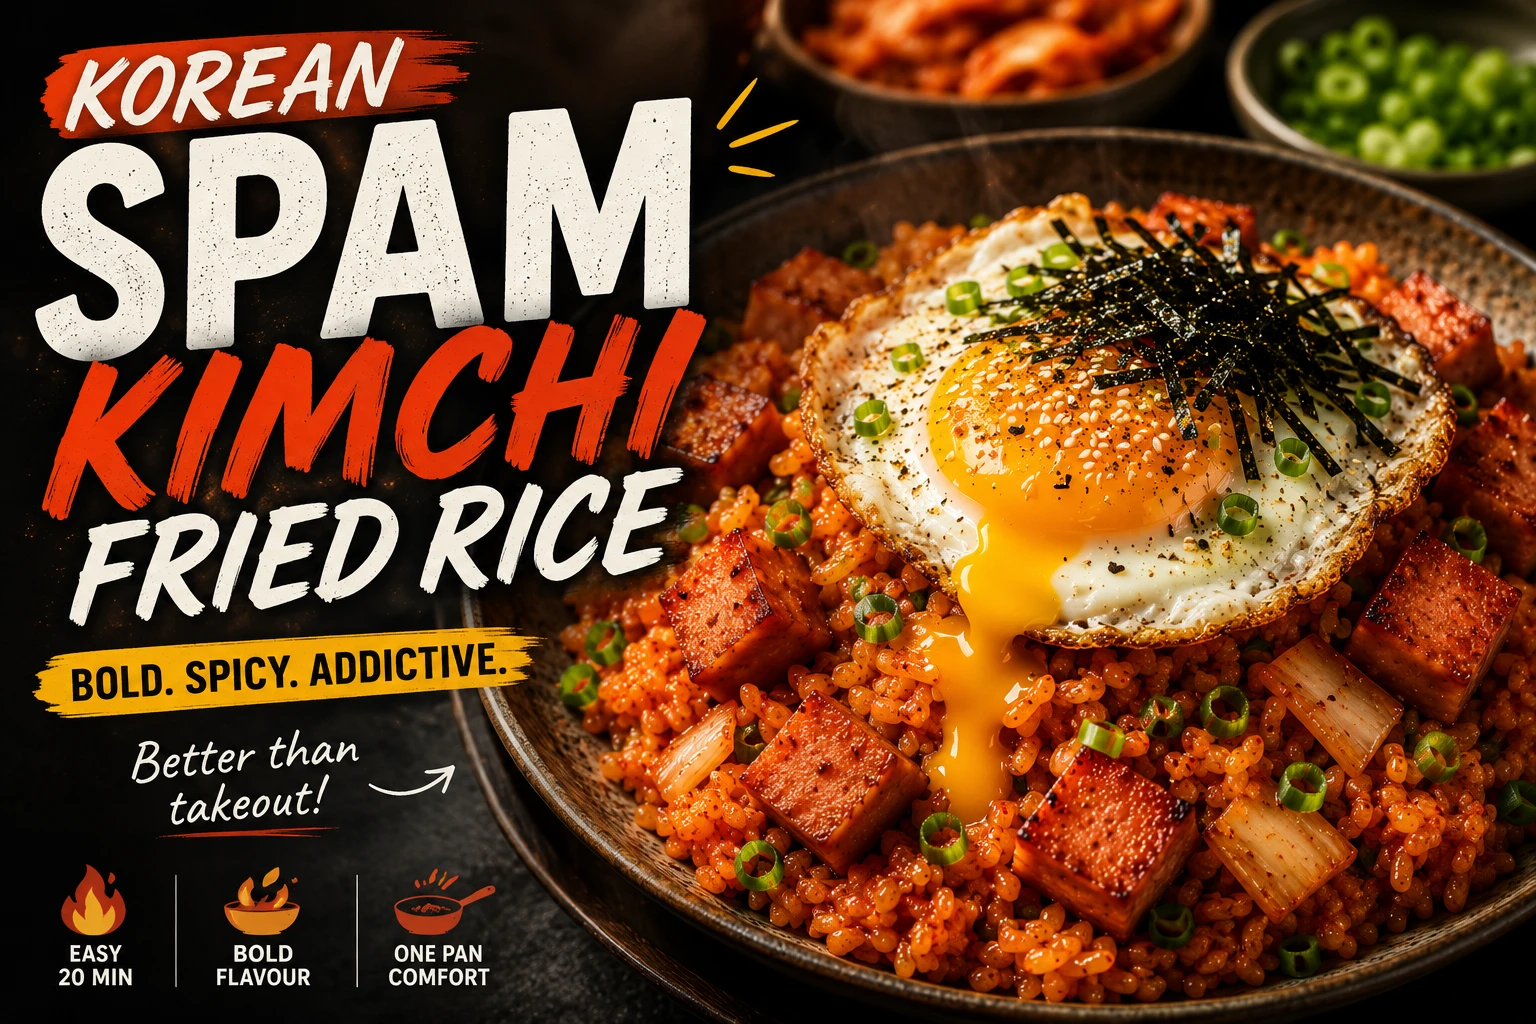
Spam fat renders as cooking base. Salty depth. 580 cal.
Spam KFR →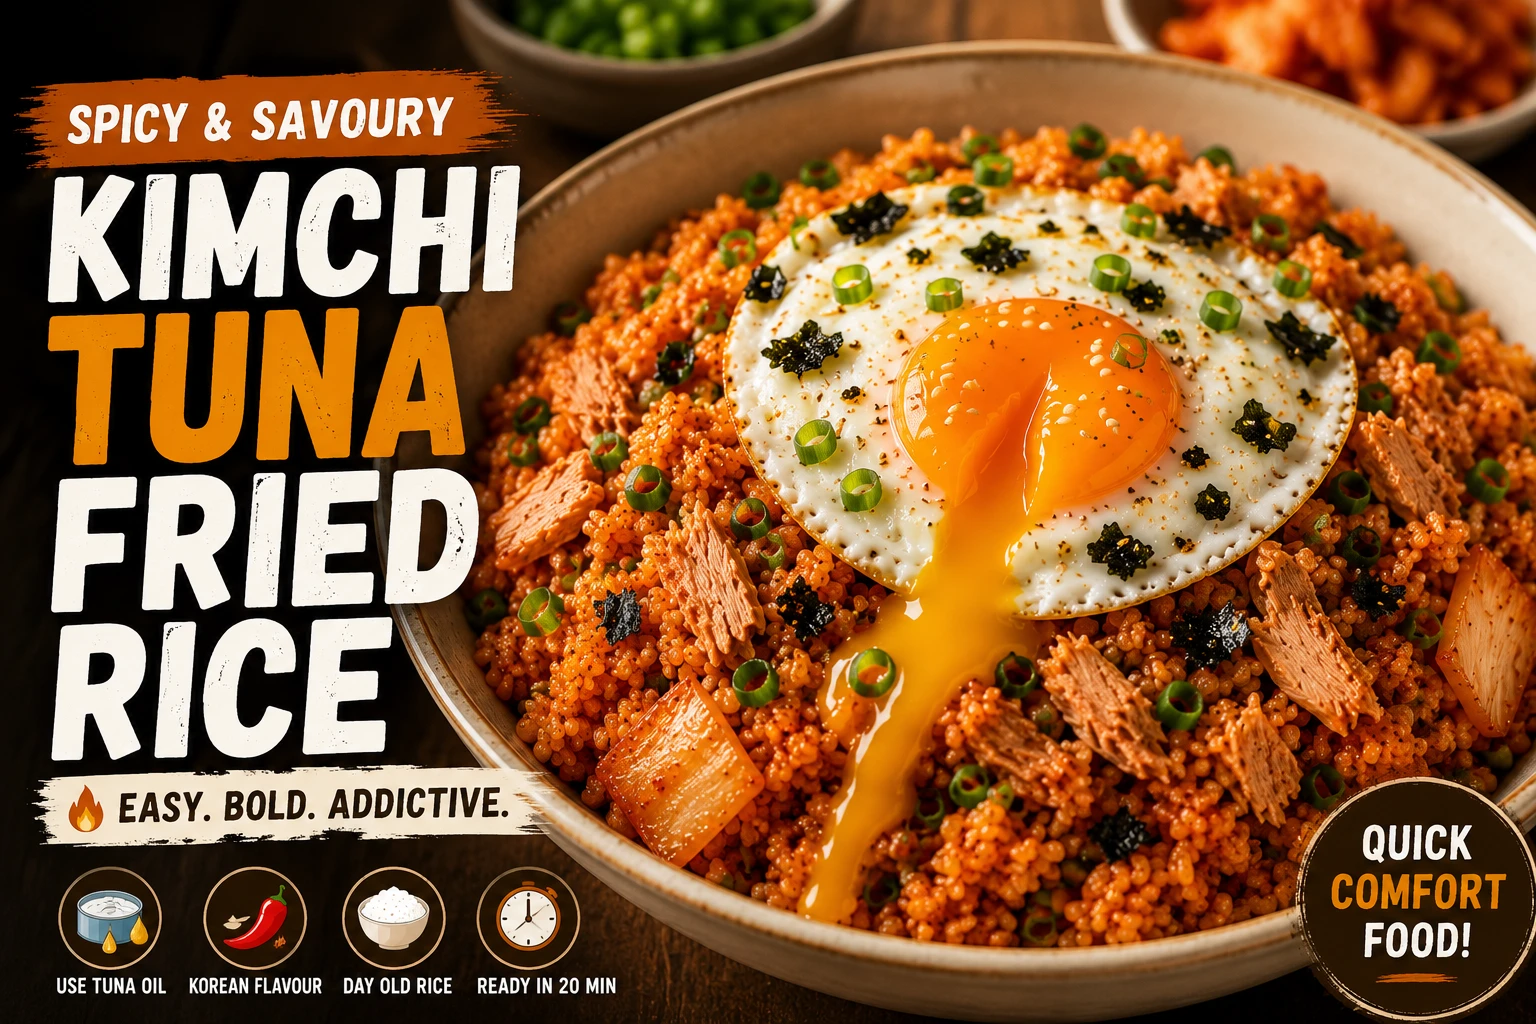
Chamchi bokkeumbap — canned tuna, lean, fast. 410 cal.
Tuna KFR →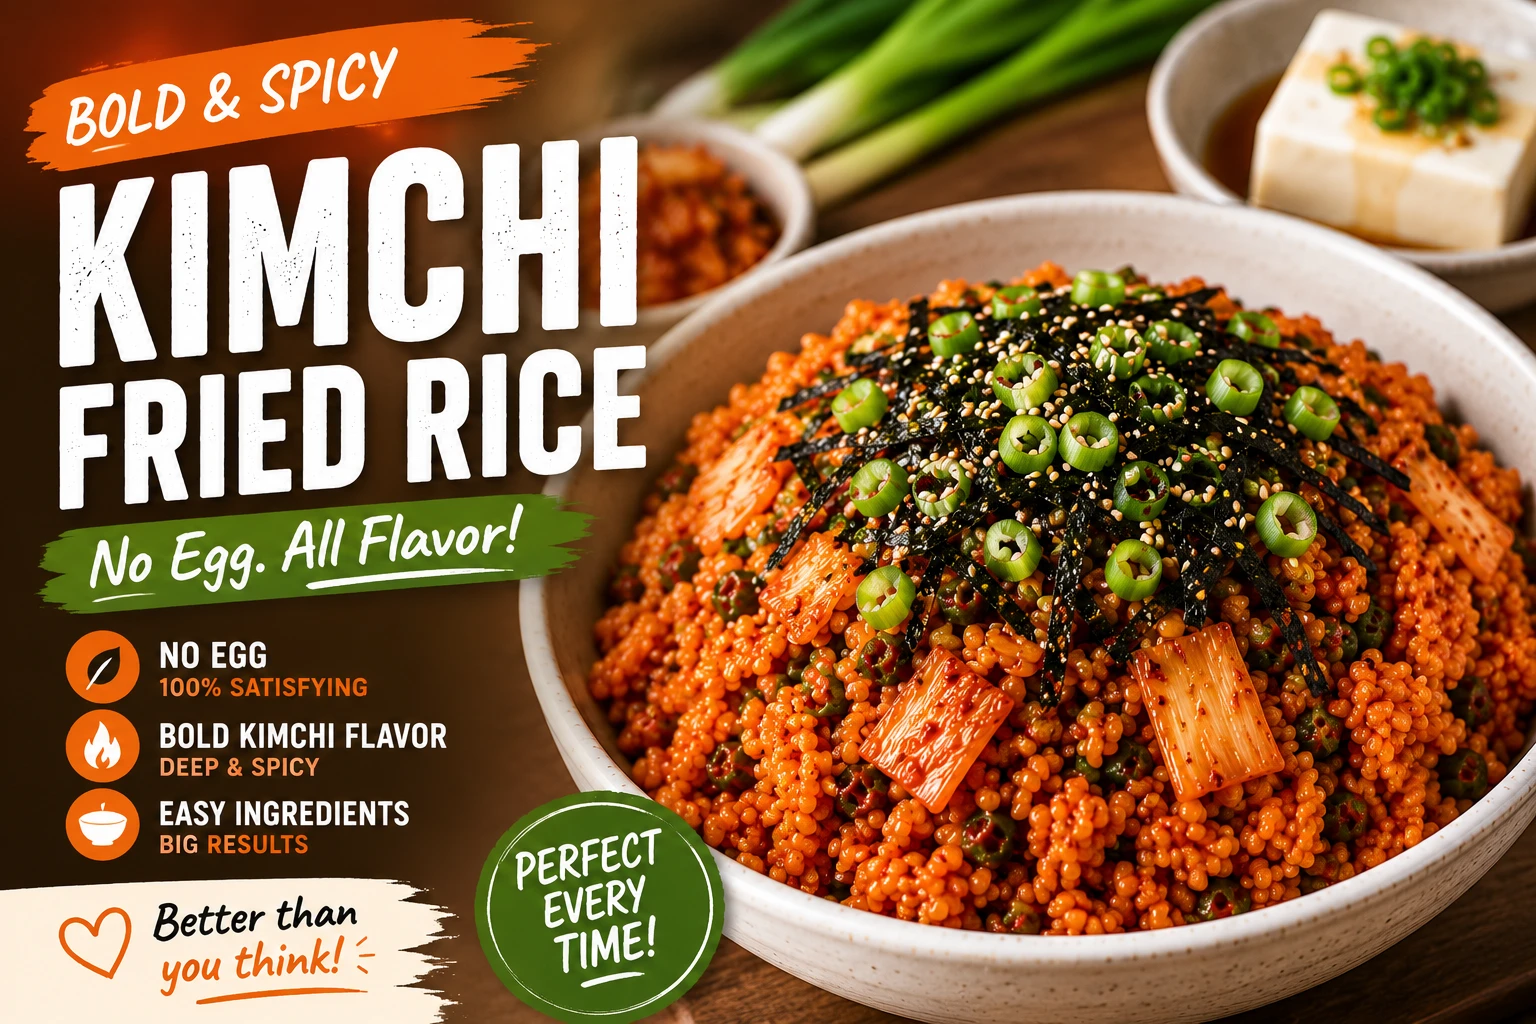
Extra sesame oil + cold silken tofu. Lowest calorie. 360 cal.
Egg-Free KFR →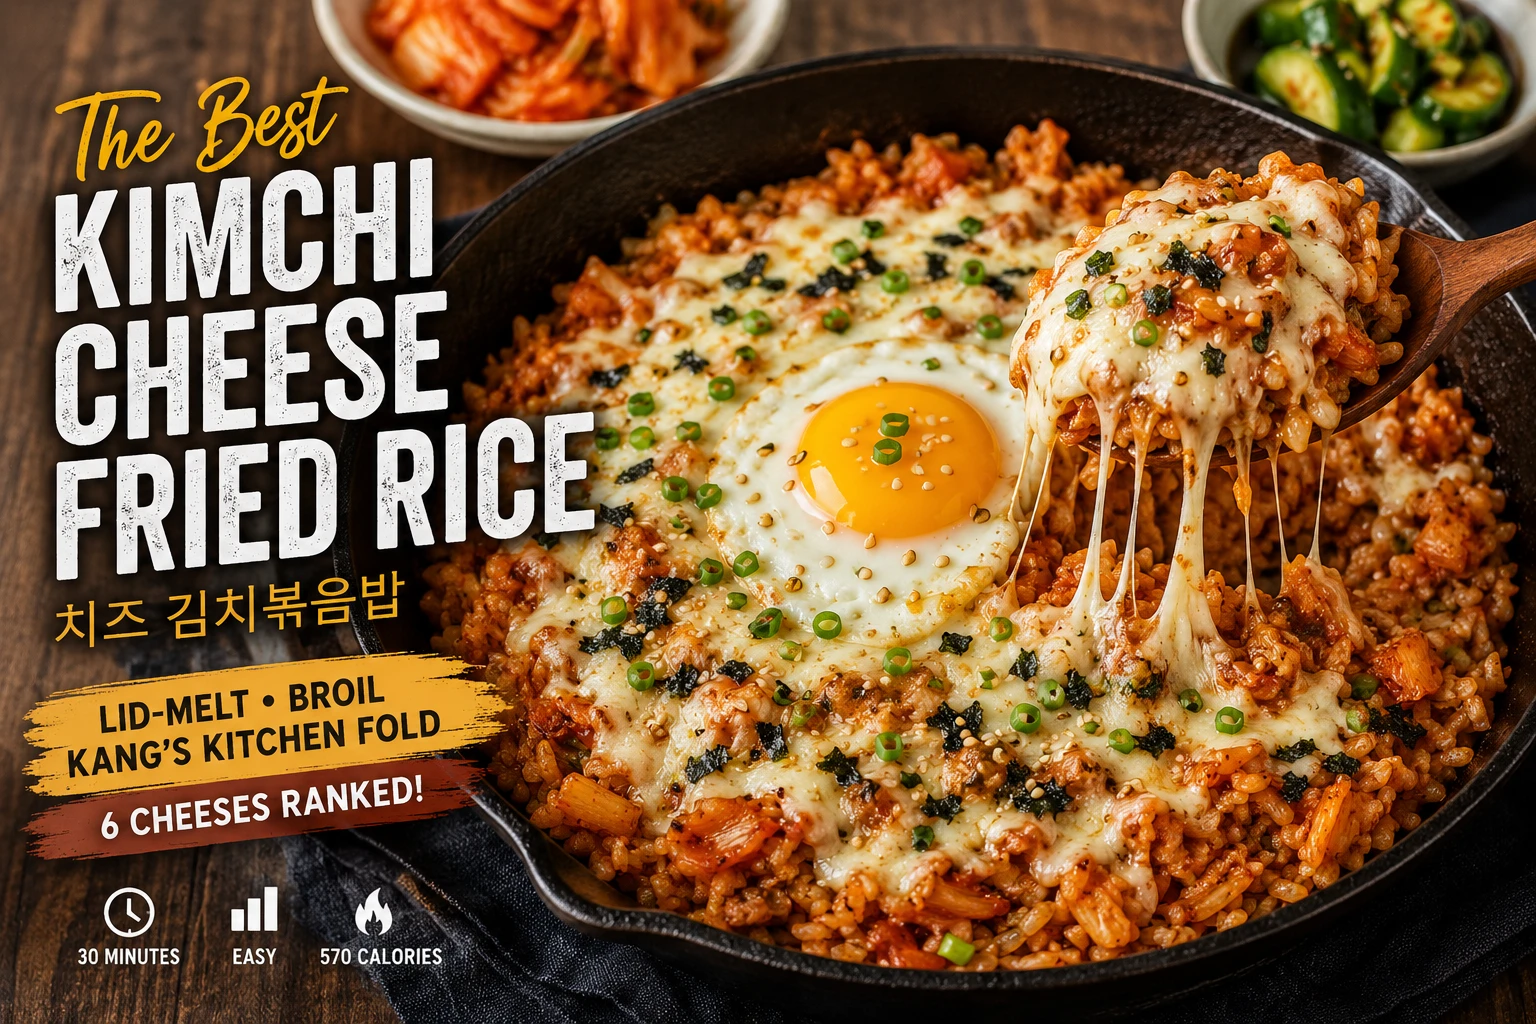
Mozzarella lid-melt. Butter base. 570 cal.
Cheese KFR →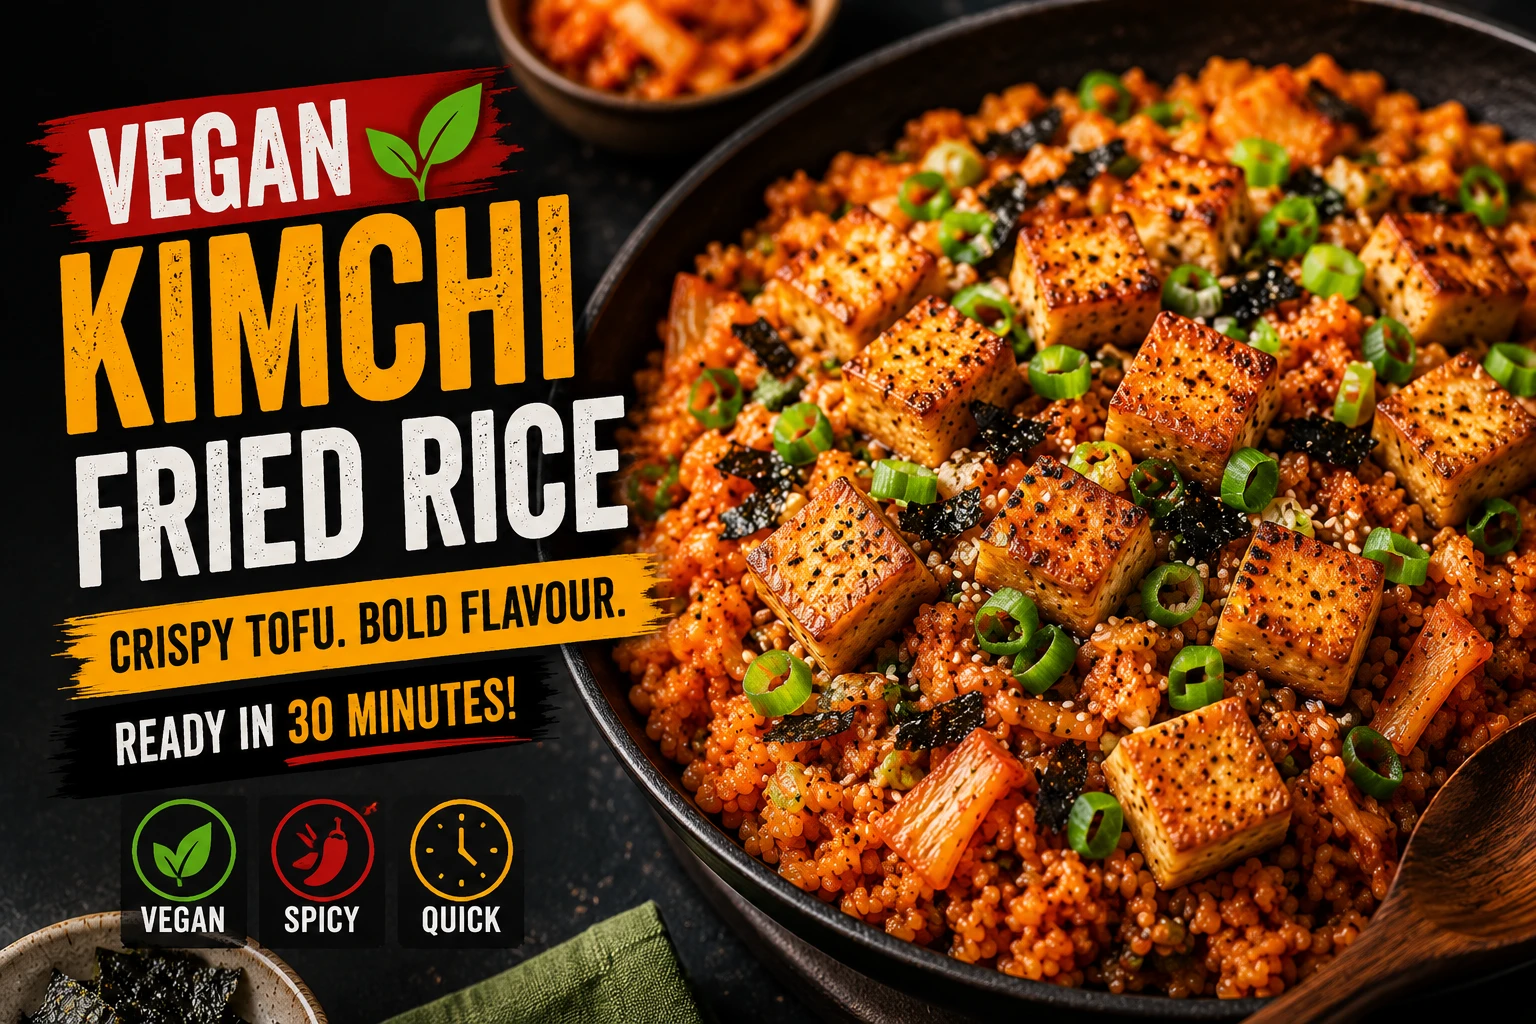
Fish-sauce-free kimchi + crispy tofu. 380 cal.
Vegan KFR →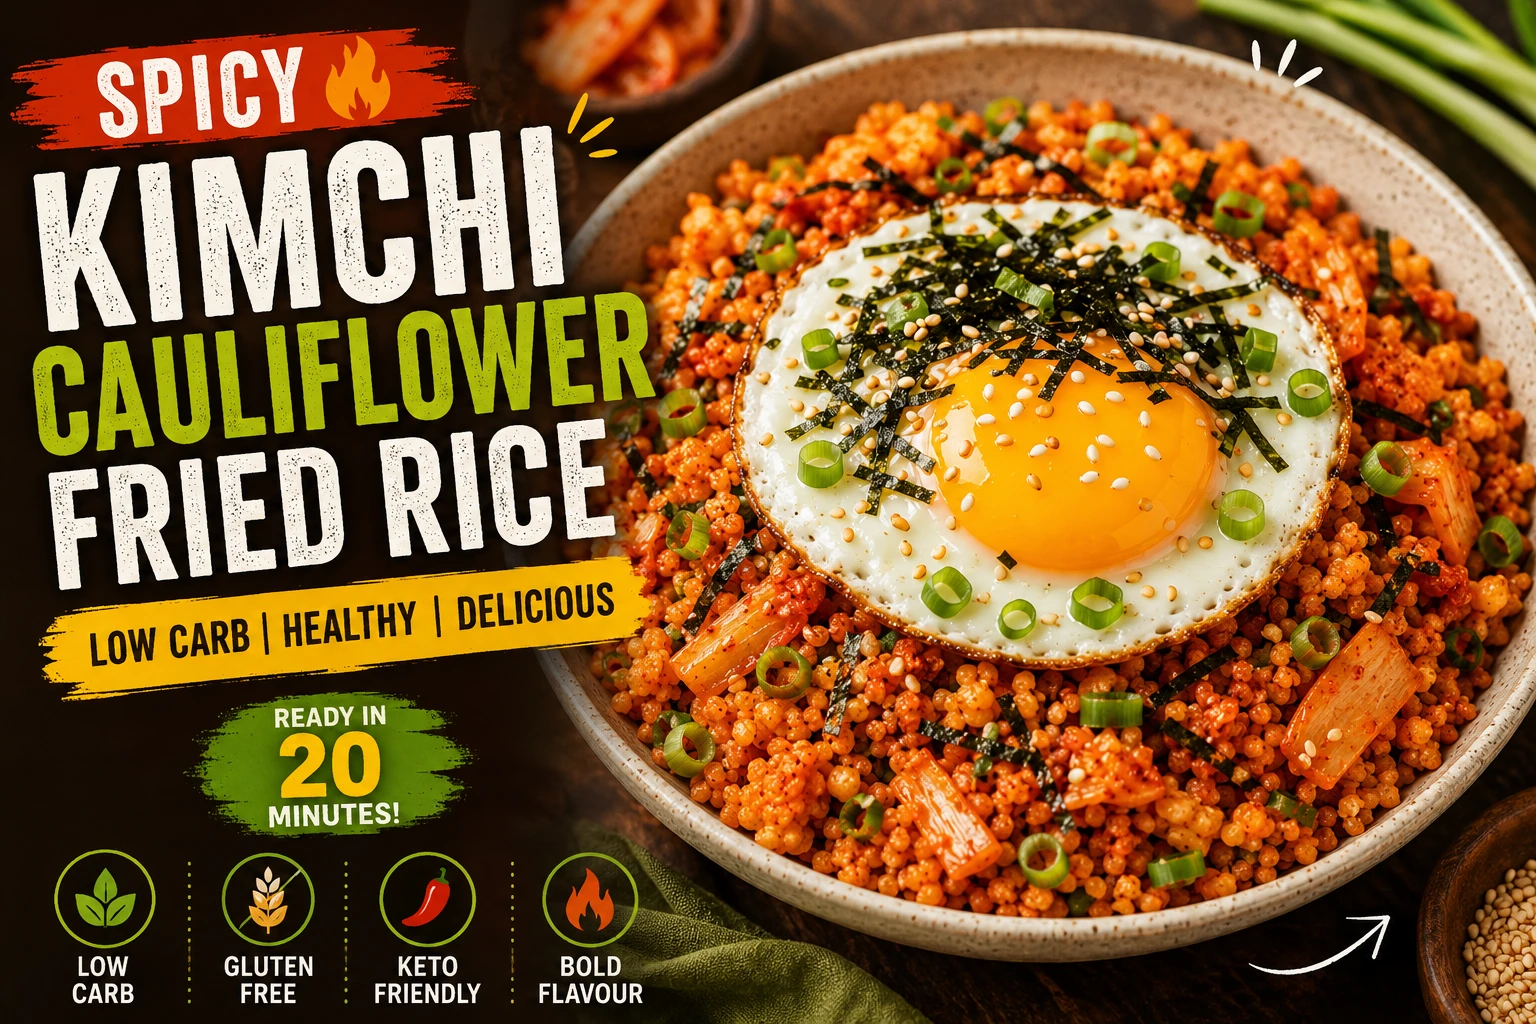
Dry-fry moisture method. Lowest calorie. 180 cal.
Cauliflower KFR →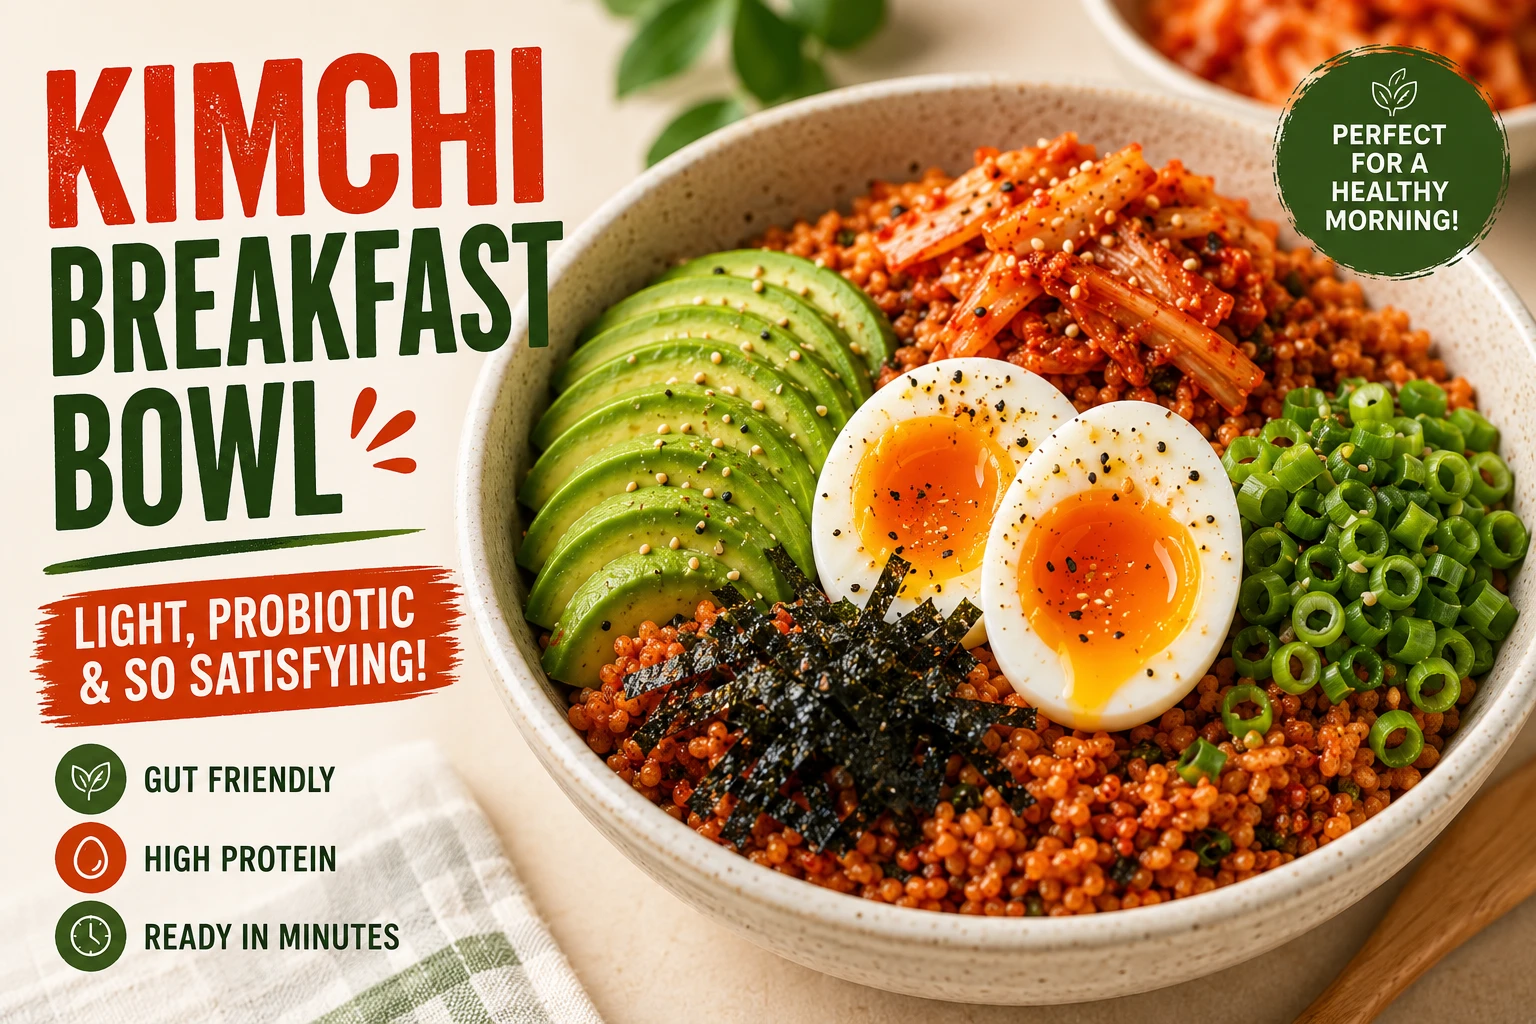
Soft-boiled egg, avocado, smaller portion. 380 cal.
Breakfast Bowl KFR →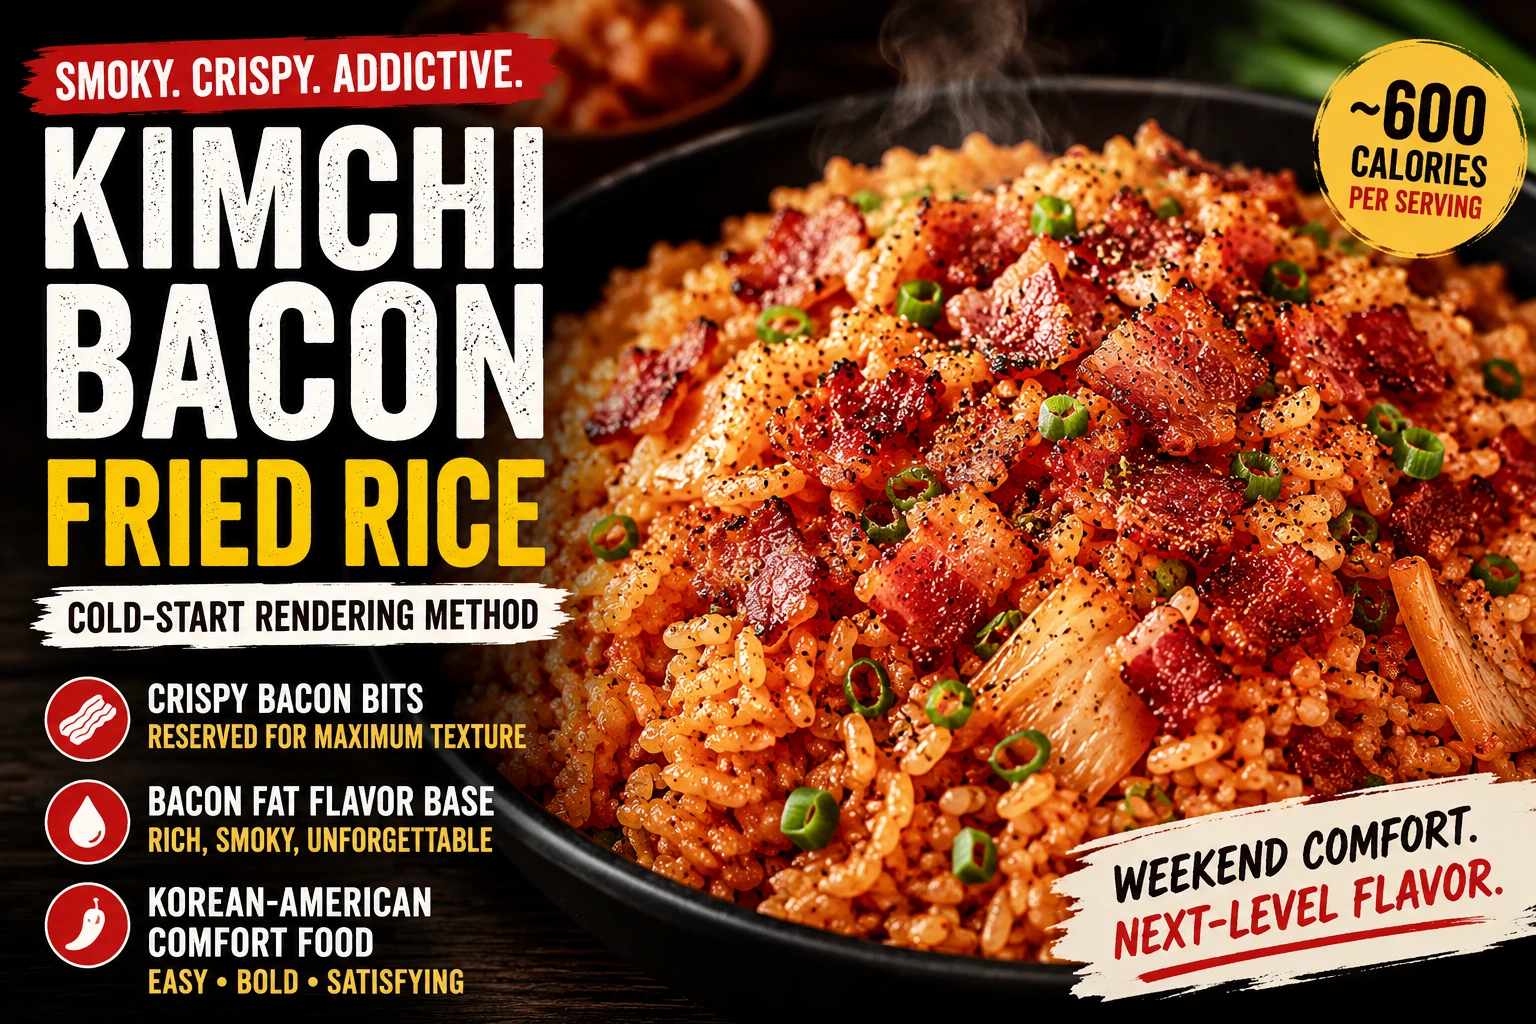
Rendered bacon fat cooking base. Comfort classic. 600 cal.
Bacon KFR →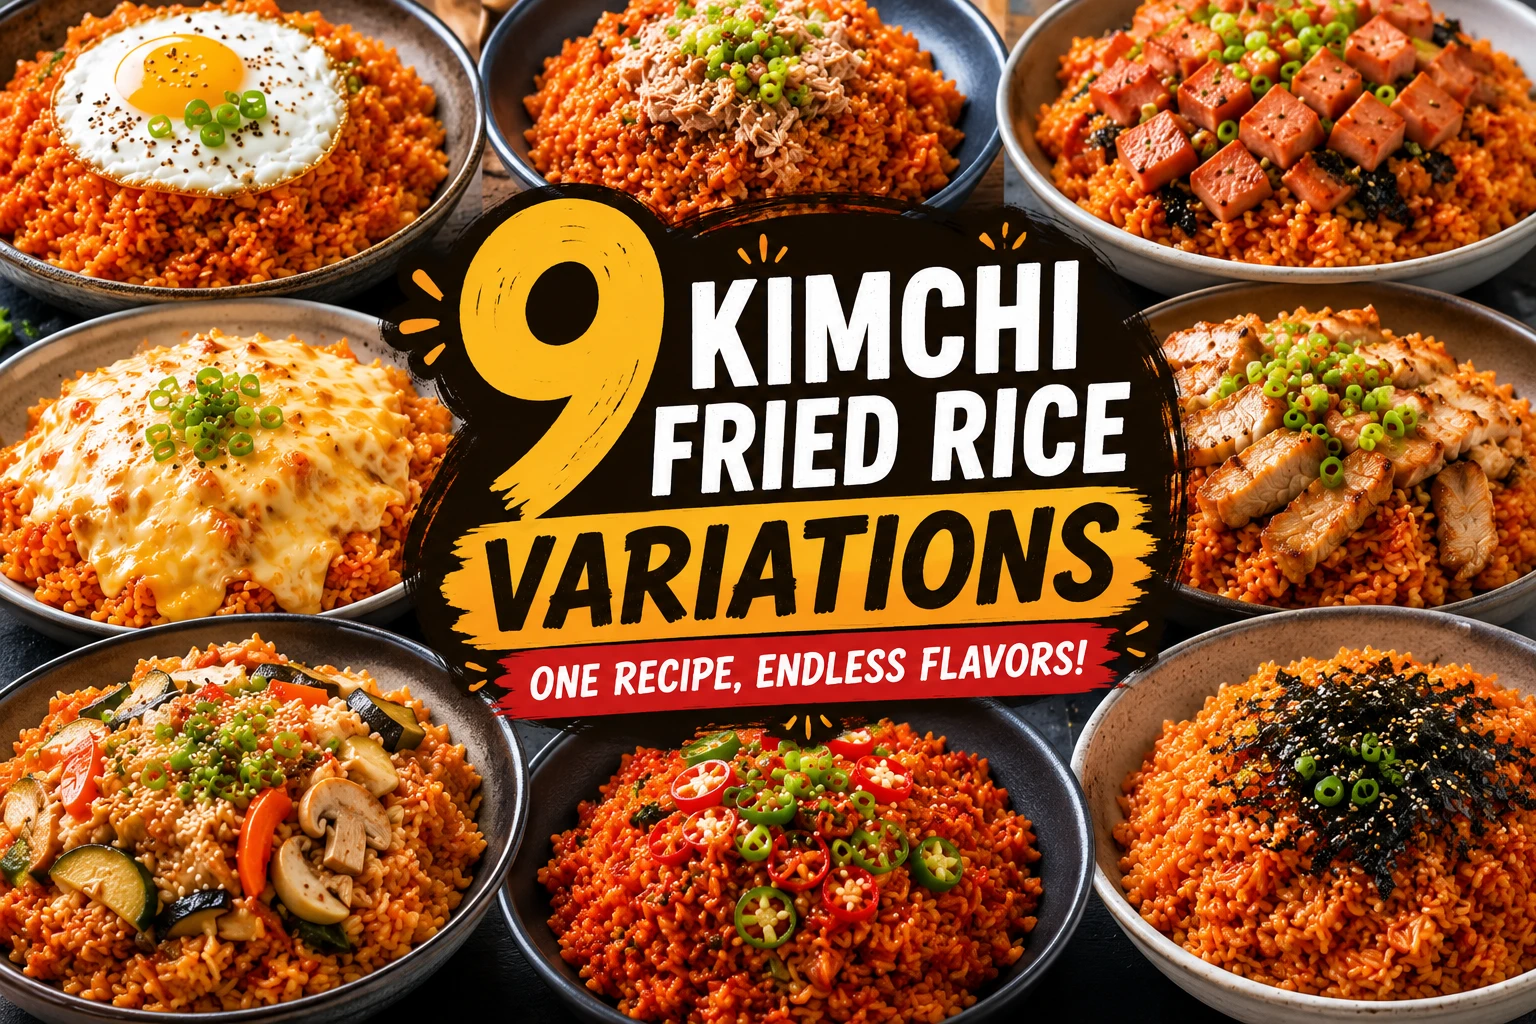
All 9 variations, comparison table, FAQs, technique guide.
Full Guide →Classic Kimchi Fried Rice — Pairing Guide
Classic bokkeumbap is a complete meal on its own. These pairings work on food science principles: cold and crunchy against hot and soft; mild and earthy against bright and sour; cold lager against capsaicin heat.
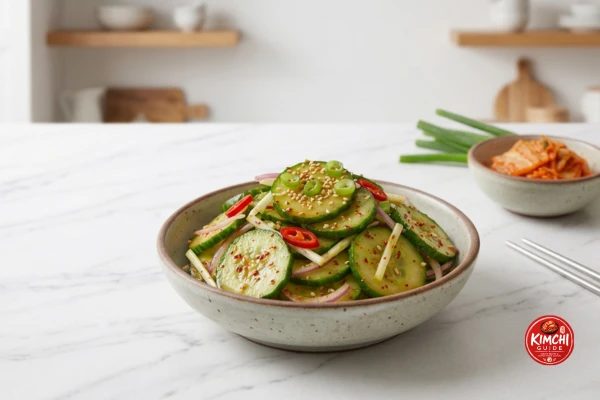
Cold, crunchy, sesame-dressed cucumber served alongside the hot rice.
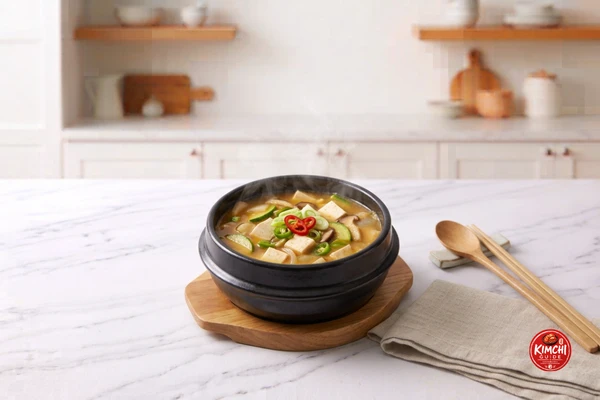
Mild, earthy stew that contrasts with bokkeumbap’s bright kimchi acidity.

The traditional Korean eating method — tear small pieces and wrap spoonfuls of rice inside.
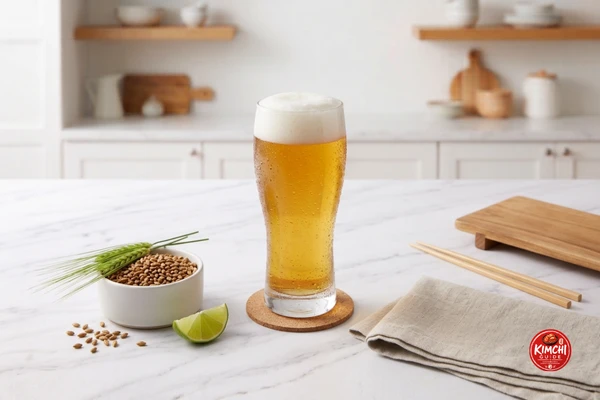
Cold carbonation complements the kimchi’s spice and cuts through the richness.
Storage and Reheating
Store rice only — never with the egg or nori. Always fry a fresh egg when serving leftovers.
Not suitable for freezing — rice texture breaks down significantly.
High heat with 1 tsp oil. Press flat 60 seconds to re-crisp. Fry a fresh egg to top.
Cover with a damp paper towel, 60-second bursts. Use cast iron whenever possible.
Where Classic Sits Among All 9 KFR Variations
| Variation | Calories | Protein | Vegan? | Best For |
|---|---|---|---|---|
| Cauliflower Version | 180 | 10g | No (egg) | Low-carb, keto, lightest option |
| Without Egg | 360 | 7g | No (may use dairy) | Calorie control, meal prep |
| Vegan (tofu) | 380 | 14g | ✅ Fully vegan | Plant-based, egg-free protein |
| Breakfast Bowl | 380 | 15g | No (egg, avocado) | Mornings, lighter portion |
| Tuna Version | 410 | 22g | No | Highest lean protein |
| Classic ← This page | 420 | 14g | No | The traditional standard |
| Cheese Version | 570 | 19g | No | Entertaining, most indulgent |
| Spam Version | 580 | 24g | No | Comfort food, budae flavour |
| Bacon Version | 600 | 21g | No | Weekend indulgence |
Classic Kimchi Fried Rice FAQ
The most common questions about classic bokkeumbap, answered with the detail of someone who has made this dish 200+ times over 12 years.
Classic kimchi bokkeumbap uses only kimchi, kimchi juice, gochujang, sesame oil, soy sauce, and a fried egg — no spam, tuna, cheese, or additional proteins. For variations with added proteins, see the full KFR Ultimate Guide.
It’s called kimchi bokkeumbap (김치볶음밥) — bokkeum meaning stir-fried and bap meaning rice.
Stage 3 — 2 to 4 weeks old. At this stage it has fully developed lactic acid (pH approximately 4.2) that caramelises into complex sour-umami compounds on a smoking-hot pan.
Day-old refrigerated rice has lost surface moisture. Its grains separate easily and fry properly at high heat, forming the caramelised nurungji crust.
Nurungji (누룽지) is the caramelised crust that forms on the bottom of the pan. Press rice flat with a spatula, wait for crackling to deepen, then scrape up and fold through.
Adding gochujang at the same time as the rice gives a raw, bitter paste flavour. Toasting it alone for 30 seconds removes the raw edge and develops a smoky-sweet complexity.
Toasted sesame oil has a smoke point of approximately 175°C, well below the pan’s cooking temperature. Added off-heat, it stays warm, nutty, and aromatic instead of burning acrid.
Baste-frying means tilting the pan and spooning hot oil continuously over the egg yolk for 20 seconds while cooking — sets the white while keeping the yolk fully liquid.
No. Non-stick pans have low thermal mass — cold rice drops the temperature below the Maillard threshold and the rice steams instead of frying. Use cast iron or carbon steel.
In a deep bowl with the basted fried egg on top, spring onions, sesame seeds, and dried nori on the side — Koreans wrap small spoonfuls of rice in the nori.
Approximately 420 calories per serving with one basted egg. Macros: 58g carbohydrates, 14g protein, 14g fat, 890mg sodium, 3g fibre.
Up to 3 days refrigerated — rice only, never store with the egg. Not suitable for freezing as the rice texture deteriorates on thawing.
The classic ratio is 1:2 — 1 cup chopped squeezed kimchi per 2 cups cooked rice for two people.
It can be made gluten-free by substituting tamari for soy sauce and verifying your gochujang brand is certified gluten-free.
Regular fried rice relies on soy sauce, garlic, and vegetables built during cooking. Kimchi fried rice’s flavour comes almost entirely from pre-fermented kimchi’s lactic acid.
In moderation, yes — kimchi provides live probiotic cultures and fibre. At roughly 420 calories per serving, it fits into most everyday diets.
Yes, as long as it’s short or medium-grain rice refrigerated overnight. Long-grain rice like jasmine will still work but produces a drier result.
Yes, with the spice level adjusted down using the spice tool above. Younger palates often prefer Stage 2 kimchi over the more intense Stage 3.
Not inherently. The savoury depth comes from naturally occurring glutamates produced during kimchi’s fermentation, not added MSG.
Starting on medium heat instead of maximum. The pan must be visibly smoking before oil goes in, or the rice steams instead of frying.
Was this guide helpful?
Your feedback helps us improve KimchiGuide for everyone.
💬 Leave a Comment
Made this recipe? Tell us how the nurungji crust turned out for you.