What to Do with Kimchi 20 Creative Uses Beyond the Side Dish
Every jar of kimchi has 20 potential meals in it. Fried rice. Jjigae stew. Grilled cheese. Tacos. Pasta. Marinade. Kimchi butter. Every fermentation stage matched to the right dish. Nothing wasted. Every batch used well.


What Can You Do with Kimchi?
Kimchi works in 20 proven applications beyond the side dish — from kimchi fried rice (12 minutes) and jjigae stew (30 minutes) to kimchi grilled cheese, tacos, pasta, meat marinade, kimchi butter, and kimchi salad dressing. The single most important rule across all 20 uses: always fry the kimchi in oil for 2–3 minutes before adding any other ingredient. This step caramelises the kimchi, removes excess water, and is what separates every restaurant kimchi dish from a flat home version.
20 Things to Do with Kimchi — Quick Reference List
The 20 best uses for kimchi, ranked from quickest to most involved, with total cook time and the correct fermentation stage for each.
- Kimchi avocado toast — 5 min — Stage 1 fresh kimchi
- Kimchi scrambled eggs — 8 min — Stage 2–3 kimchi
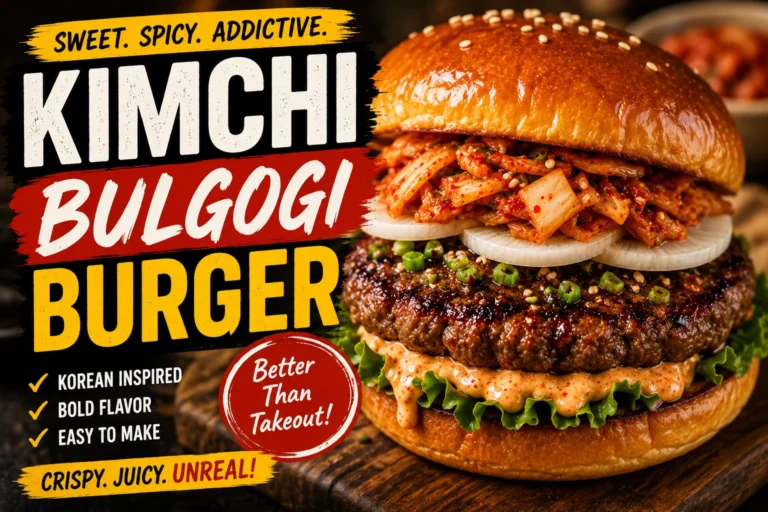
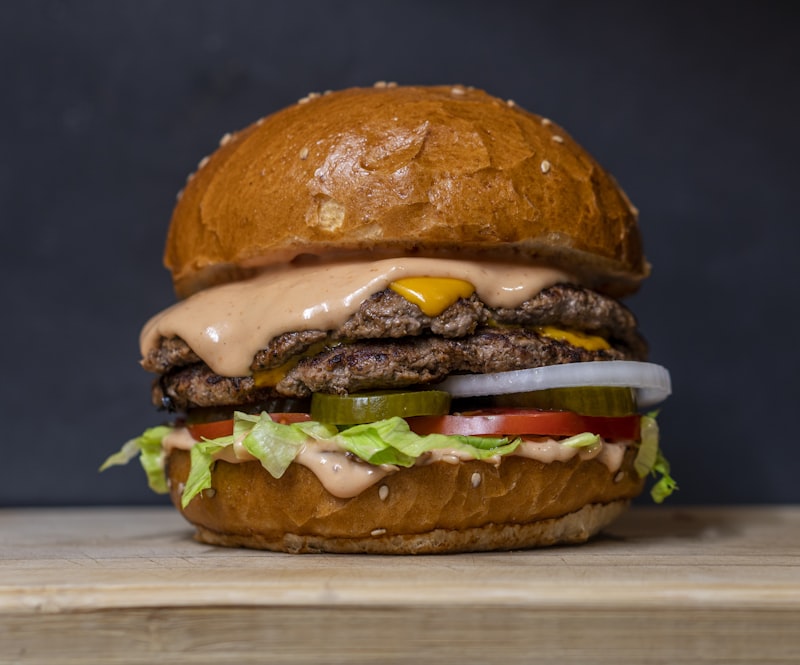
- Kimchi burger topping — 2 min — Stage 1–3 kimchi
- Kimchi quesadilla — 8 min — Stage 3 ripe kimchi
- Kimchi grilled cheese — 10 min — Stage 3 ripe kimchi
- Kimchi as banchan (side dish) — 0 min — any stage
- Kimchi fried rice (bokkeumbap) — 12 min — Stage 3 ripe kimchi
- Kimchi salad dressing — 3 min — Stage 3 ripe kimchi
- Kimchi tacos — 15 min — Stage 1–3 kimchi
- Kimchi pancakes (kimchijeon) — 15 min — Stage 3 ripe kimchi
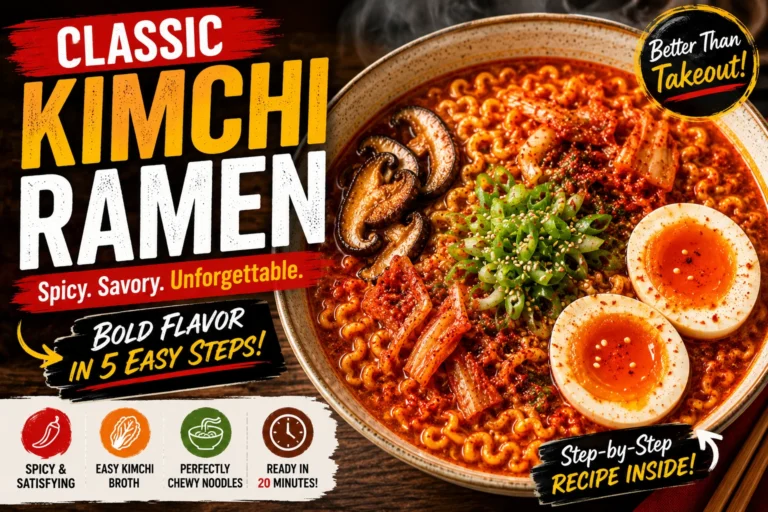
- Kimchi ramen / noodle soup — 15 min — Stage 3 ripe kimchi
- Kimchi pasta (butter or cream) — 20 min — Stage 3 ripe kimchi
- Kimchi rice bowl (bibimbap) — 20 min — Stage 3 ripe kimchi
- Kimchi grain bowl (meal prep) — 20 min — Stage 3 ripe kimchi
- Kimchi pizza — 25 min — Stage 3 ripe kimchi
- Kimchi mac and cheese — 25 min — Stage 3 ripe kimchi
- Kimchi marinade for meat — 2–24 hours — Stage 3 ripe kimchi
- Kimchi jjigae (stew) — 30 min — Stage 4 over-ripe kimchi
- Kimchi braised pork shoulder — 2.5 hours — Stage 4 over-ripe kimchi
- Kimchi butter (compound butter) — 5 min + chill — Stage 3 ripe kimchi
Kimchi Cooking — Key Facts at a Glance
A structured summary of the core facts in this guide, verified by Ji-Young Park and reviewed by Dr. Sarah Mitchell RD, PhD.
Difficulty Levels Across All 20 Uses
Eight of the 20 uses require zero cooking — straight from the jar. The most complex use (kimchi braised pork shoulder) still falls well within the range of any home cook.
8 of 20 uses
9 of 20 uses
3 of 20 uses
0 uses
0 uses
Which Kimchi Age to Use — Matched to Each Application
Using fresh kimchi in a stew produces watery, bland results. Using over-ripe kimchi in a salad is harsh and overwhelming. Matching fermentation stage to application is the most important skill in kimchi cooking — and no other guide explains it.
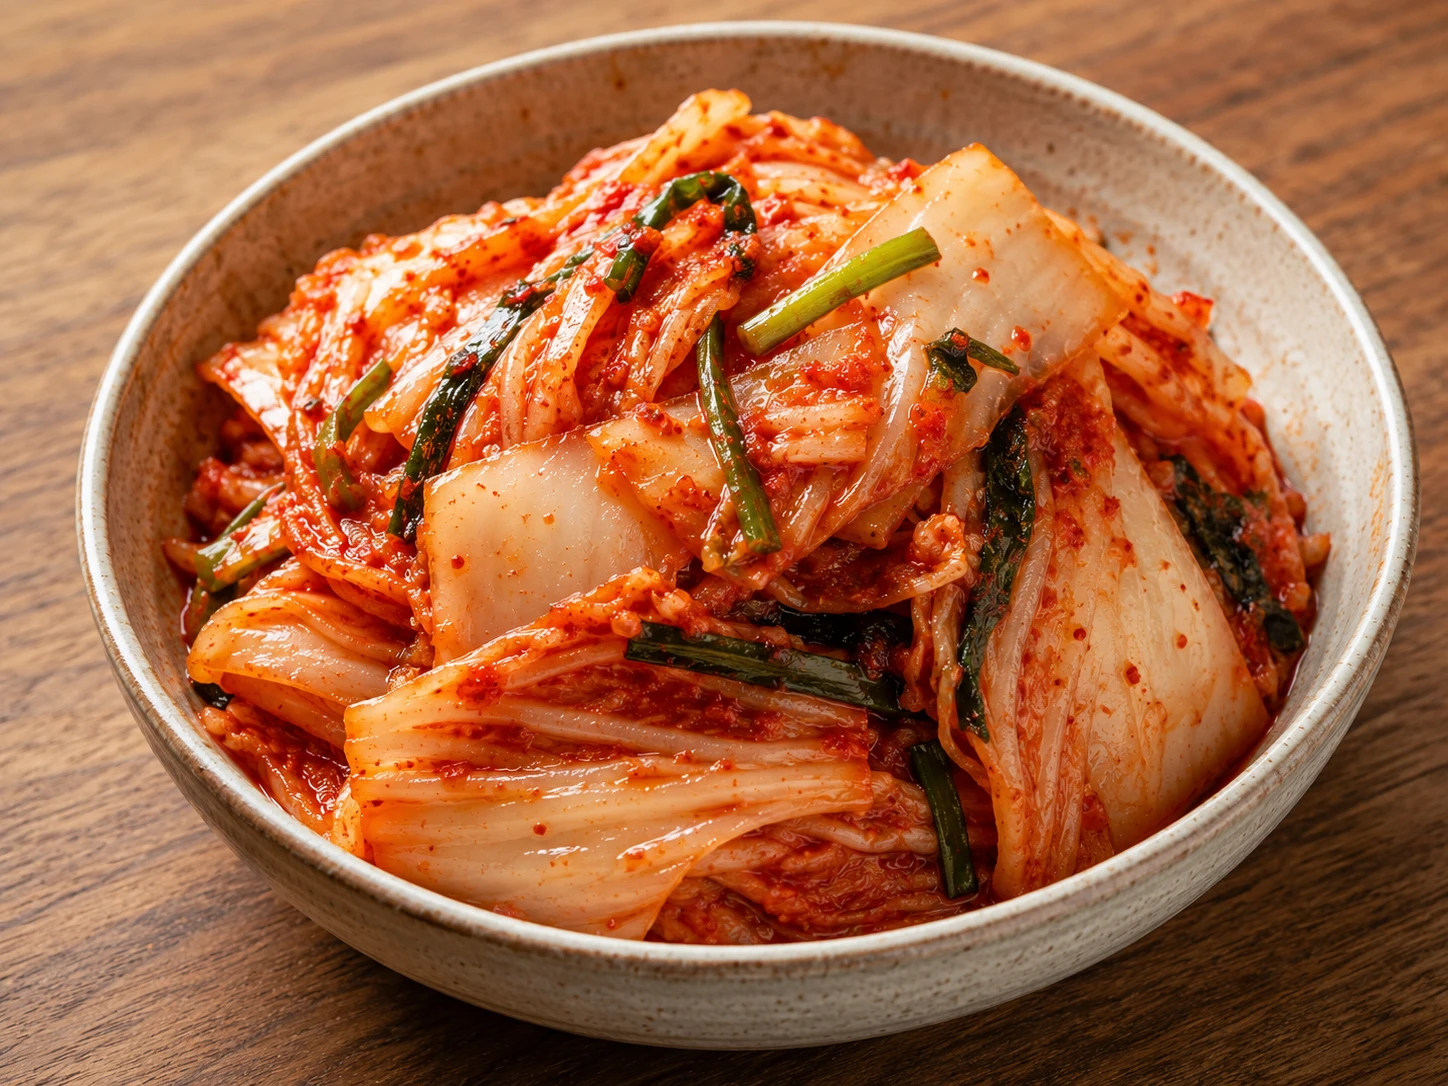
Too mild and sweet for cooked dishes — probiotics fully active. Best for raw applications where crunch and brightness are needed.
Raw uses only: salads, tacos, avocado toast, burgers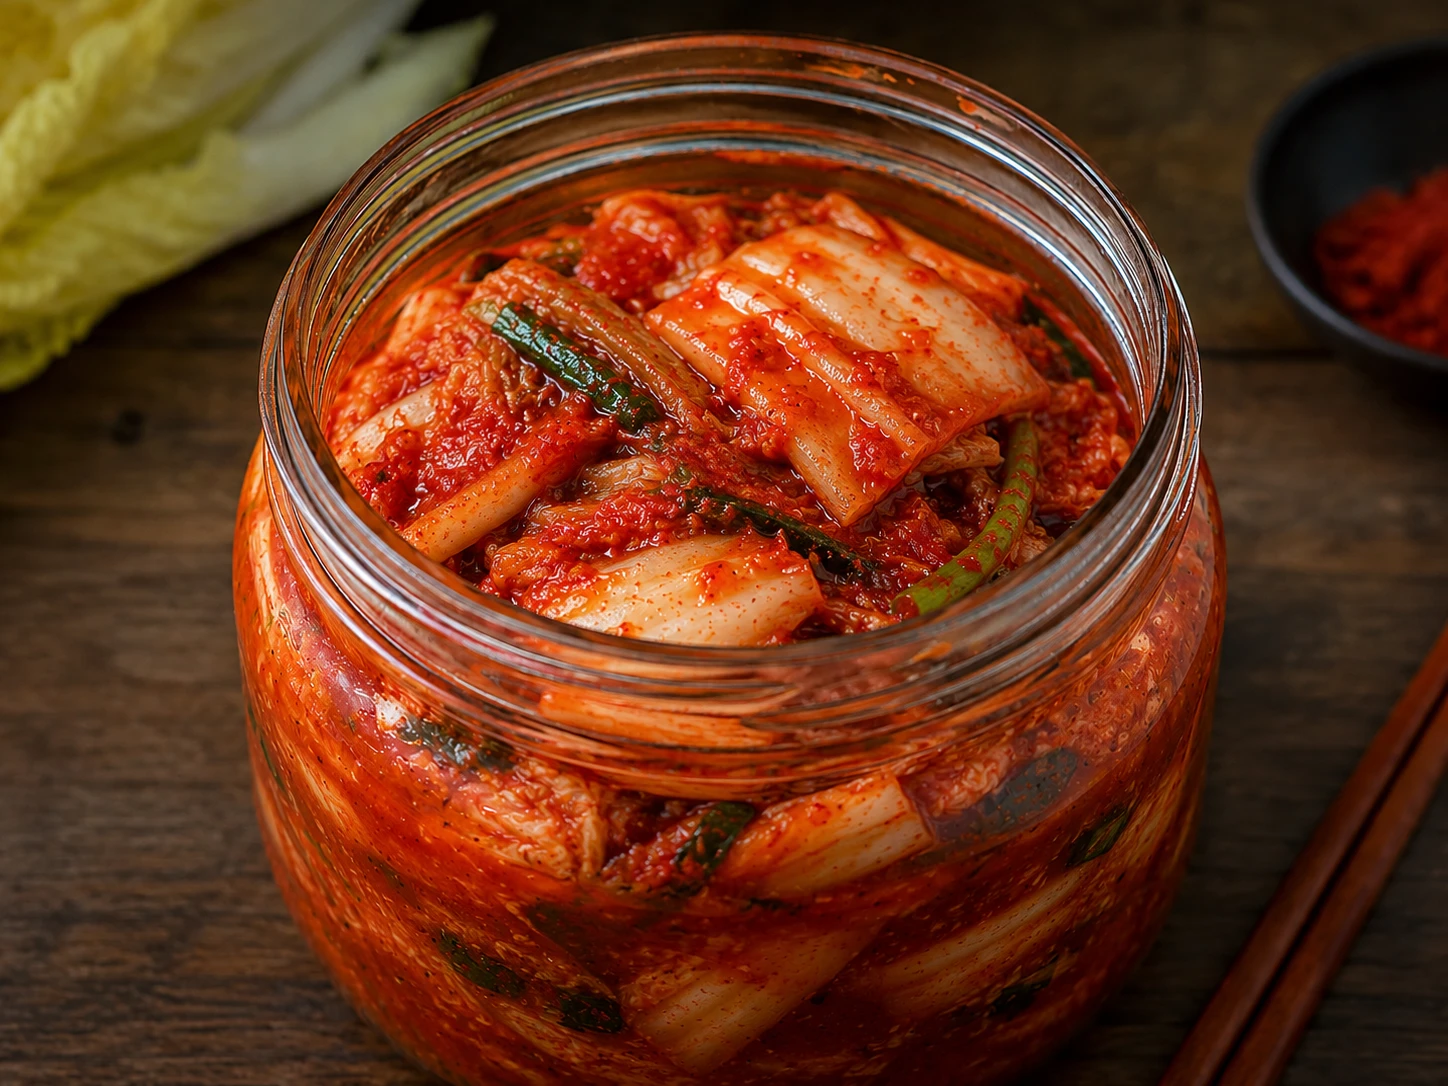
Some sourness developing. Works in scrambled eggs and quesadillas. Acceptable but not optimal for fried rice and pancakes — add 1 tsp rice vinegar to compensate.
Acceptable: eggs, quesadillas, quick stir-fries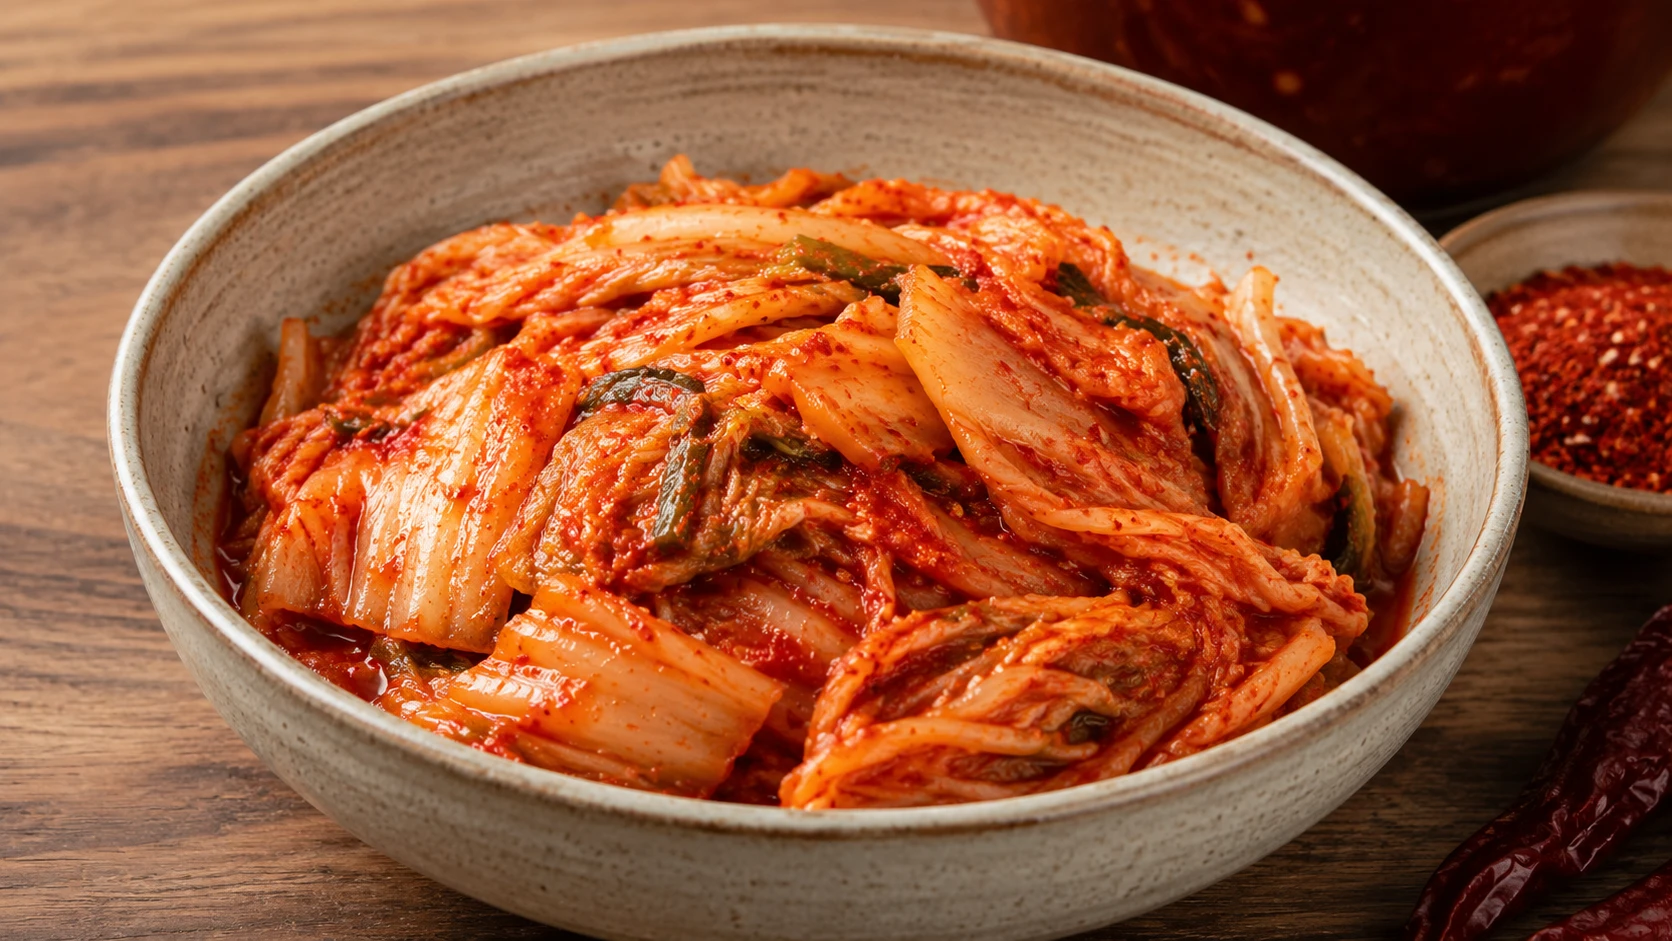
Ideal for 15 of the 20 uses on this list. Balanced sourness, deep umami, enough acid to season a dish without overpowering it. The cooking kimchi sweet spot.
★ Best: fried rice, pancakes, grilled cheese, pasta, marinade, tacos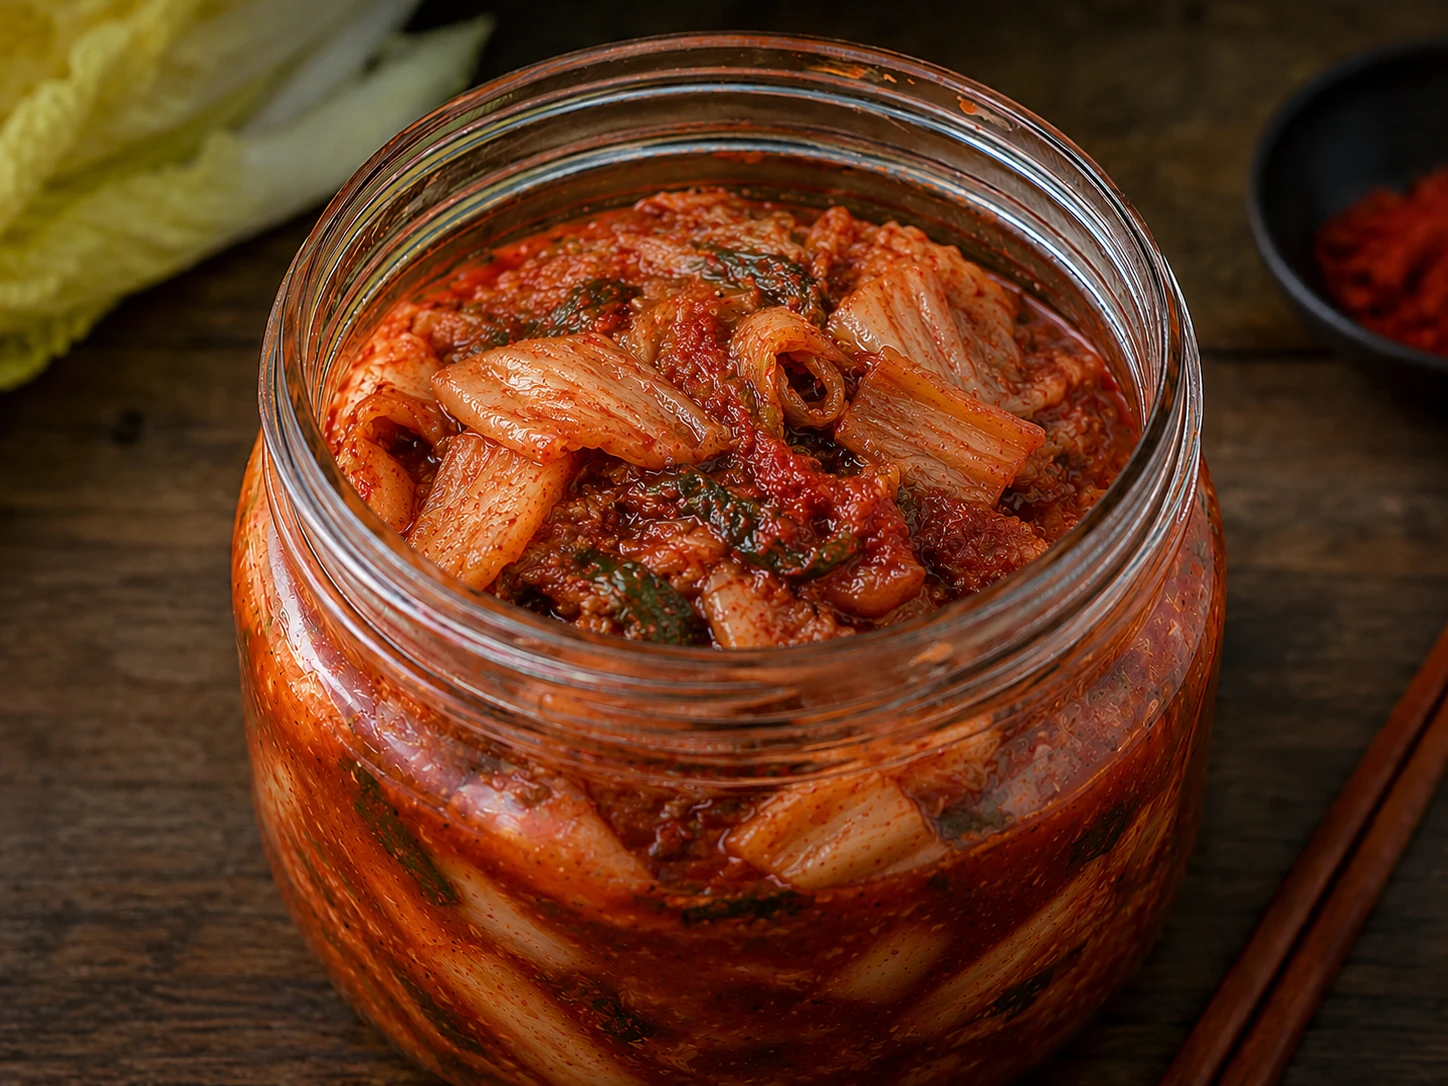
Too sour to eat raw or in quick dishes. Ideal for jjigae, braised pork, and kimchi soup where long simmering tames the sharpness and extracts deep umami into the broth.
Long cooking only: jjigae, braised pork, kimchi soup20 Things to Do with Kimchi — Every Use Tested
Ordered from quickest to most involved. Every entry specifies the best kimchi stage, the key technique, and the flavour logic behind it. These are not suggestions — they are tested results.
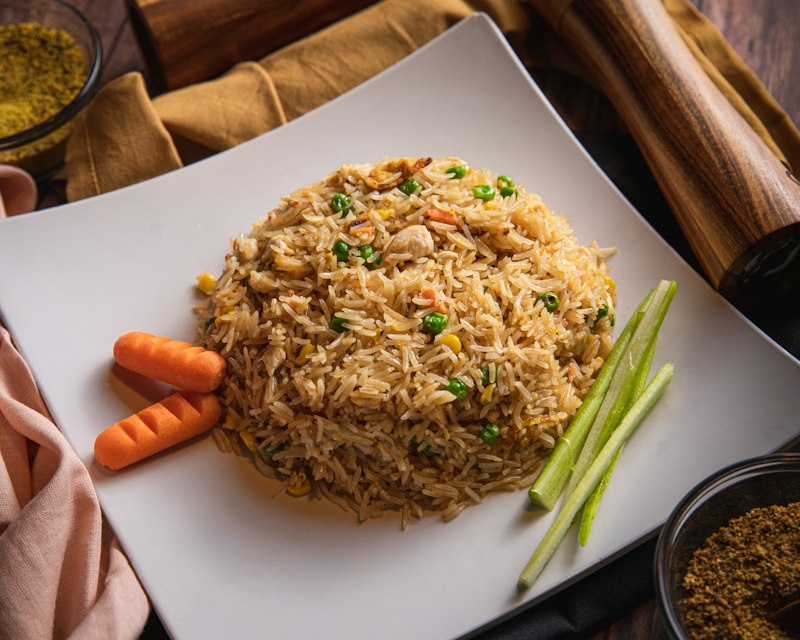
The most versatile kimchi use and Korea’s most popular weeknight dish. Fry day-old rice with ripe kimchi, kimchi juice, gochujang, and sesame oil. Top with a fried egg with a fully runny yolk. The broken yolk creates the sauce. Complete in 12 minutes from a cold fridge.
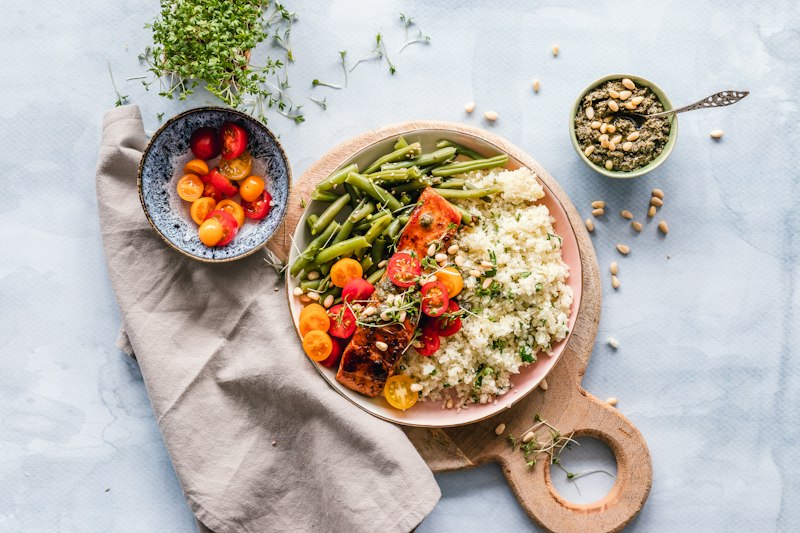
The definitive use for very sour, over-ripe kimchi that you would not eat raw. Aged kimchi plus pork belly, tofu, and anchovy broth, simmered 20 minutes. The dish that makes very sour kimchi irreplaceable — heat tames the sharpest acidity while concentrating deep umami.
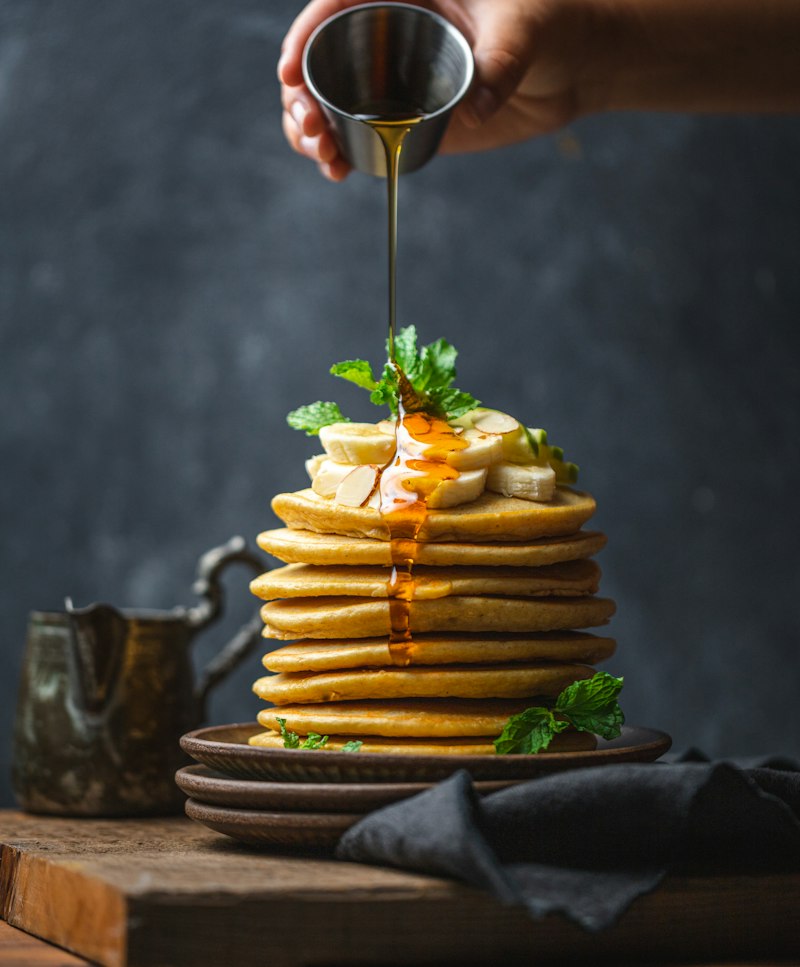
Crispy, lacy-edged savoury pancakes — one of the best 15-minute meals in Korean cooking. Squeeze the moisture from ripe kimchi, mix into a thin batter with flour and cold water, fry in a hot pan with plenty of oil.

Squeeze all moisture from ripe kimchi, layer with aged cheddar on sourdough, butter the outside, cook in a cast iron pan on low-medium heat with a lid on. The kimchi’s fermented tang mirrors aged cheddar’s sharpness — neither overpowers the other.
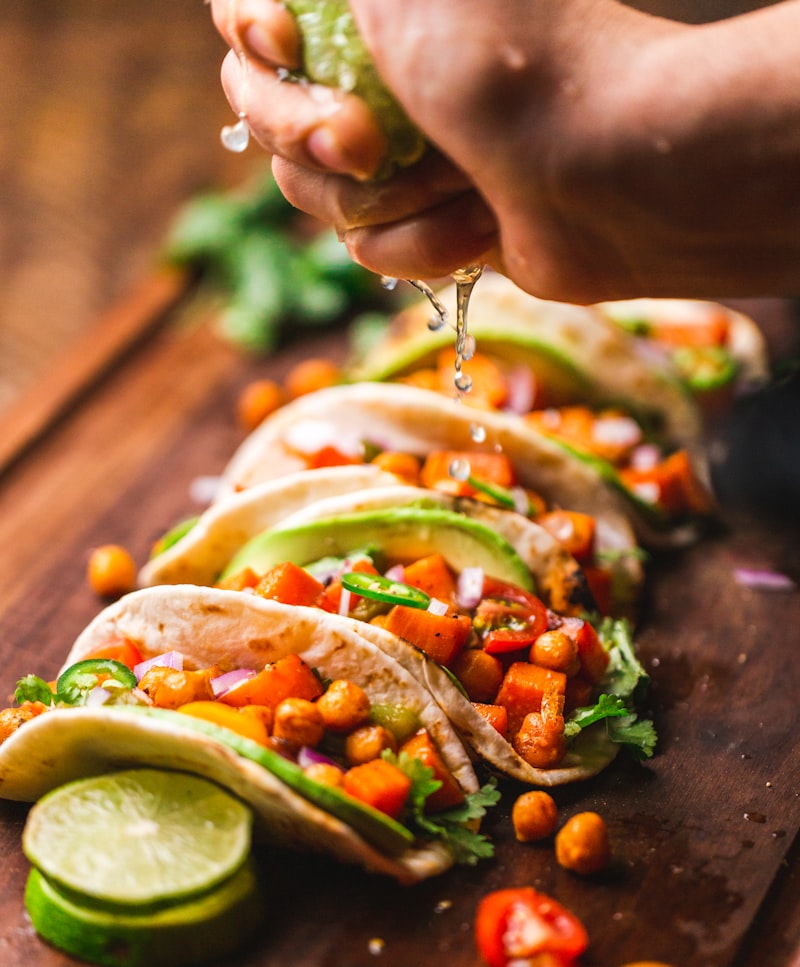
Ripe kimchi plus protein (fish, chicken, beef, or tofu) plus gochujang mayo plus sesame seeds in a warm corn tortilla. Korean-Mexican fusion that works because both cuisines are built on acid, heat, and umami working together.
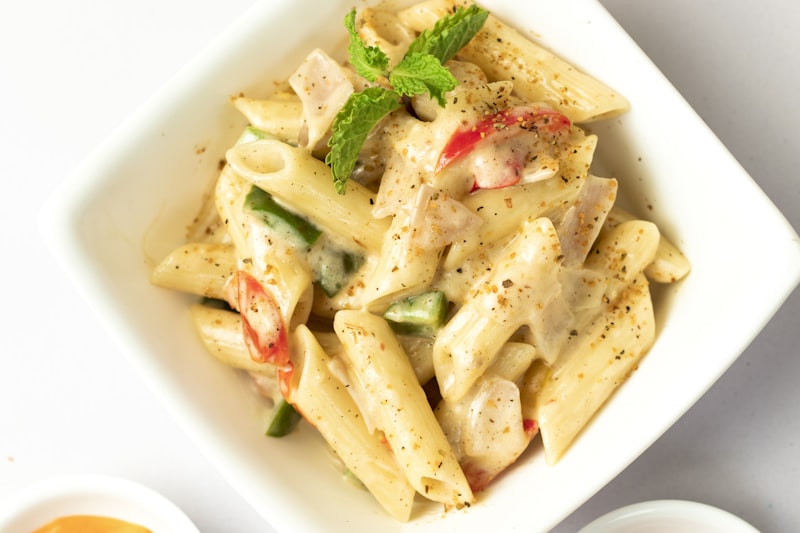
Fry kimchi in butter until caramelised, toss with al dente pasta and reserved pasta water, finish with Parmesan. The fermented umami of kimchi plays the same role as anchovy in Italian cooking — salt, funk, acid and depth — without any additional seasoning.
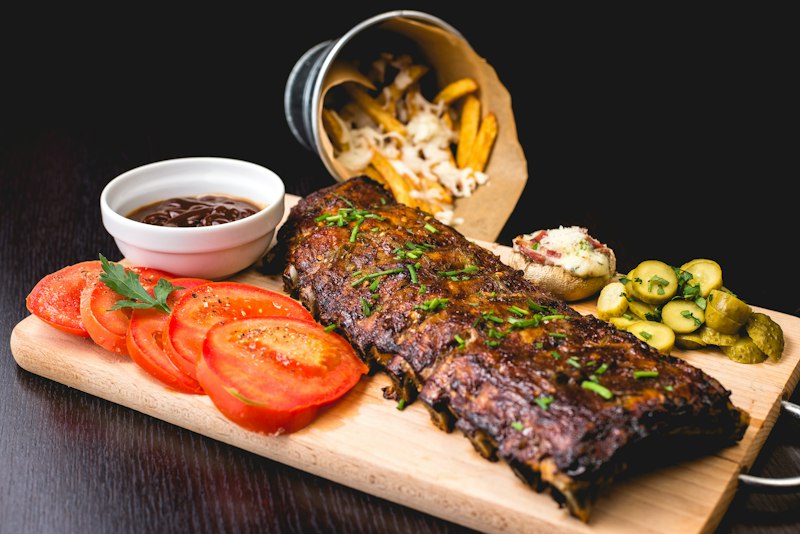
Blend ripe kimchi into a paste and coat pork belly, chicken thighs, or beef short ribs. Marinate 2–24 hours. The enzymes in fermented kimchi physically tenderise protein fibres — this is the mechanism behind why Korean BBQ is notably tender compared to Western grilling preparations.

Blend 100g softened unsalted butter with 50g finely chopped ripe kimchi, 1 tsp kimchi juice, and ½ tsp sesame oil. Roll in cling film, refrigerate 1 hour. The compound butter that upgrades steak, corn, toast, noodles, and grilled vegetables instantly — with zero cooking required.

Smash ripe avocado on toasted sourdough. Top with drained sliced fresh kimchi, a drizzle of sesame oil, toasted sesame seeds, and a soft-boiled egg. The fastest Korean-Western breakfast that exists, and the only use on this list where fresh Stage 1 kimchi is specifically correct.

Finely chop young or ripe kimchi. Cook eggs as usual — in the final 30 seconds, stir in the kimchi and remove from heat. The residual heat gently warms the kimchi without cooking it fully, preserving the crunch and the remaining probiotic cultures in the kimchi.

Warm rice base, ripe kimchi, sautéed vegetables, fried egg, and gochujang stirred together at the table. Complete nutrition in one bowl. The balance of fermented kimchi against egg yolk, warm rice, and sesame oil is one of the most satisfying flavour combinations in Korean cooking.
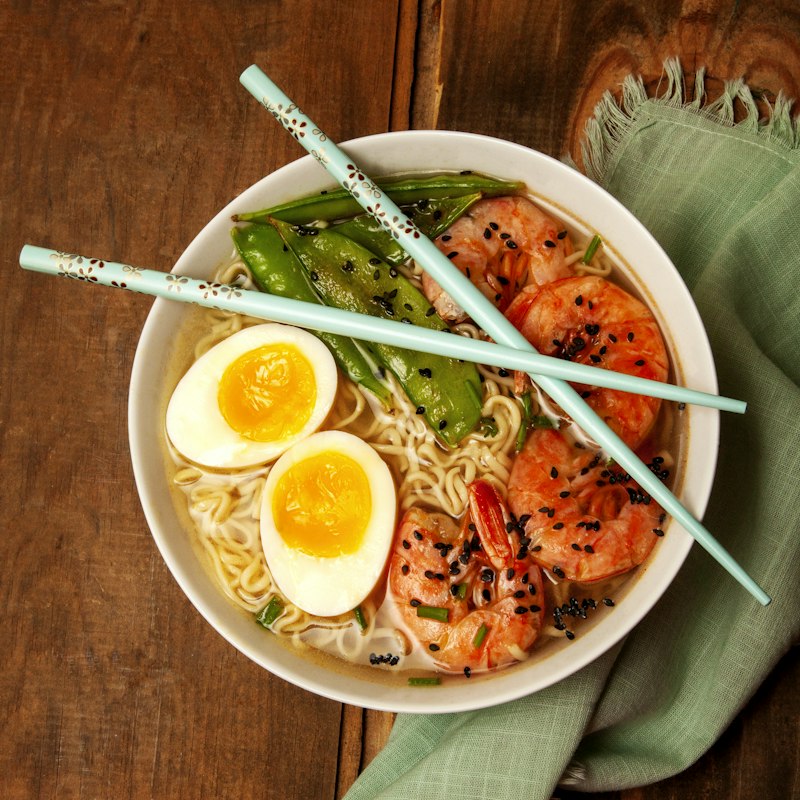
Add ripe kimchi and 1 tablespoon of kimchi juice to any ramen broth in the final 30 seconds. The fermented brine replaces fish sauce as the primary seasoning and adds a lactic brightness that lifts the entire bowl. Ready in the time it takes to boil noodles.
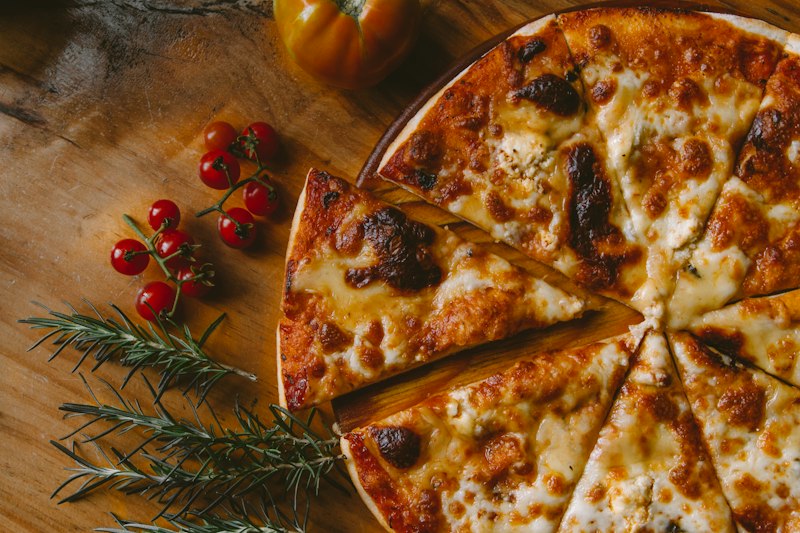
Gochujang thinned with sesame oil as pizza sauce instead of tomato. Ripe kimchi, mozzarella, and sliced spring onion as toppings. Bake at maximum oven temperature on a preheated pizza stone. The fermented tang of kimchi functions like tomato acidity — cutting through cheese richness.
Blend 2 tbsp ripe kimchi with 2 tbsp sesame oil, 1 tbsp rice vinegar, 1 tsp honey, and 1 tsp soy sauce. The blended kimchi acts as an emulsifier — the same role as Dijon mustard in a vinaigrette — keeping sesame oil and vinegar combined without separating.
Similar Posts
Kimchi Bulgogi Burger Recipe — Why the Marinade Goes In the Meat, Not On It
✕ KimchiGuide› Kimchi Recipes› Kimchi Burger› Kimchi Bulgogi Burger 김치 불고기 버거 🥩 Tested — Mixed-In vs Glazed Marinade Kimchi Bulgogi Burger Recipe Why the Marinade Goes In the Meat, Not On It Bulgogi burger recipes split evenly between mixing marinade into raw beef and glazing a plain patty afterward — and none of them…
Classic Kimchi Ramen (Simmer-in-Broth Method) — Complete Guide
✕ KimchiGuide› Kimchi Recipes› Kimchi Ramen› Classic Version 라면 🍜 6 Batches Tested · Simmer-in-Broth Method · Variation 1 of 13 Classic Kimchi Ramen (김치라면 — Simmer-in-Broth Method) The technique most recipes skip: simmering kimchi and its brine directly in the broth with garlic and gochugaru before the noodles go in, instead of dropping raw…